Creating Organizations
Use Liferay to model Clarity Vision Solutions’ organizational hierarchy. See Organizations to learn more.
Parent and Child Organizations
-
Create a top level organization.
- Navigate to Global Menu (
 ) → Control Panel → Users and Organizations.
 - Click the Organizations tab.
- Click Add (
 ).
). - Enter
Clarity Vision Solutionsin the Name field. - Click Save.
- Navigate to Global Menu (
-
Create a child organization.
- Click Back (
 ) to return to the list of organizations.
 - Click on the Clarity Vision Solutions organization you just created.
- Click Add () and select New Organization.
- Input
ITin the Name field. Note that under the parent organization section, Clarity Vision Solutions is selected. - Click Save.
- Click Back (
-
Create another child organization called
Sales & Marketingunder the Clarity Vision Solutions parent organization using the steps above. -
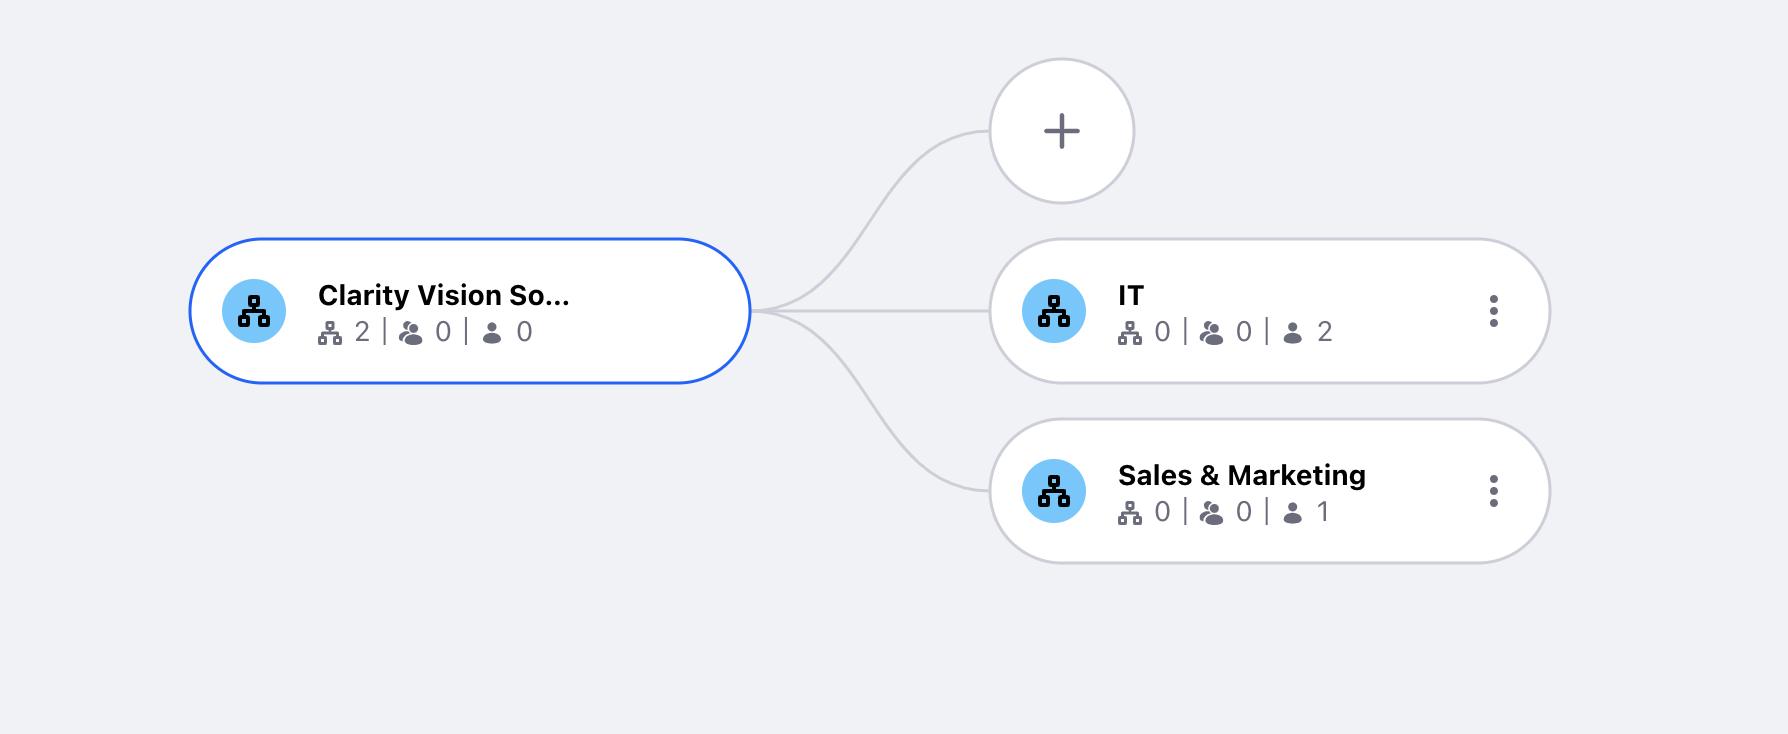
The organizational hierarchy should look like the image below.
Assigning Existing Users to Organizations
The IT manager and IT staff are not part of any organization. Edit their user accounts to assign them to the IT organization.
-
Navigate to Global Menu (
) → Control Panel → Users and Organizations. -
From the list of user accounts, click on Kyle Klein. Click Organizations in the left navigation.
-
Click Select and a new window pops up. Click Choose for the IT organization. Click Save.
-
Follow the same steps to add Marcus Morgan to the IT organization.
Adding New Users to Organizations
New users can also be added within organizations.
-
Navigate to Global Menu (
) → Control Panel → Users and Organizations.- Click the Organizations tab.
- Click Clarity Vision Solutions.
- Click Options (
 ) for the Sales & Marketing child organization.
 - Click Add User.
-
Add the following user:
- Screen Name:
lily - Email Address:
lily@clarityvisionsolutions.com - First Name:
Lily - Last Name:
Lewis - Job Title:
Account Manager
Click Save at the bottom of the page.
- Screen Name:
Organizational Sites
Next, create an organization site for the Sales & Marketing department to host an internal blog. See Organization Sites to learn more.
-
Navigate back to Organizations and click the Clarity Vision Solutions organization.
-
Click Options (
) for the Sales & Marketing child organization and click Edit. -
In the left navigation, click Organization Site.
- Click the toggle to create the site.
- Click Save.
A new organization site has been created.
-
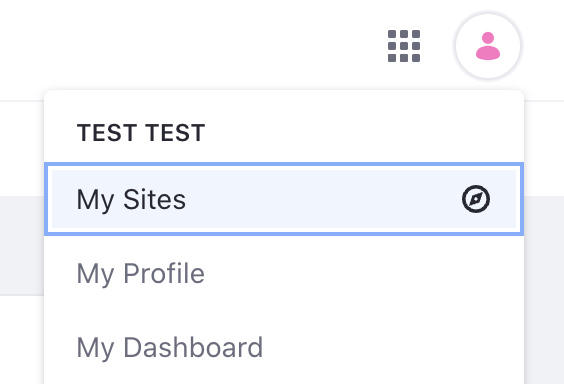
Click on your profile image at the top right. Click My Sites.
-
Click the All Sites tab. Click the Sales & Marketing site you just created. Note, the site is empty until some content is added to it.
-
Click the Product Menu icon (
 ) in the top left. Under Site Builder, click Pages.
 -
Click Add (
) and select Page.- Click Blank to create a blank page.
- Give the page the name Sales & Marketing Blog.
- Click Add.
-
In the left navigation, click Plus (
 ) to see the Fragments and Widgets tools.
- Click the Widgets tab.
- Add a Blogs widget by dragging it onto the page. The widget is in Collaboration.
- Click Publish.
-
The Sales & Marketing organization site now has a page with Sales & Marketing blog postings for anyone that is part of the child organization to view. See Getting Started with Blogs to learn more about blogs and blog entries.
Next, you’ll import users by connecting to LDAP.