Importing and Exporting Users
Once LDAP is connected, users are imported as they log in. Clarity Vision Solutions, however, wants to import all of Fabulous Frames’s users in one shot.
Importing LDAP Users
-
Navigate to Global Menu (
 ) → Control Panel → Instance Settings.
 -
Under security, click LDAP.
-
In the left navigation, click Import.
-
Check the box for Enable Import. Click Save. Note, the default import interval is set to 10 minutes. Liferay performs a bulk import at this interval.
-
Navigate to Global Menu (
) → Control Panel → Users and Organizations. The user from the LDAP server has been imported.
If you leave the _Enable Import box unchecked, users are imported individually when they log in. Use the import if you want to do a bulk import from LDAP.
Exporting LDAP Users
-
Navigate to Global Menu (
) → Control Panel → Instance Settings. -
Under security, click LDAP.
-
In the left navigation, click Export.
-
Check the boxes for Enable Export and Enable Group Export. Click Save.
-
Now modify an existing user. Navigate to Global Menu (
) → Control Panel → Users and Organizations. -
Select the user Kyle Klein. See creating users, if you need to create this user.
-
Make a change to his personal information. For example, change his birth year from 1970 to 1971. Click Save.
-
Go back to the LDAP server settings. Navigate to Global Menu (
) → Control Panel → Instance Settings. -
In the left navigation, click Servers.
-
Click the Edit (
 ) of the
 fabulousframesLDAP server. -
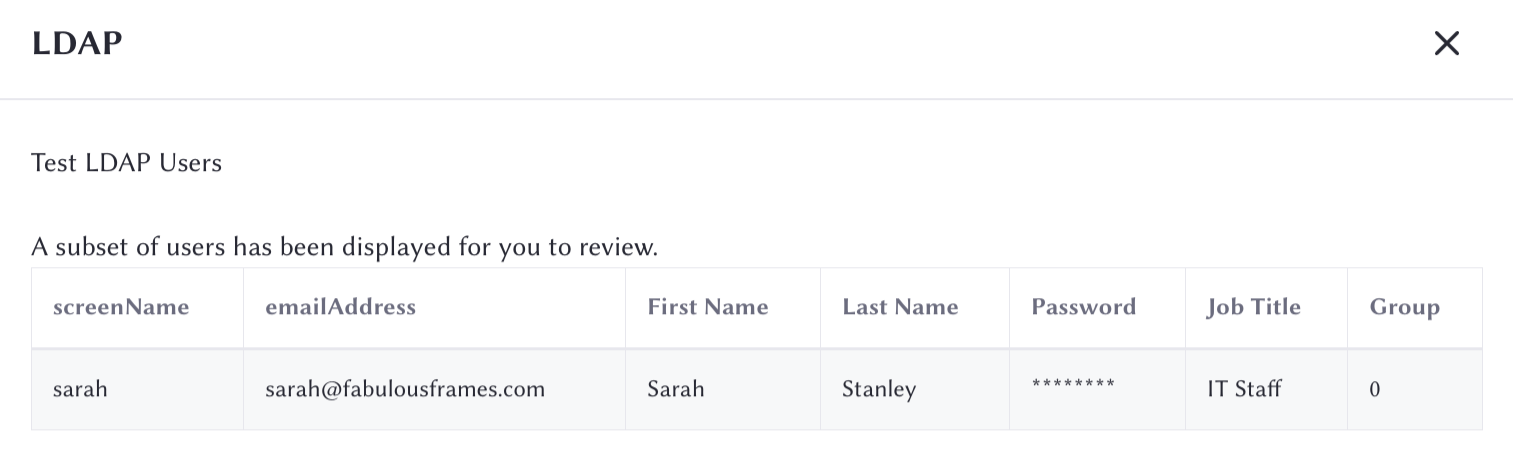
Scroll down and click Test LDAP Users. See that Kyle Klein has been added to the LDAP.
The next step is to assign different roles and permissions to each user.