Connecting to LDAP
You can configure an LDAP server at the system level or instance level. If you are on Liferay PaaS or self-hosted, you can choose the configuration scope based on your needs. Note, when configuring at the system scope, you must specify each instance ID. If you’re on Liferay SaaS, you must configure LDAP at the instance scope. See Connecting to an LDAP Directory.
Clarity Vision Solutions must import user data from a company they just acquired.
Start and Populate an LDAP Directory
-
Start a new OpenLDAP container.
-
Find the IP address of the
fabulousframesldapcontainer. This will be used in the configuration step below. -
Generate an LDIF file to seed LDAP with a user and a user group.
-
In your shell, navigate to the same folder as the LDIF file. Copy the file into the container.
-
Add the entry into the OpenLDAP server.
Connect Liferay to the LDAP Directory
-
Navigate to Global Menu (
 ) → Control Panel → Instance Settings.
 -
Under security, click LDAP.
-
In the left navigation, click Servers.
-
Click Add.
-
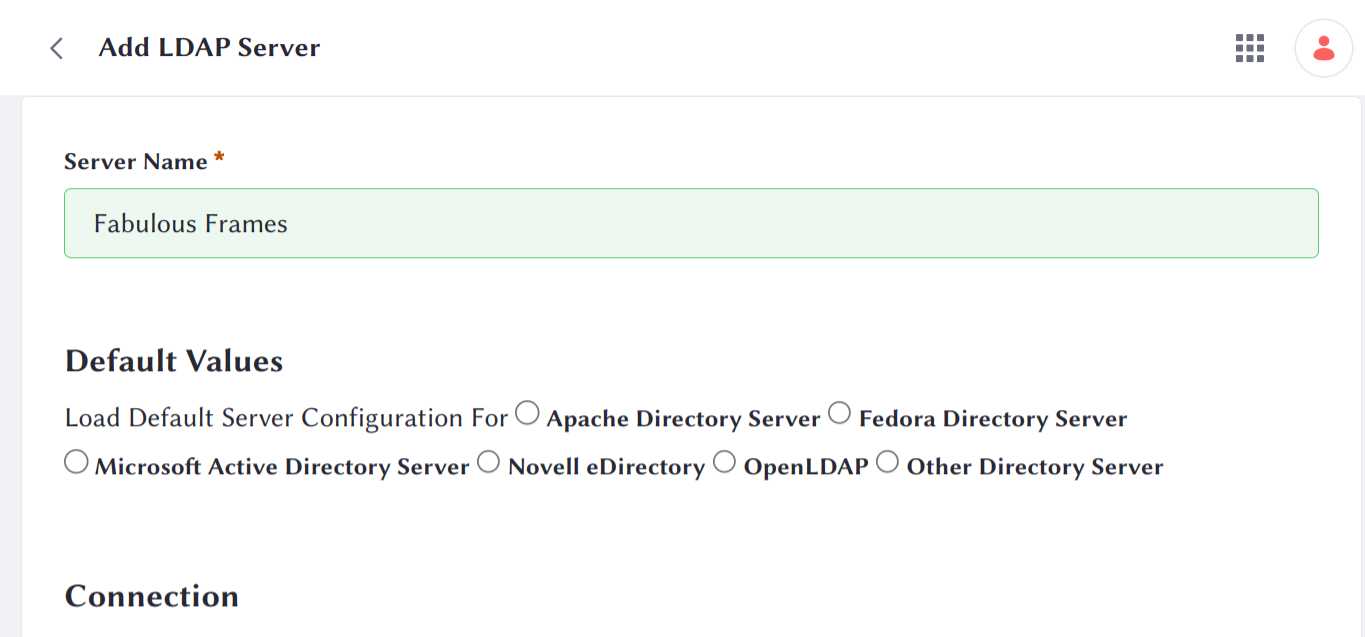
In the new page, enter the LDAP connection information.
- Server Name:
Fabulous Frames - Base Provider URL:
ldap://[IP address]:389 - Base DN:
dc=fabulousframes,dc=com - Principal:
cn=admin,dc=fabulousframes,dc=com - Credentials:
admin
Click Test LDAP Connection. A popup window shows that Liferay has connected successfully to the LDAP server. Click the X and close the window.
- Server Name:
-
In the LDAP user information section, map your LDAP fields to the appropriate Liferay fields. Type
uidinto the UUID field to map Liferay’s UUID field to LDAP’suidfield. This is necessary to export data to LDAP. Click Test LDAP Users to preview the mapping of user fields.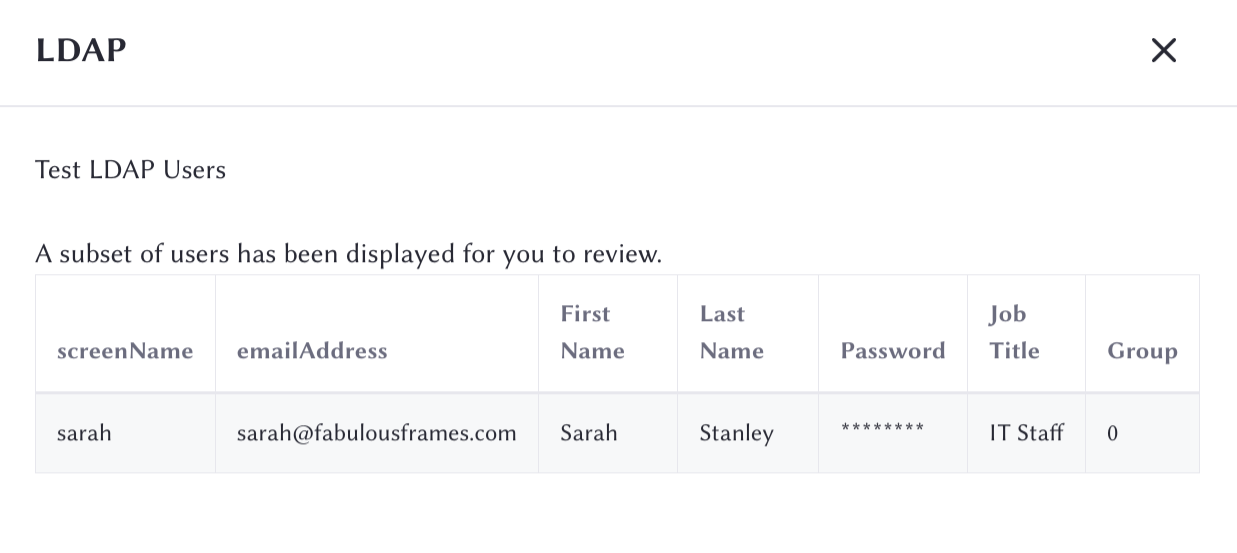
-
In the LDAP groups section, enter
Fabulous Framesinto the Description field. Click Test LDAP Groups to verify that thefabulousframesuser group is visible. -
Click Save.
Clarity Vision Solutions’ Liferay instance is now connected to Fabulous Frames’s LDAP directory.
Next: Importing and Exporting users.