Working with Accounts
Accounts in Liferay can represent individual customers in a B2C (i.e. business to consumer) context. Or they can represent a B2B (i.e. business to business) context with multiple users. See Accounts to learn more.
Opportune Optics operates eyewear stores across the country. Each store purchases eyewear from Clarity Vision Solutions. The example below shows how to set up and account for one of the markets and assign an account user.
Adding Accounts
Create a business type account:
-
Navigate to Global Menu (
 ) → Control Panel → Accounts. Click Add Account (
 ).
). -
In the new window, enter
Opportune Optics NYCfor account name. Click Save. -
Click the Addresses tab. Click Add (
). Enter the following information:- Name:
Opportune Optics NYC - Country:
United States - Street 1:
123 Anywhere St - City:
New York - Region:
New York - Postal Code:
10027
- Name:
-
Click back to the Details tab.
- Scroll down to the default account address section.
- Click Set Default Address under the billing heading.
- Select the address you just created.
- Click Save.
- In the same way, set the default address for the shipping address.
Adding Account Users
Create a new user for the account you just made. Note, you can create new users for accounts or associate exiting users with an account.
-
Navigate to Global Menu (
) → Control Panel → Account Users.- Click Add User ().
- Click Choose next to Opportune Optics NYC.
- Click Add User (
-
Create the following store manager:
- Screen Name:
Noah - Email Address:
noah@opportuneoptics.com - First Name:
Noah - Last Name:
Norman - Job Title:
Store Manager
Click Save.
- Screen Name:
Assigning Account Roles
Each business account can have multiple users and multiple roles. For example, the account buyer may handle creating orders, but the order manager may handle approving the orders.
Assign Noah Norman the order manager role. In this way, Noah’s employees can add items to the account’s shopping cart, while Noah gives the final approval.
-
Navigate to Global Menu (
) → Control Panel → Accounts.- Click Opportune Optics NYC.
- Click the Roles tab.
- Click Order Manager.
-
In the next window, click Assign User (
). Select Noah Norman and click Assign.As Noah’s employees add orders to the account, Noah is able to approve and manage orders. See Commerce Roles Reference to learn more about these roles.
Managing Accounts
Use account groups to help organize and manage multiple accounts. For example, Clarity Vision Solutions can choose to apply lower pricing for any market that is part of the Opportune Optics account group.
-
Navigate to Global Menu (
) → Control Panel → Account Groups. Click Add Account Group (). -
Give the name
Opportune Opticsfor the account group name. Click Save. -
Click the Accounts tab.
- Click Assign Account ().
- In the new window, select Opportune Optics NYC and click Assign.
In this way, different Opportune Optics in other locations can be added to the group.
- Click Assign Account (
In a larger B2B context with multiple accounts under the same entity, it may make sense to create a dedicated organization. Then you can assign an account manager role over the whole organization. For example, with many locations, all Opportune Optics accounts can be placed under an organization. Then someone from Clarity Vision Solutions can be assigned an account manager role to oversee all the accounts.
-
Navigate to Global Menu (
) → Control Panel → Users and Organizations.- Click the Organizations tab.
- Click Add ().
- Enter
Opportune Opticsin the Name field. - Click Save.
-
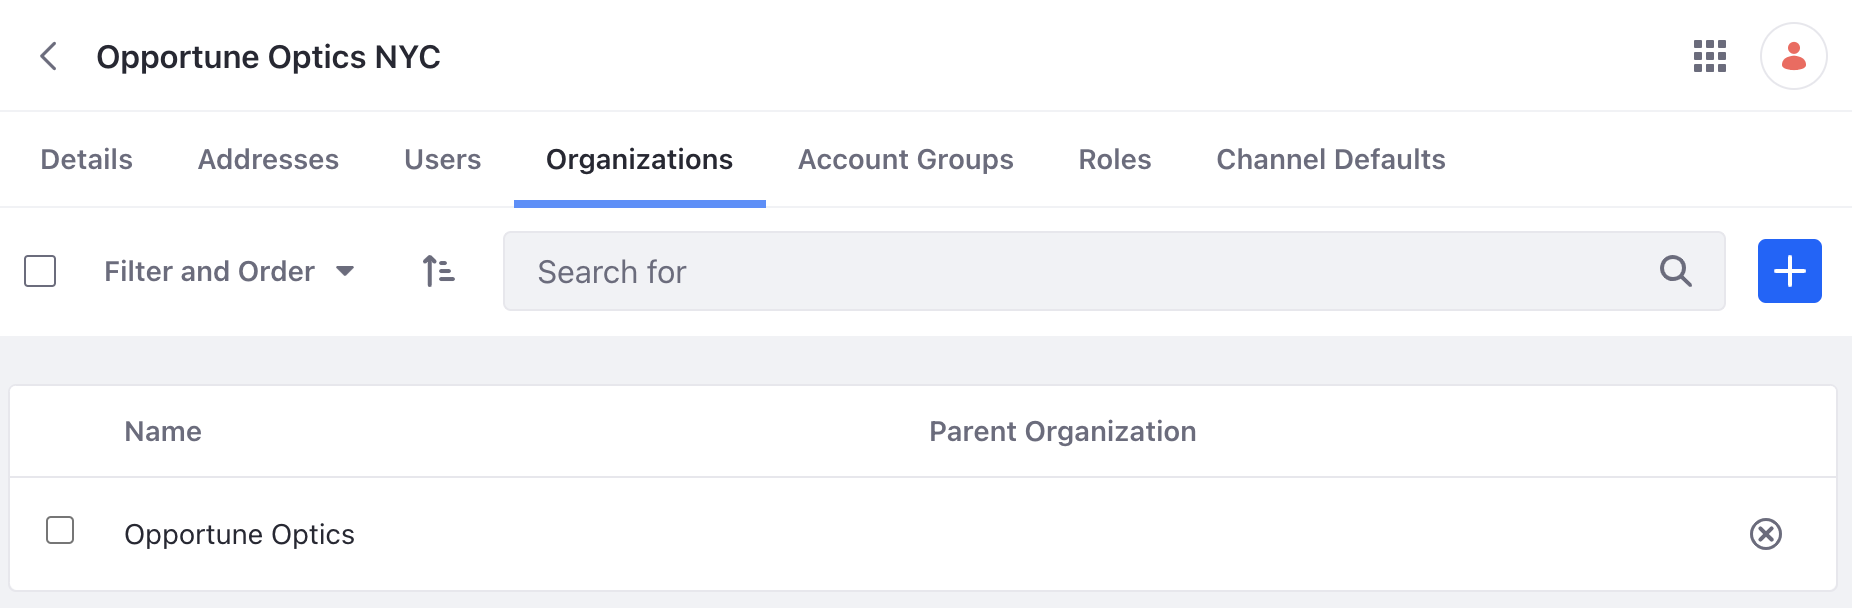
Navigate to Control Panel → Accounts. Click Opportune Optics NYC.
- Click the Organizations tab.
- Click Assign Organizations ().
-
In the new window, select Opportune Optics and click Assign. The Opportune Optics NYC account is now part of the Opportune Optics organization.
-
Now make Lily Lewis an account manager. Navigate to Control Panel → Users and Organizations.
- Click on Lily Lewis.
- Click Organizations in the left navigation.
- Click Select.
- Click Choose next to Opportune Optics.
- Click Save.
Lily Lewis is now also part of the Opportune Optics organization.
-
Click Roles in the left navigation.
- Click Select next to organization roles.
- Click Choose next to Account Manager.
- Click Save.
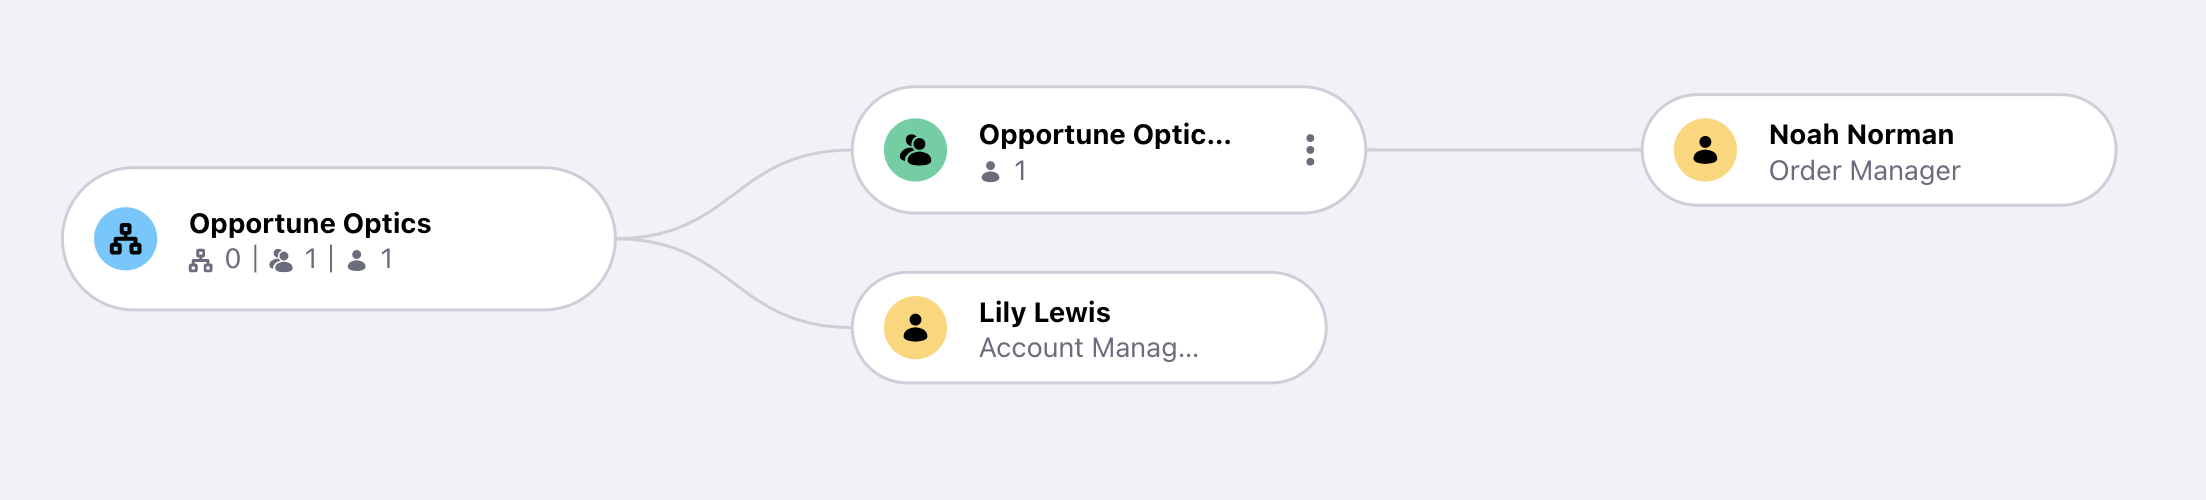
Lily Lewis is now an account manager for all accounts in the Opportune Optics organization. The account manager can take actions, such as placing orders on behalf of account users.
Congratulations! You have completed this module on users, accounts, organizations, and permissions.