Configuring Liferay Authentication With PingOne Using SAML
This tutorial guides you through the basic steps needed to integrate PingOne, your Identity Provider (IdP), with your Liferay environment using Security Assertion Markup Language (SAML).
Prerequisites
- PingOne environment
- Liferay DXP environment
- A user who has administrative access to PingOne environment
- A user who has administrative access to Liferay’s Control Panel
PingOne Configuration
Sign in to your PingOne environment.
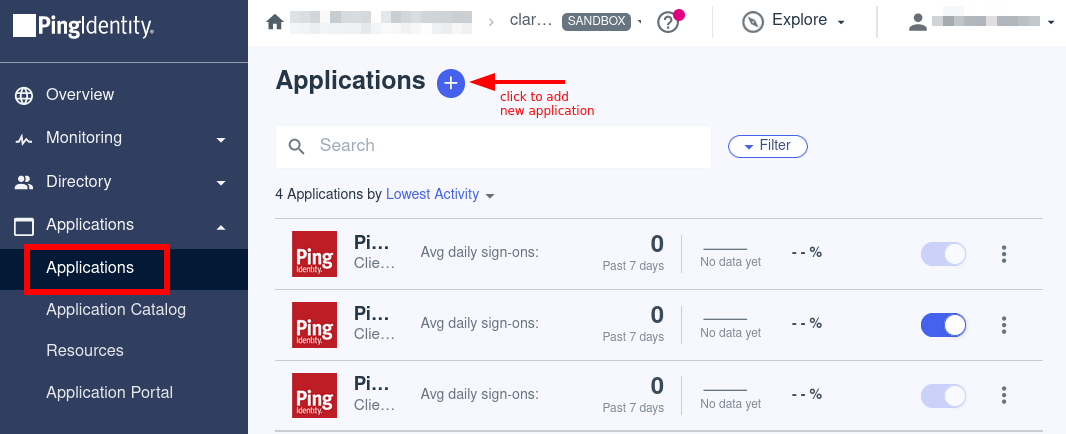
Go to Applications → Application, and click to add a new application.
Fill out the Application name and select the Application Type.
Application Name: Liferay DXP - SAML
Description: (Optional) Enter a description
Icon: (Optional) Upload an icon
Application Type: SAML Application
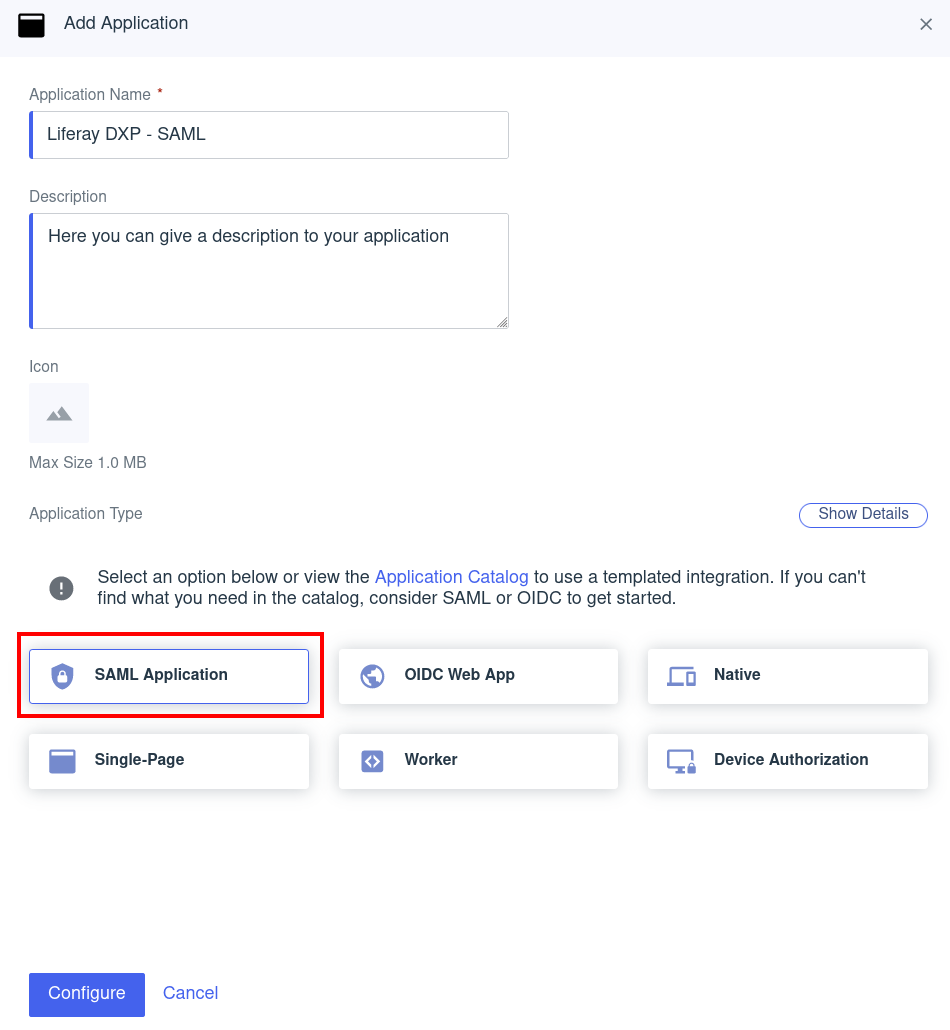
Click Configure.
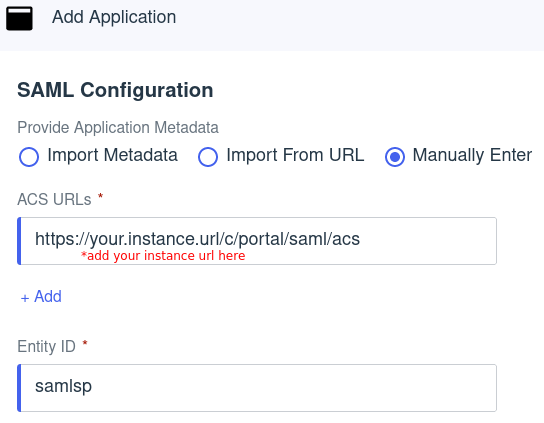
In the SAML Configuration section, enter your application metadata.
Provide Application Metadata: select
Manually EnterACS URL:
https://[your_instance_url]/c/portal/saml/acsEntity ID:
samlsp
Click Save.
Navigate to the Configuration tab and click the Edit icon.
Signing Certificate: Choose between
Sign ResponseorSign Assertion & Responsedepending on your use case. See Defining signature policy (SAML) from PingOne to learn more about these choices.Signing Algorithm:
RSA_SHA256Encryption: Leave unchecked.
NoteWe recommend the use of encryption, however for the purpose of this tutorial we are leaving this unchecked. Enabling encryption may require additional configuration with your infrastructure.
SLO endpoint:
https://[your_instance_url]/c/portal/saml/sloSLO binding:
HTTP POSTAssertion validity duration (in seconds):
3000
Click Save.
Navigate to the Attribute Mappings tab and add the following attributes.
Attributes PingOne Mappings saml_subject Email Address emailAddress Email Address firstName Given Name lastName Family Name screenName User ID Click Save.
NoteCreate your users by navigating to Directory → Users.
Navigate to the Configuration tab, and download the Metadata .xml file. We will use it while configuring Liferay DXP
Enable the access to this application through the toggle switch on the top right.

Liferay DXP Configuration
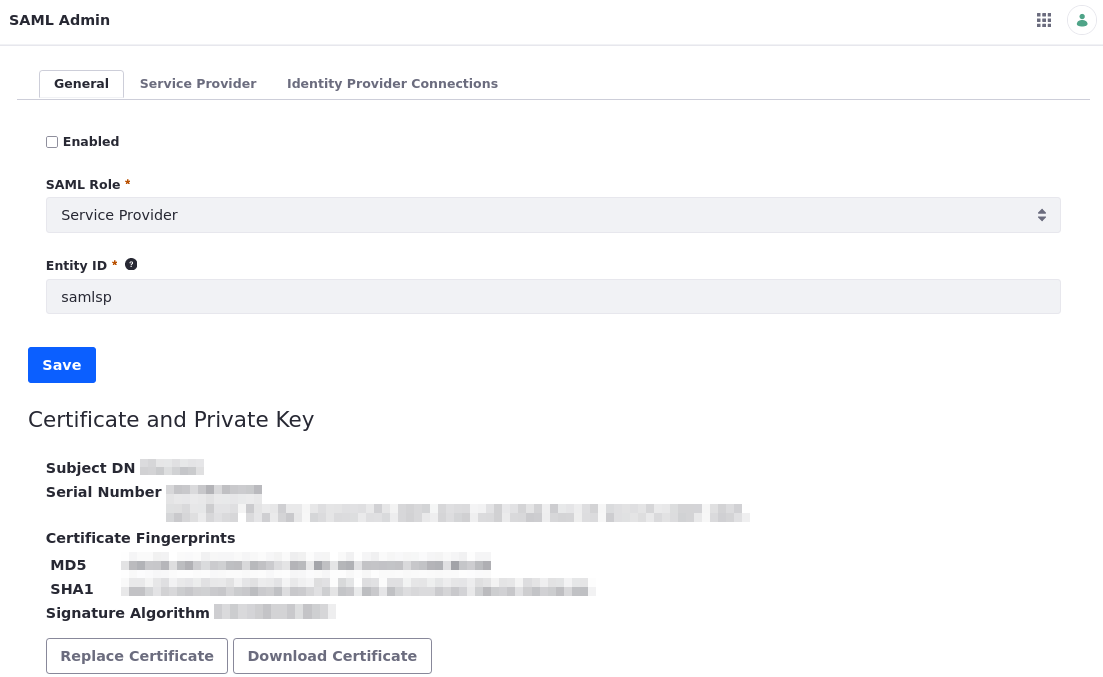
On your Liferay DXP instance, navigate to Control Panel → Security → SAML Admin.
Set the SAML Role to Service Provider, and Entity ID to samlsp. Click Save.
Click Create Certificate under the certificate and private key section. Import or create your certificate.
Go to the Service Provider tab.
Sign Authn Requests? - Enable
Sign Metadata? - Enable
SSL Required - Enable
Allow showing the login portlet. - Enable
Enable “Require Assertion Signature?”, if you configured PingOne to
Sign Assertion & Response
Click Save.
Click the Identity Provider Connections tab. Click Add Identity Provider and set the following:
Name: PingOne
Enter the entity ID (found as
entityIDin the xml file donwloaded on the previous section)Check the Enabled box
Under the Metadata section, enter your IdP’s Metadata URL. This can be found under the Configuration tab, on your PingOne environment.
Set Name Identifier Format to Email Address
Enter the following attribute mappings under Basic User Fields:
User Field Expression SAML Attribute emailAddress emailAddress firstName firstName lastName lastName screenName screenName Click on Save

Go back to General tab and make sure the
Enabledcheckbox is checked. Click Save.
Validation
Go to your Liferay instance, and open a new browser or sign out of your account.
Click on the Sign In button and you should be redirected to PingOne’s login page.

Type in the username and password for your user. You have successfully logged in.
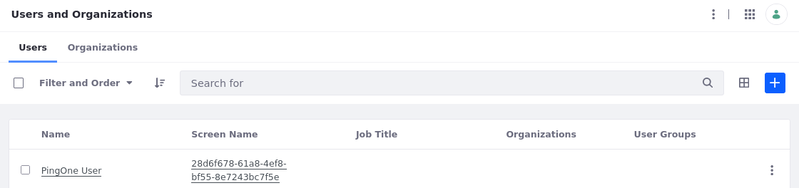
Sign back in with your Liferay administrator account. Navigate to Control Panel → Users and Organizations, and verify that the account came into Liferay
Conclusion
Congratulations! Users may now authenticate to your environment by using PingOne.
Tips and Troubleshooting
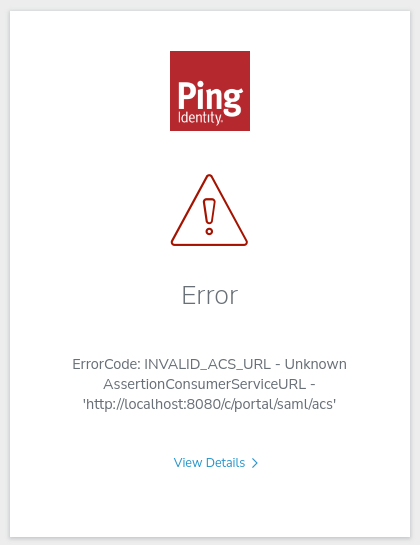
INVALID_ACS_URL
If you encounter ErrorCode: INVALID_ACS_URL, verify that your ACS URLs are configured correctly in PingOne with the appropriate path and Hypertext Transfer Protocol (HTTP or HTTPS). You can find them in your PingOne account by navigating to the application you created → Configuration tab → Edit icon.