Starting with a Docker Image
The latest versions of Liferay are available as Docker images on Docker Hub, under Liferay/DXP.
Follow the steps below to download, launch, and begin touring the latest release.
Don’t have Docker? Go here first: https://docs.docker.com/get-started/get-docker
Get Started With Liferay DXP
Starting with the official Docker image is the fastest and most straightforward way to evaluate Liferay DXP.
This Docker image includes a 30-day trial key for immediate evaluation. Upon expiration, you must deploy either a permanent Enterprise Subscription or a Free Tier activation key to continue using the platform. See Activating Liferay DXP for instructions on acquiring and deploying keys.
-
Start a new Liferay DXP instance by running
docker run -it -m 8g -p 8080:8080 liferay/dxp:2025.q1.6-lts -
Sign into Liferay at
<http://localhost:8080>using the default credentials:- Email:
test@liferay.com - Password:
test
- Email:
-
When prompted, change your password (e.g.
learn) and click Save.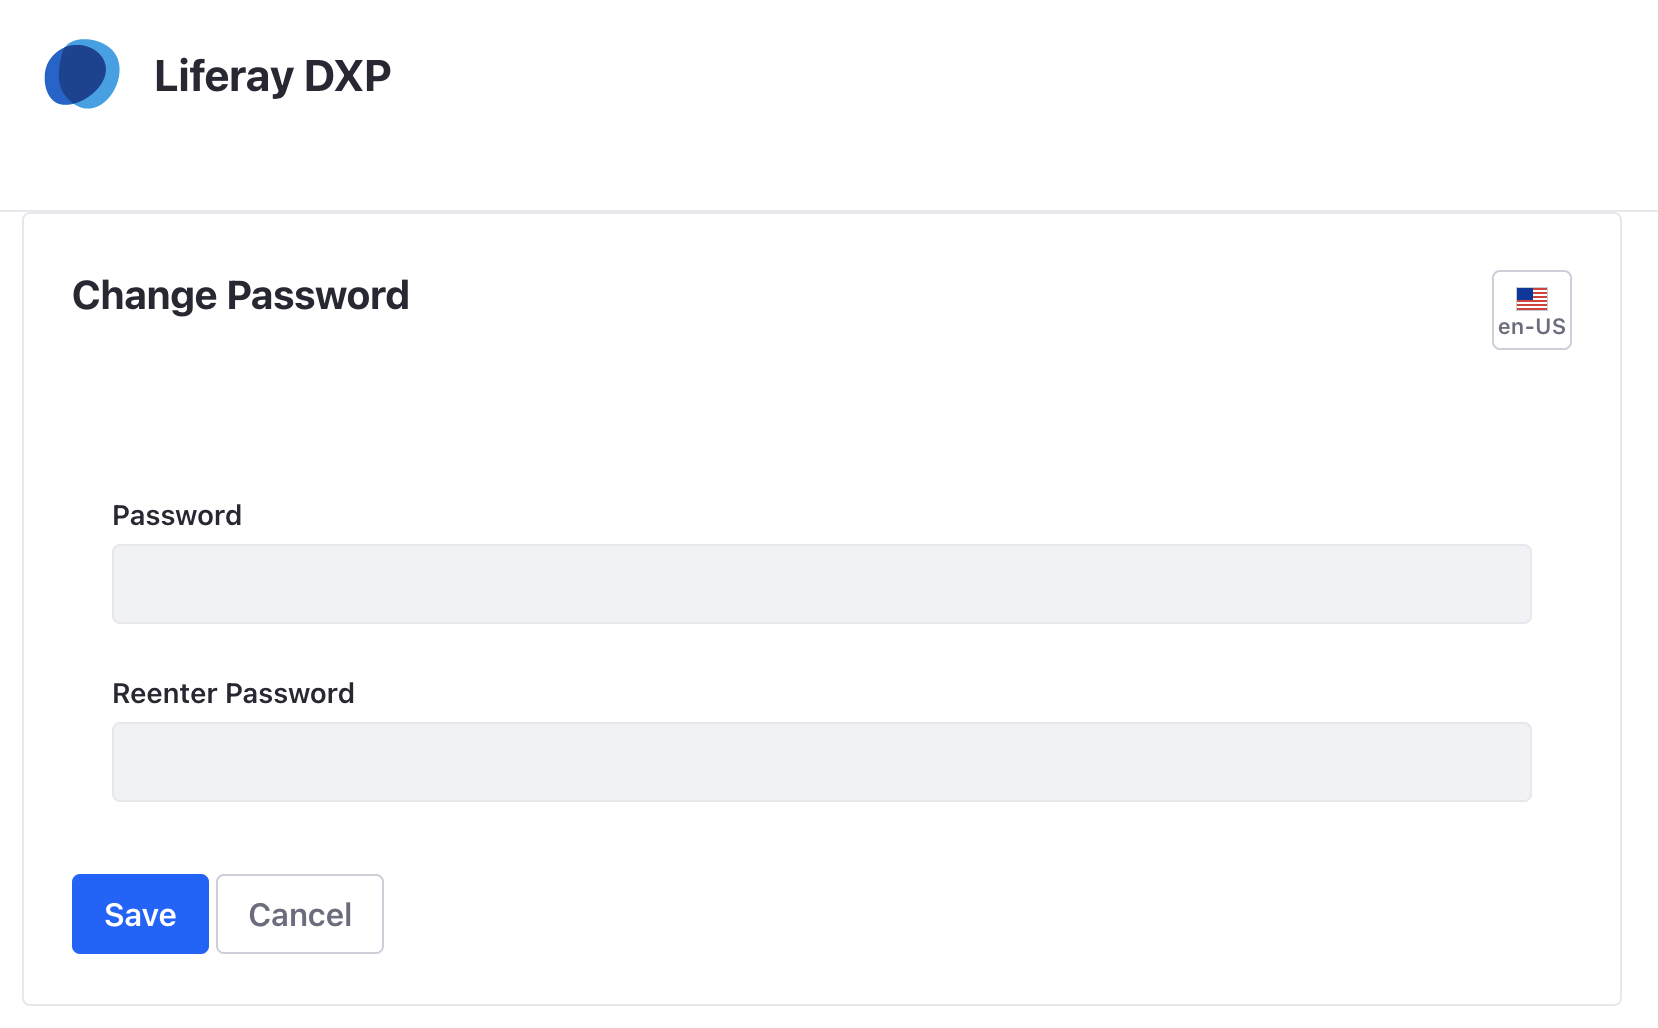
In a production environment, you should not use the default admin account. Instead, create admin accounts specific to your business.
What’s Next
Now that your instance is running, continue our getting started walkthrough to learn more:
- Basic Administration: Learn about logging in for the first time using the Admin account.
- Local Server Setup: Doing more than just checking things out? See Installing a Liferay-Tomcat Bundle for non-Docker setups.
- Advanced Docker: Learn more about using Docker images for advanced configurations.
- Cloud Native Deployments: Ready for Kubernetes? Explore our Cloud Native Experience (CNE) toolkits to provision Liferay on specific cloud providers like AWS, GCP, or Azure.