Introduction
You can use Liferay Objects with data integration tools to create automated tasks for syncing Object data with external services. These tasks are triggered using webhooks and can connect to Google applications, Microsoft Office, and more.
This recipe guides you through the steps required to use webhooks to trigger sync tasks between Liferay Objects and Google Sheets using Zapier.
Prerequisites
An active DXP 7.4 instance
Premium Zapier account
Google Spreadsheet
A published Object with the desired fields for sending or receiving data to the Google Spreadsheet
Steps
To begin, log in to your Zapier account. Once logged in, navigate to the Create section and select Zap to initiate the workflow creation process.
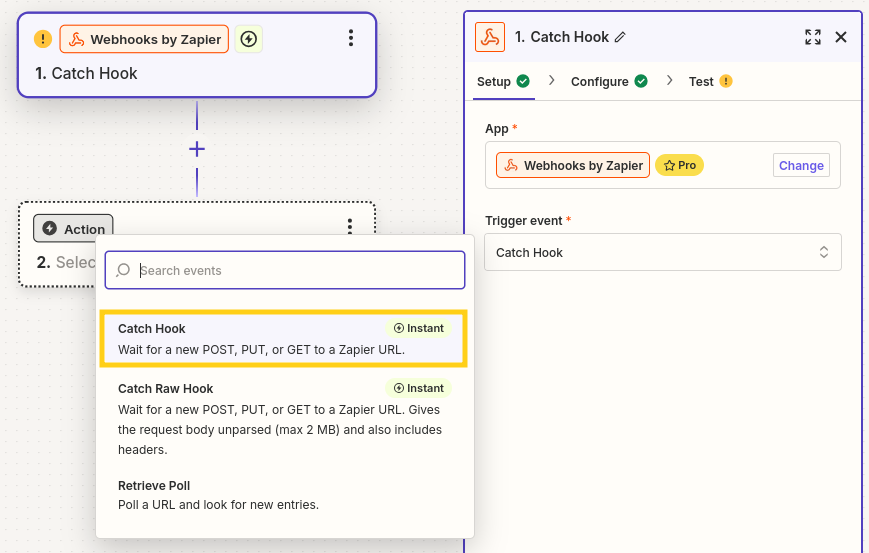
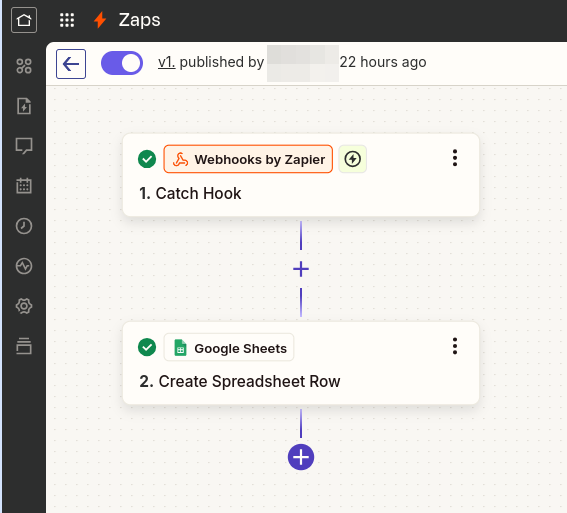
Click the Trigger step and select Webhooks by Zapier.
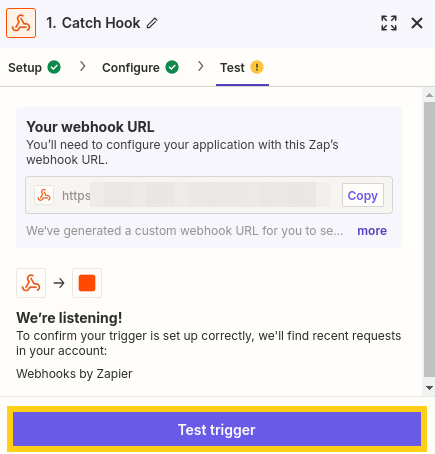
Click the Trigger Event dropdown menu, select Catch Hook, and click Continue.
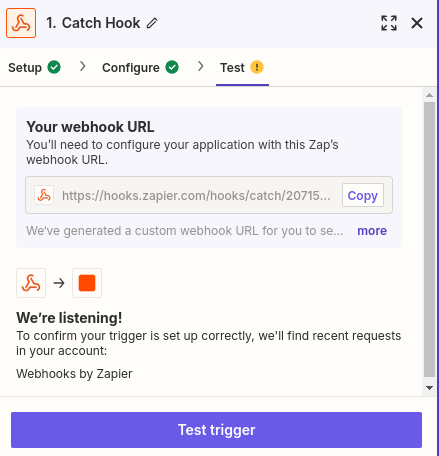
Copy the generated webhook URL.
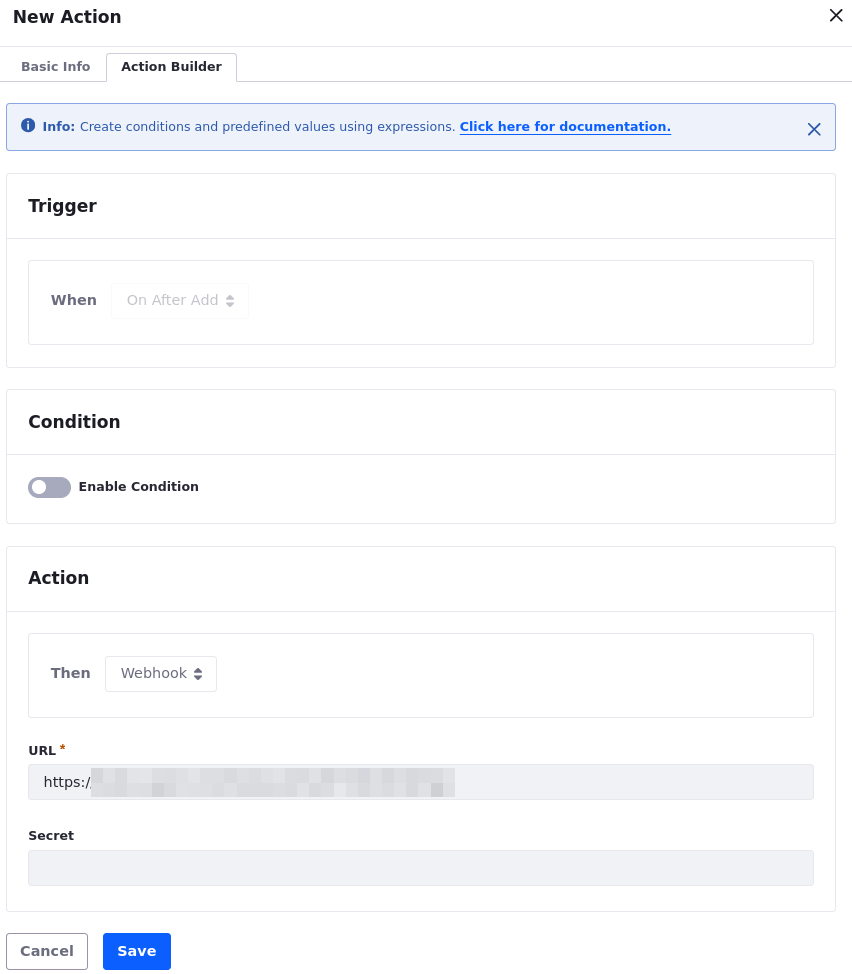
In your Liferay instance, use the copied URL to define an Object action that sends a request to the webhook endpoint whenever a new Object entry is added.
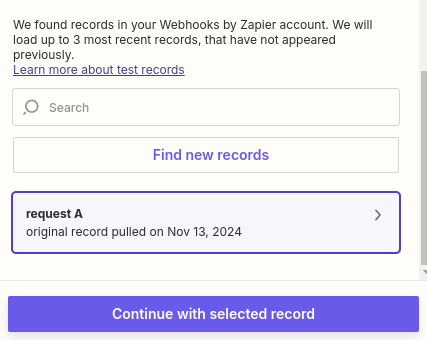
Add a test Object entry to trigger the webhook.
This allows the Webhooks module to determine the Object's data structure automatically.
Click the Test Trigger button.
Verify the test was successful and click Continue.
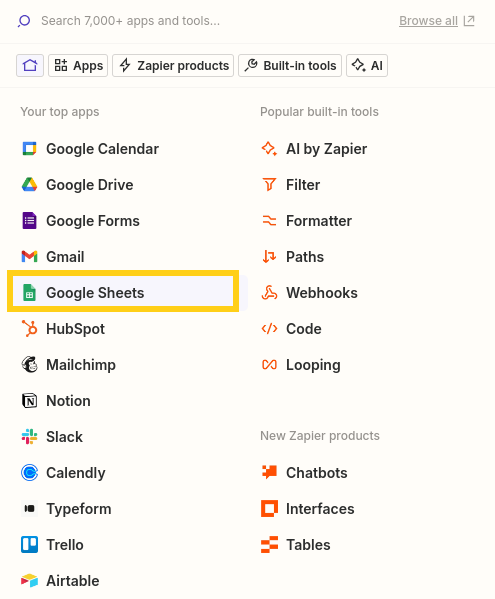
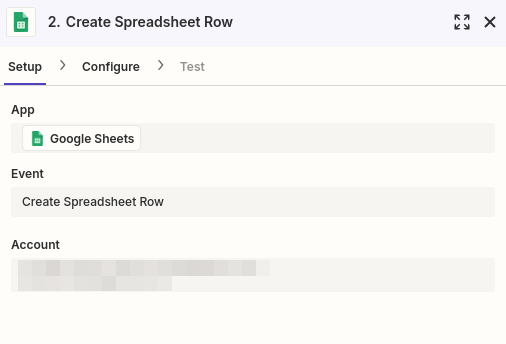
Click the Action step and select the Google Sheets app.
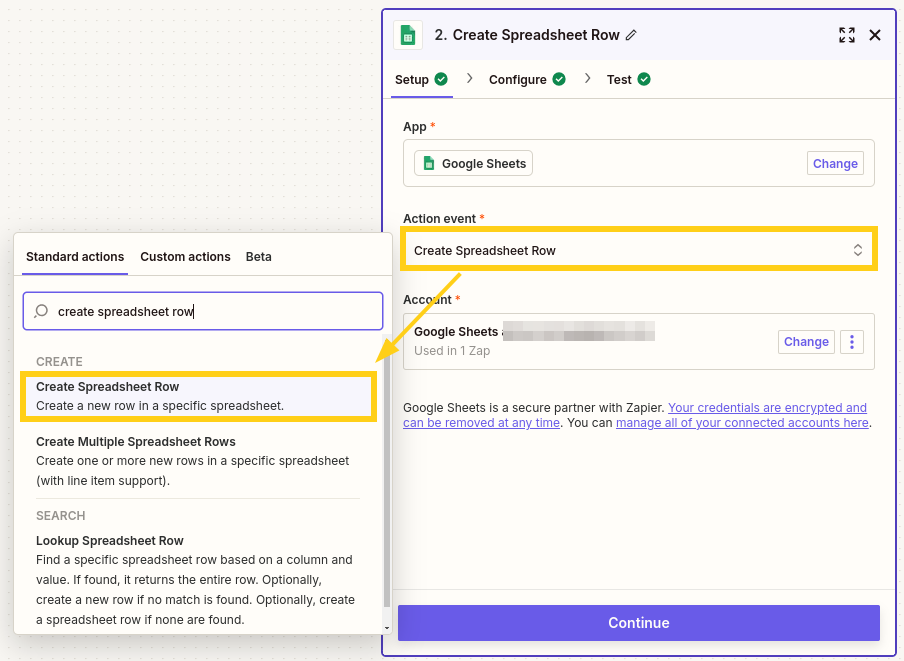
Click the Action Event dropdown menu and select Create Spreadsheet Row.
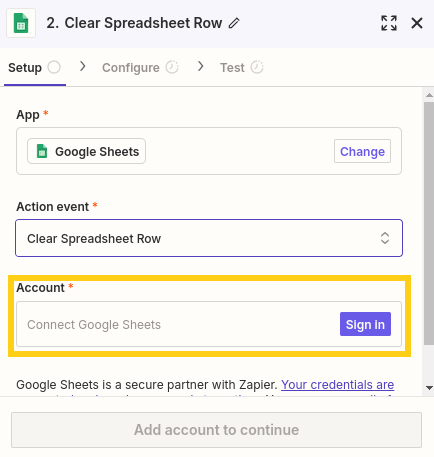
Connect the Google Sheets app to a Google account and then click Continue.
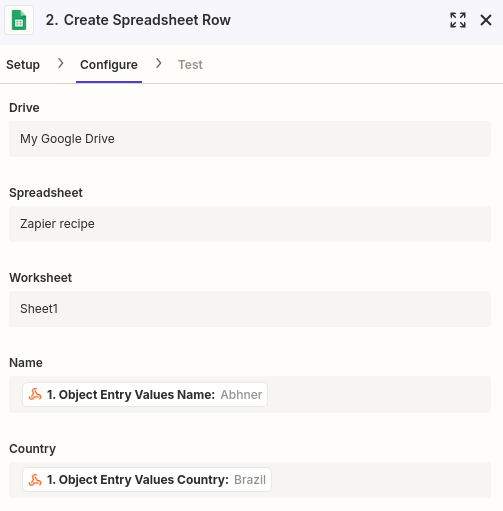
Select the desired Spreadsheet and Worksheet to sync with the Object.
Map the sheet's columns to data fields in the Object's structure and click Continue.
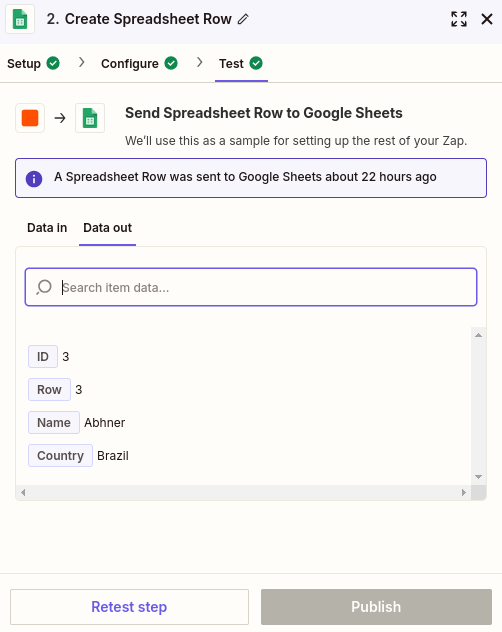
Click the Test Action button and verify the test is successful.
Turn on your Zap.

Webhooks is a premium Zapier feature.
If you don't see the Action step, add a new step.
Ensure you're selecting the Create Spreadsheet Row option.
Ensure you have text in the first column header of your sheet.
Conclusion
Congratulations! You now know how to sync Object Data with Google Sheets using Zapier.