Creating and Managing Experiences
Liferay 7.4+, 7.3 FP1+, and 7.2 FP11+
You can customize your content page for different groups of users using Experiences. See Content Page Personalization to learn how experiences can contribute to site personalization.
Creating Experiences
-
Open the Site Menu (
 ) and go to Site Builder → Pages.
 -
Click Actions (
 ) for an content page and select Edit. Alternatively, create a content page.
 -
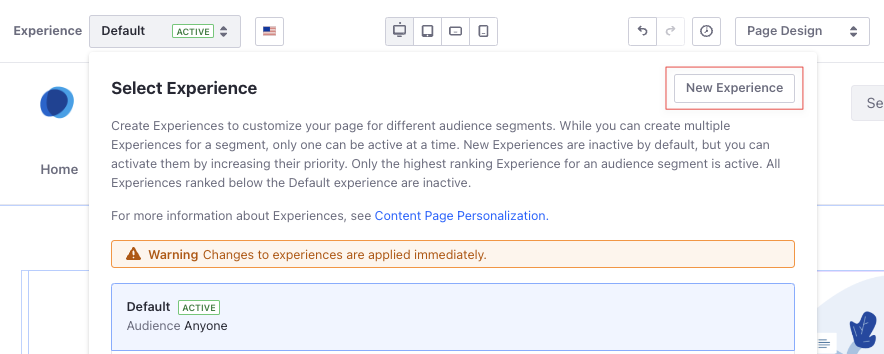
Open the Experience drop-down menu and click New Experience.
-
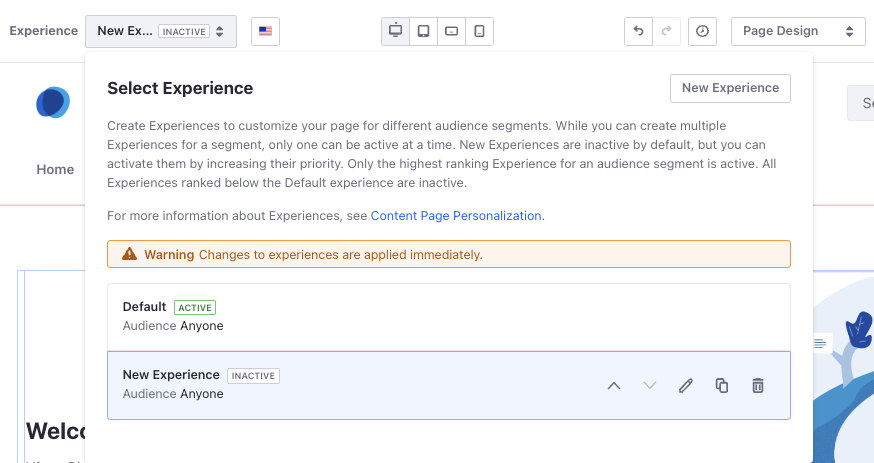
Enter a name for the experience and select the audience segment you want to target. Alternatively, create a segment.
By default, new experiences target the Anyone segment (i.e., all site visitors).
-
Design the content page to determine the information and layout that appears for the targeted segment.
-
Open the Experience drop-down menu and click the Up (
 ) or Down (
 ) buttons to set the experience’s priority.
Site visitors see the highest ranking experience for their segment. See Understanding How Experiences Work for more information.
-
Click Publish.
If users are logged in and have permission to edit the page, and there are multiple experiences in place, they can view/preview the page based on the experience they select.
Managing Experiences
When you edit a content page, you can click the experience to manage the options for that page.
-
Open the Site Menu (
) and go to Site Builder → Pages. -
Click Actions (
) for a content page and select Edit. -
Open the Experience drop-down menu. From here,
-
Set the experience priority, using the Up (
) and Down () controls. -
Edit (
 ) the experience’s name or the selected segment.
 -
Duplicate (
 ) the experience.
 -
Delete (
 ) the Experience.
ImportantThe order of experiences in the drop-down menu determines their priority. See Understanding How Experiences Work for more information.
-