Categorizing a Configuration
When you register a configuration interface, the UI for your application is generated in System Settings → Platform → Third Party. If you prefer a different section and category for where your application’s settings UI shows up, this can easily be changed.
Specifying an Existing Category
Here are the available system settings sections. Categories are nested beneath these sections:
- Commerce
- Platform
- Security
- Content and Data
- Other
Specify the category for your UI by placing an @ExtendedObjectClassDefinition annotation in your configuration interface. For example, if you wanted to place the UI under blogs, add the following line above your @Meta.OCD annotation:
@ExtendedObjectClassDefinition(category = "blogs")
Import the @ExtendedObjectClassDefinition class:
import com.liferay.portal.configuration.metatype.annotations.ExtendedObjectClassDefinition
Redeploy your application and the configuration UI is now under Content and Data → Blogs.
Creating New Sections and Categories
If you prefer your own section and category, you can create them by implementing the ConfigurationCategory interface.
If you followed the example project in Setting and Accessing Configurations, this code can be added to the application’s configuration folder. This is the same folder that holds the configuration interface Java file. The code below creates a foobar section and a foobar category:
package com.acme.n2f3.web.internal.configuration;

import com.liferay.configuration.admin.category.ConfigurationCategory;

import org.osgi.service.component.annotations.Component;

@Component(service = ConfigurationCategory.class)
public class N2F3WebConfigurationCategory implements ConfigurationCategory {

	@Override
	public String getCategoryIcon() {
		return _CATEGORY_ICON;
	}

	@Override
	public String getCategoryKey() {
		return _CATEGORY_KEY;
	}

	@Override
	public String getCategorySection() {
		return _CATEGORY_SECTION;
	}

	private static final String _CATEGORY_ICON = "foobar";

	private static final String _CATEGORY_KEY = "foobar";

	private static final String _CATEGORY_SECTION = "foobar";

}
Change the @ExtendedObjectClassDefinition annotation in the configuration interface of the sample project from category = "n2f3" to category = "foobar".
The language keys for the custom section and category must also be specified in the localization file. For the example above, add the following keys to the Language.properties file in the portlet’s src/main/resources/content/ folder.
category.foobar=Foobar
category-section.foobar=Foobar
Redeploy the sample project to see the change.
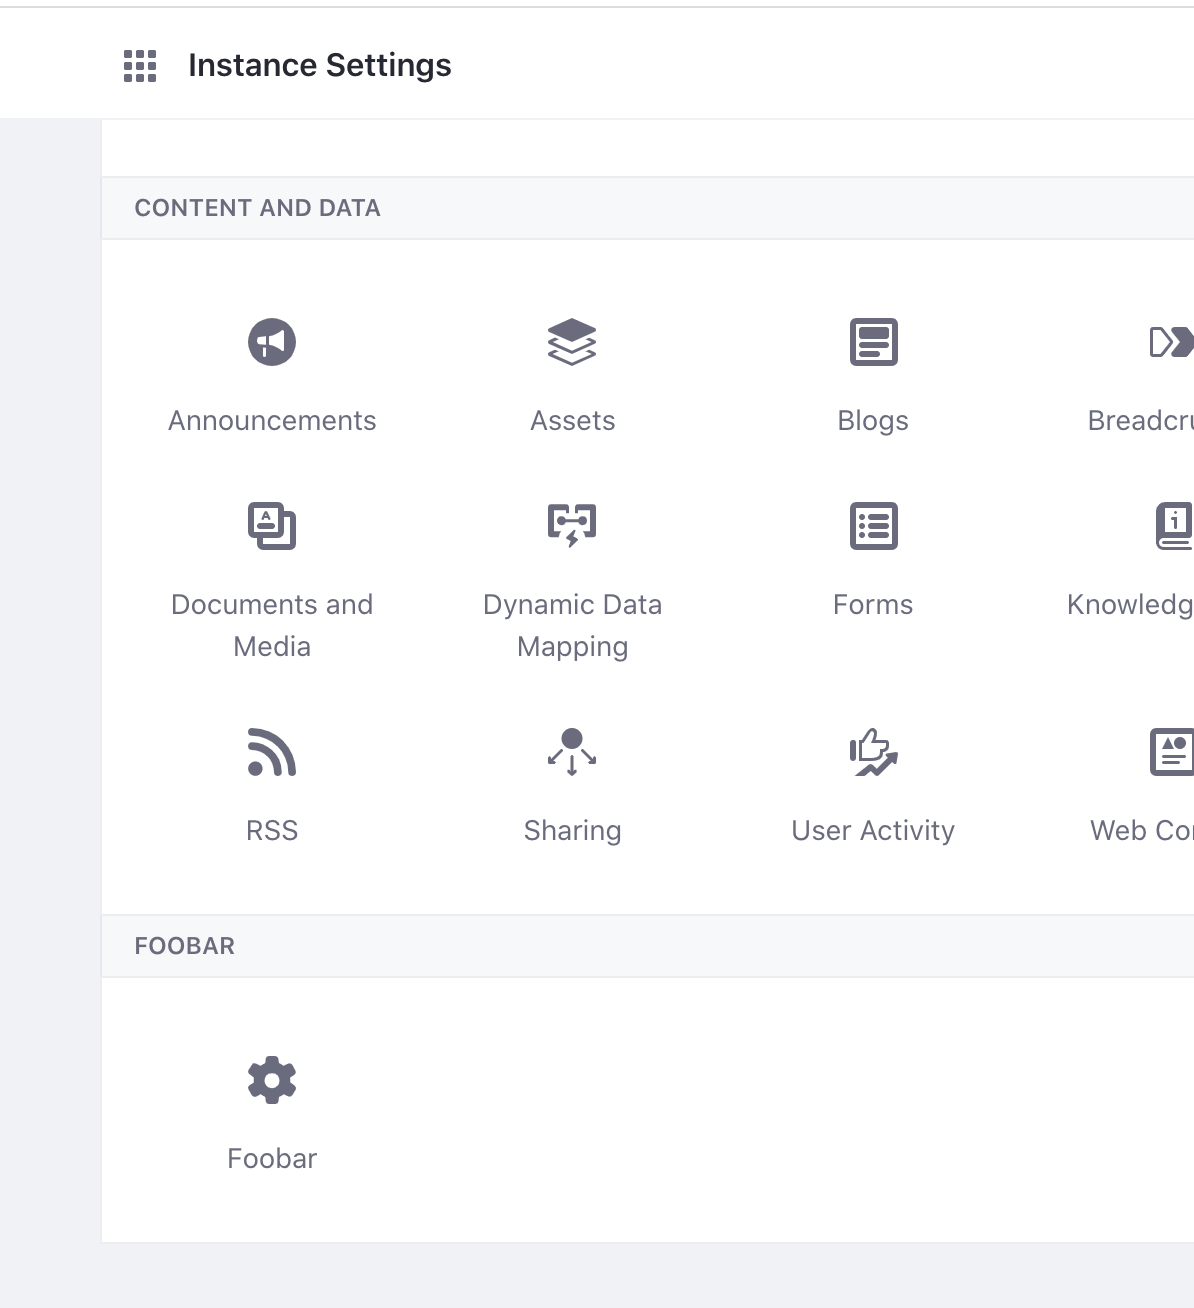
The application’s configuration UI is now located in the custom section and custom category.