Using File Expiration and Review Dates
Liferay DXP/Portal 7.4+
With the Documents and Media application, you can set expiration and review dates for files. This can help you manage any digital assets that are only valid for a limited period of time (e.g., due to licensing). When enabled, the application checks for any files that have reached their expiration or review date. This check occurs at configurable intervals, according to the Documents and Media system setting.
If a file has reached its expiration or review date, a notification email is sent automatically to file owners and reviewers, as well as any users subscribed to the folder containing the file.
Additionally, when a file expires, it is deactivated and cannot be used or edited in Liferay DXP. To reactivate the file, you must change its expiration date, or disable file expiration. While expired, the asset cannot be accessed in other applications (e.g, Web Content, Blogs) or via URL.
By contrast, when a file requires review, it remains available for use. Reaching the file’s review date only triggers user notifications and does not affect the file in any way.
Liferay DXP 2024.Q3+/Portal 7.4 GA132+ You can also schedule the digital asset’s publication date and time.
Enabling Expiration and Review Dates
By default, files are set to never expire or require review. However, you can enable and set expiration and review dates when uploading or editing files.
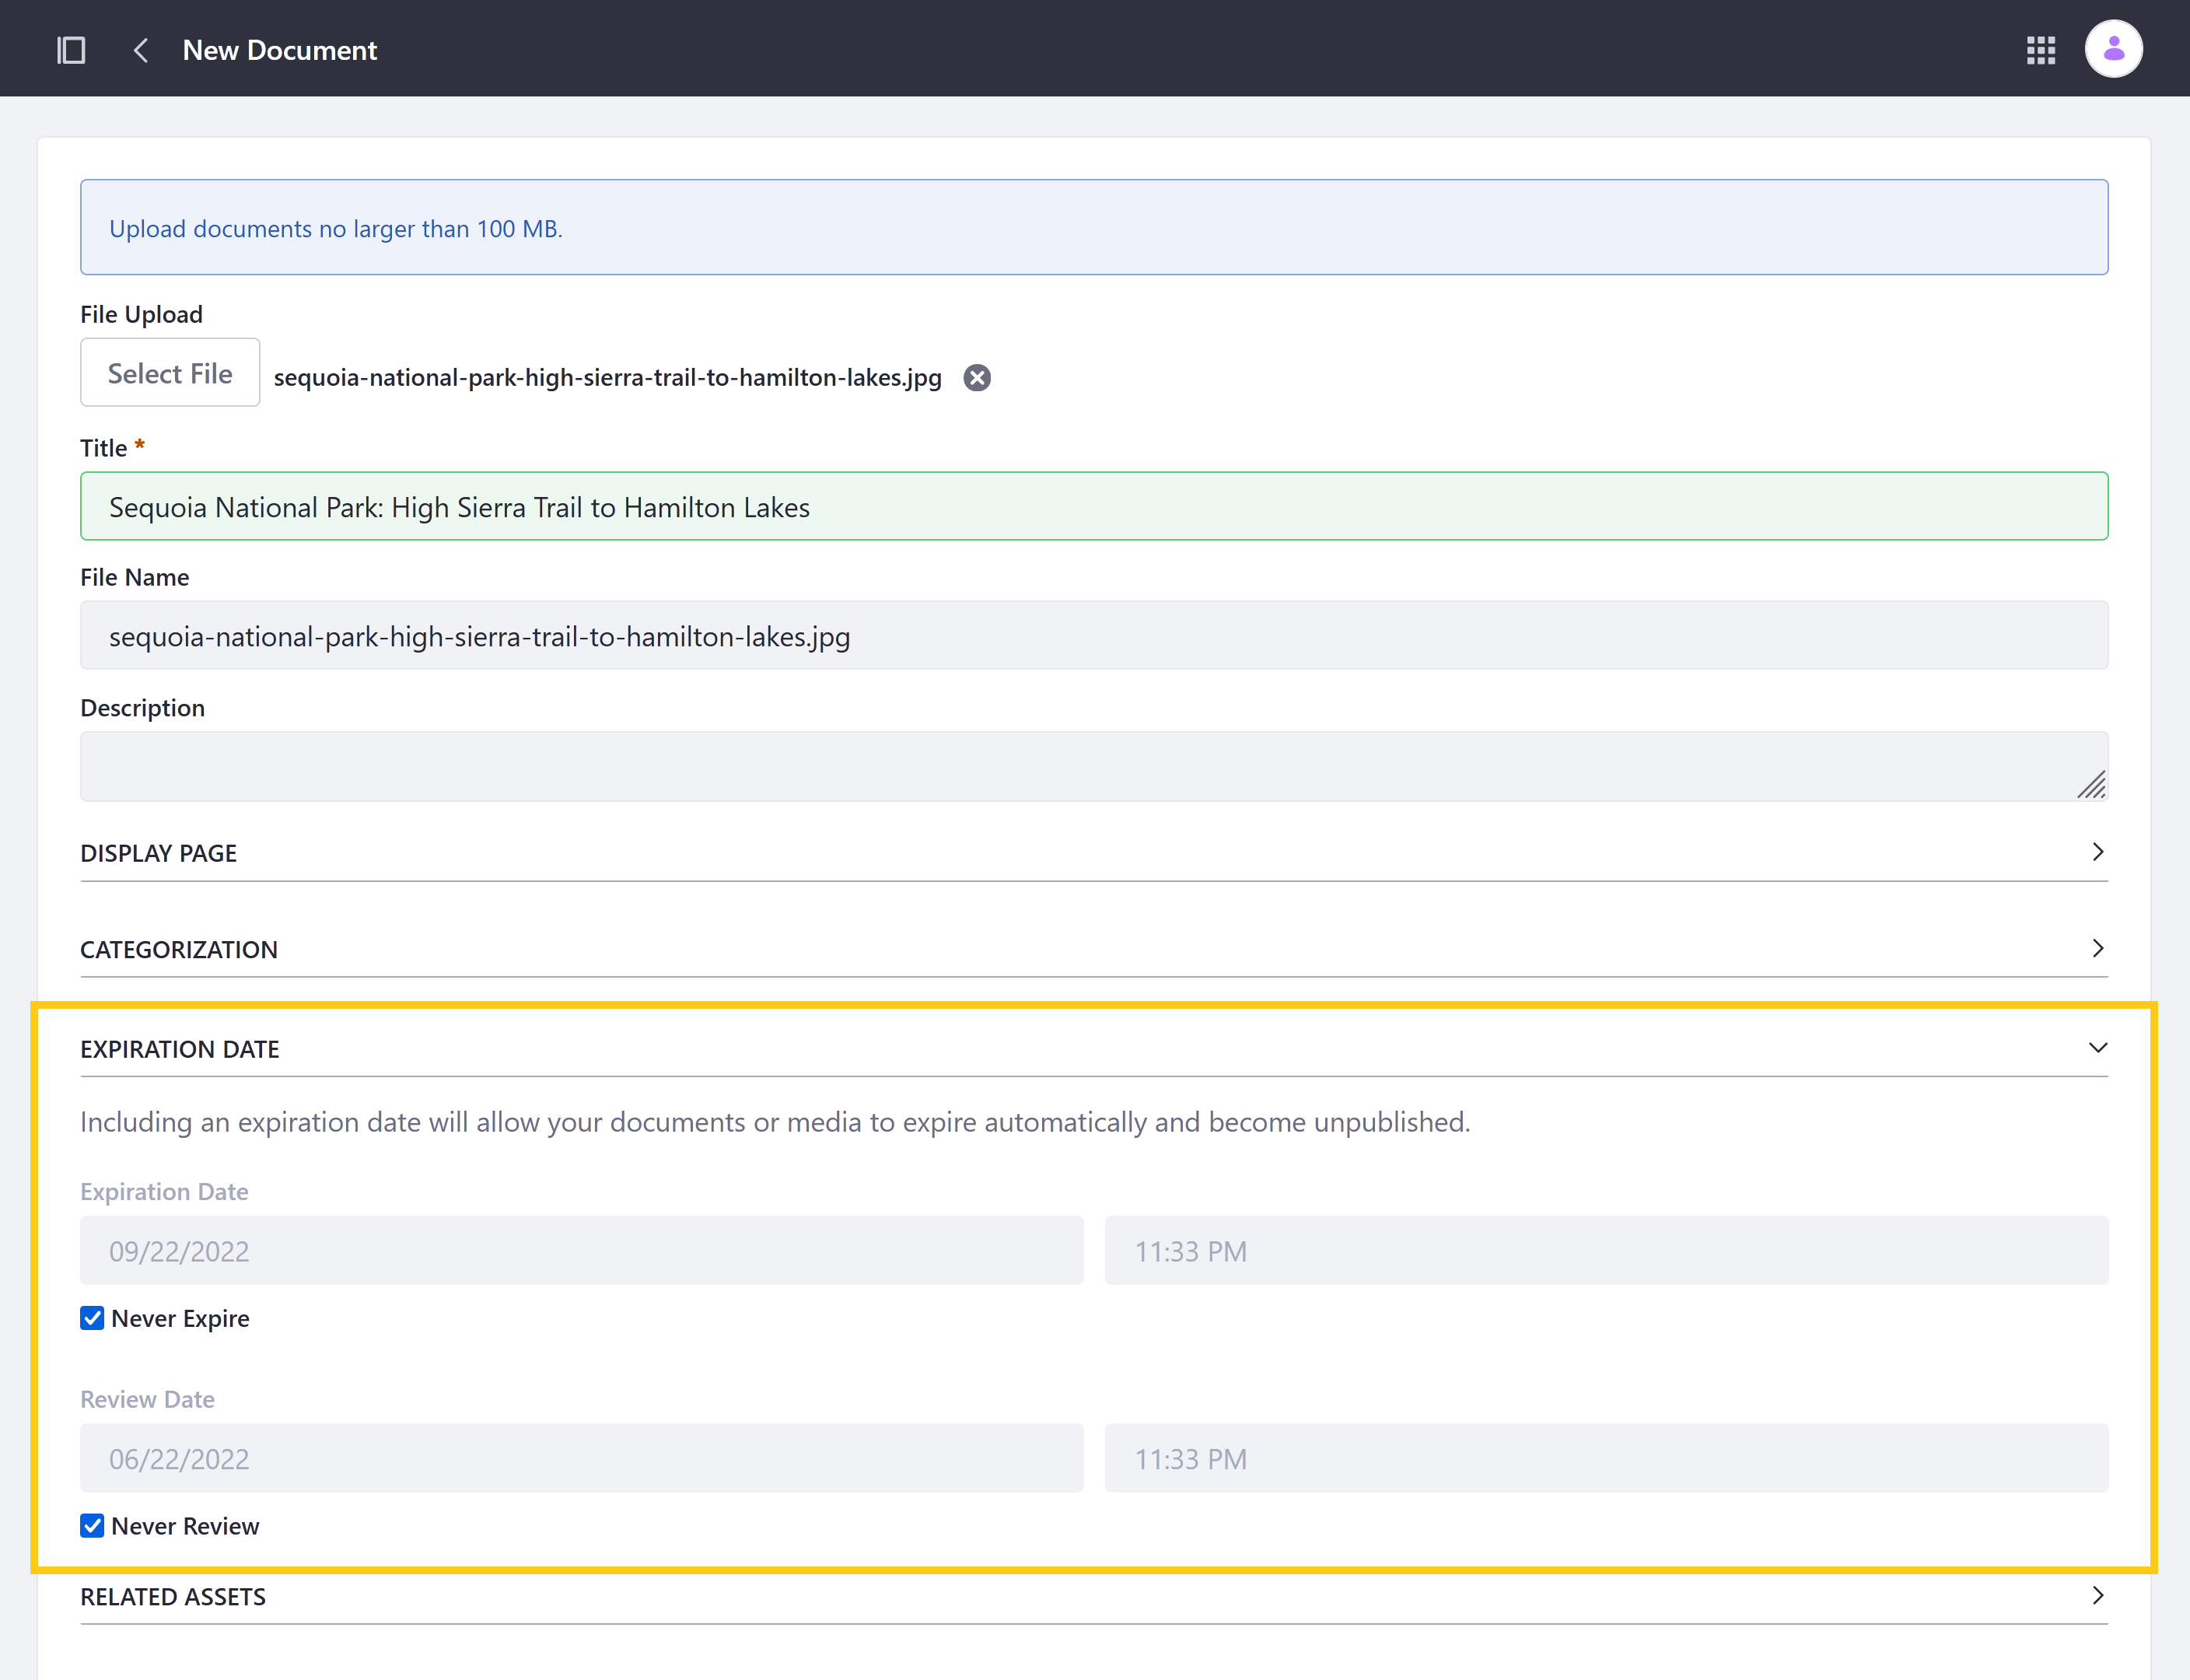
When uploading or editing a single file, these settings appear as follows.
When uploading multiple files, expiration and review settings appear as follows.
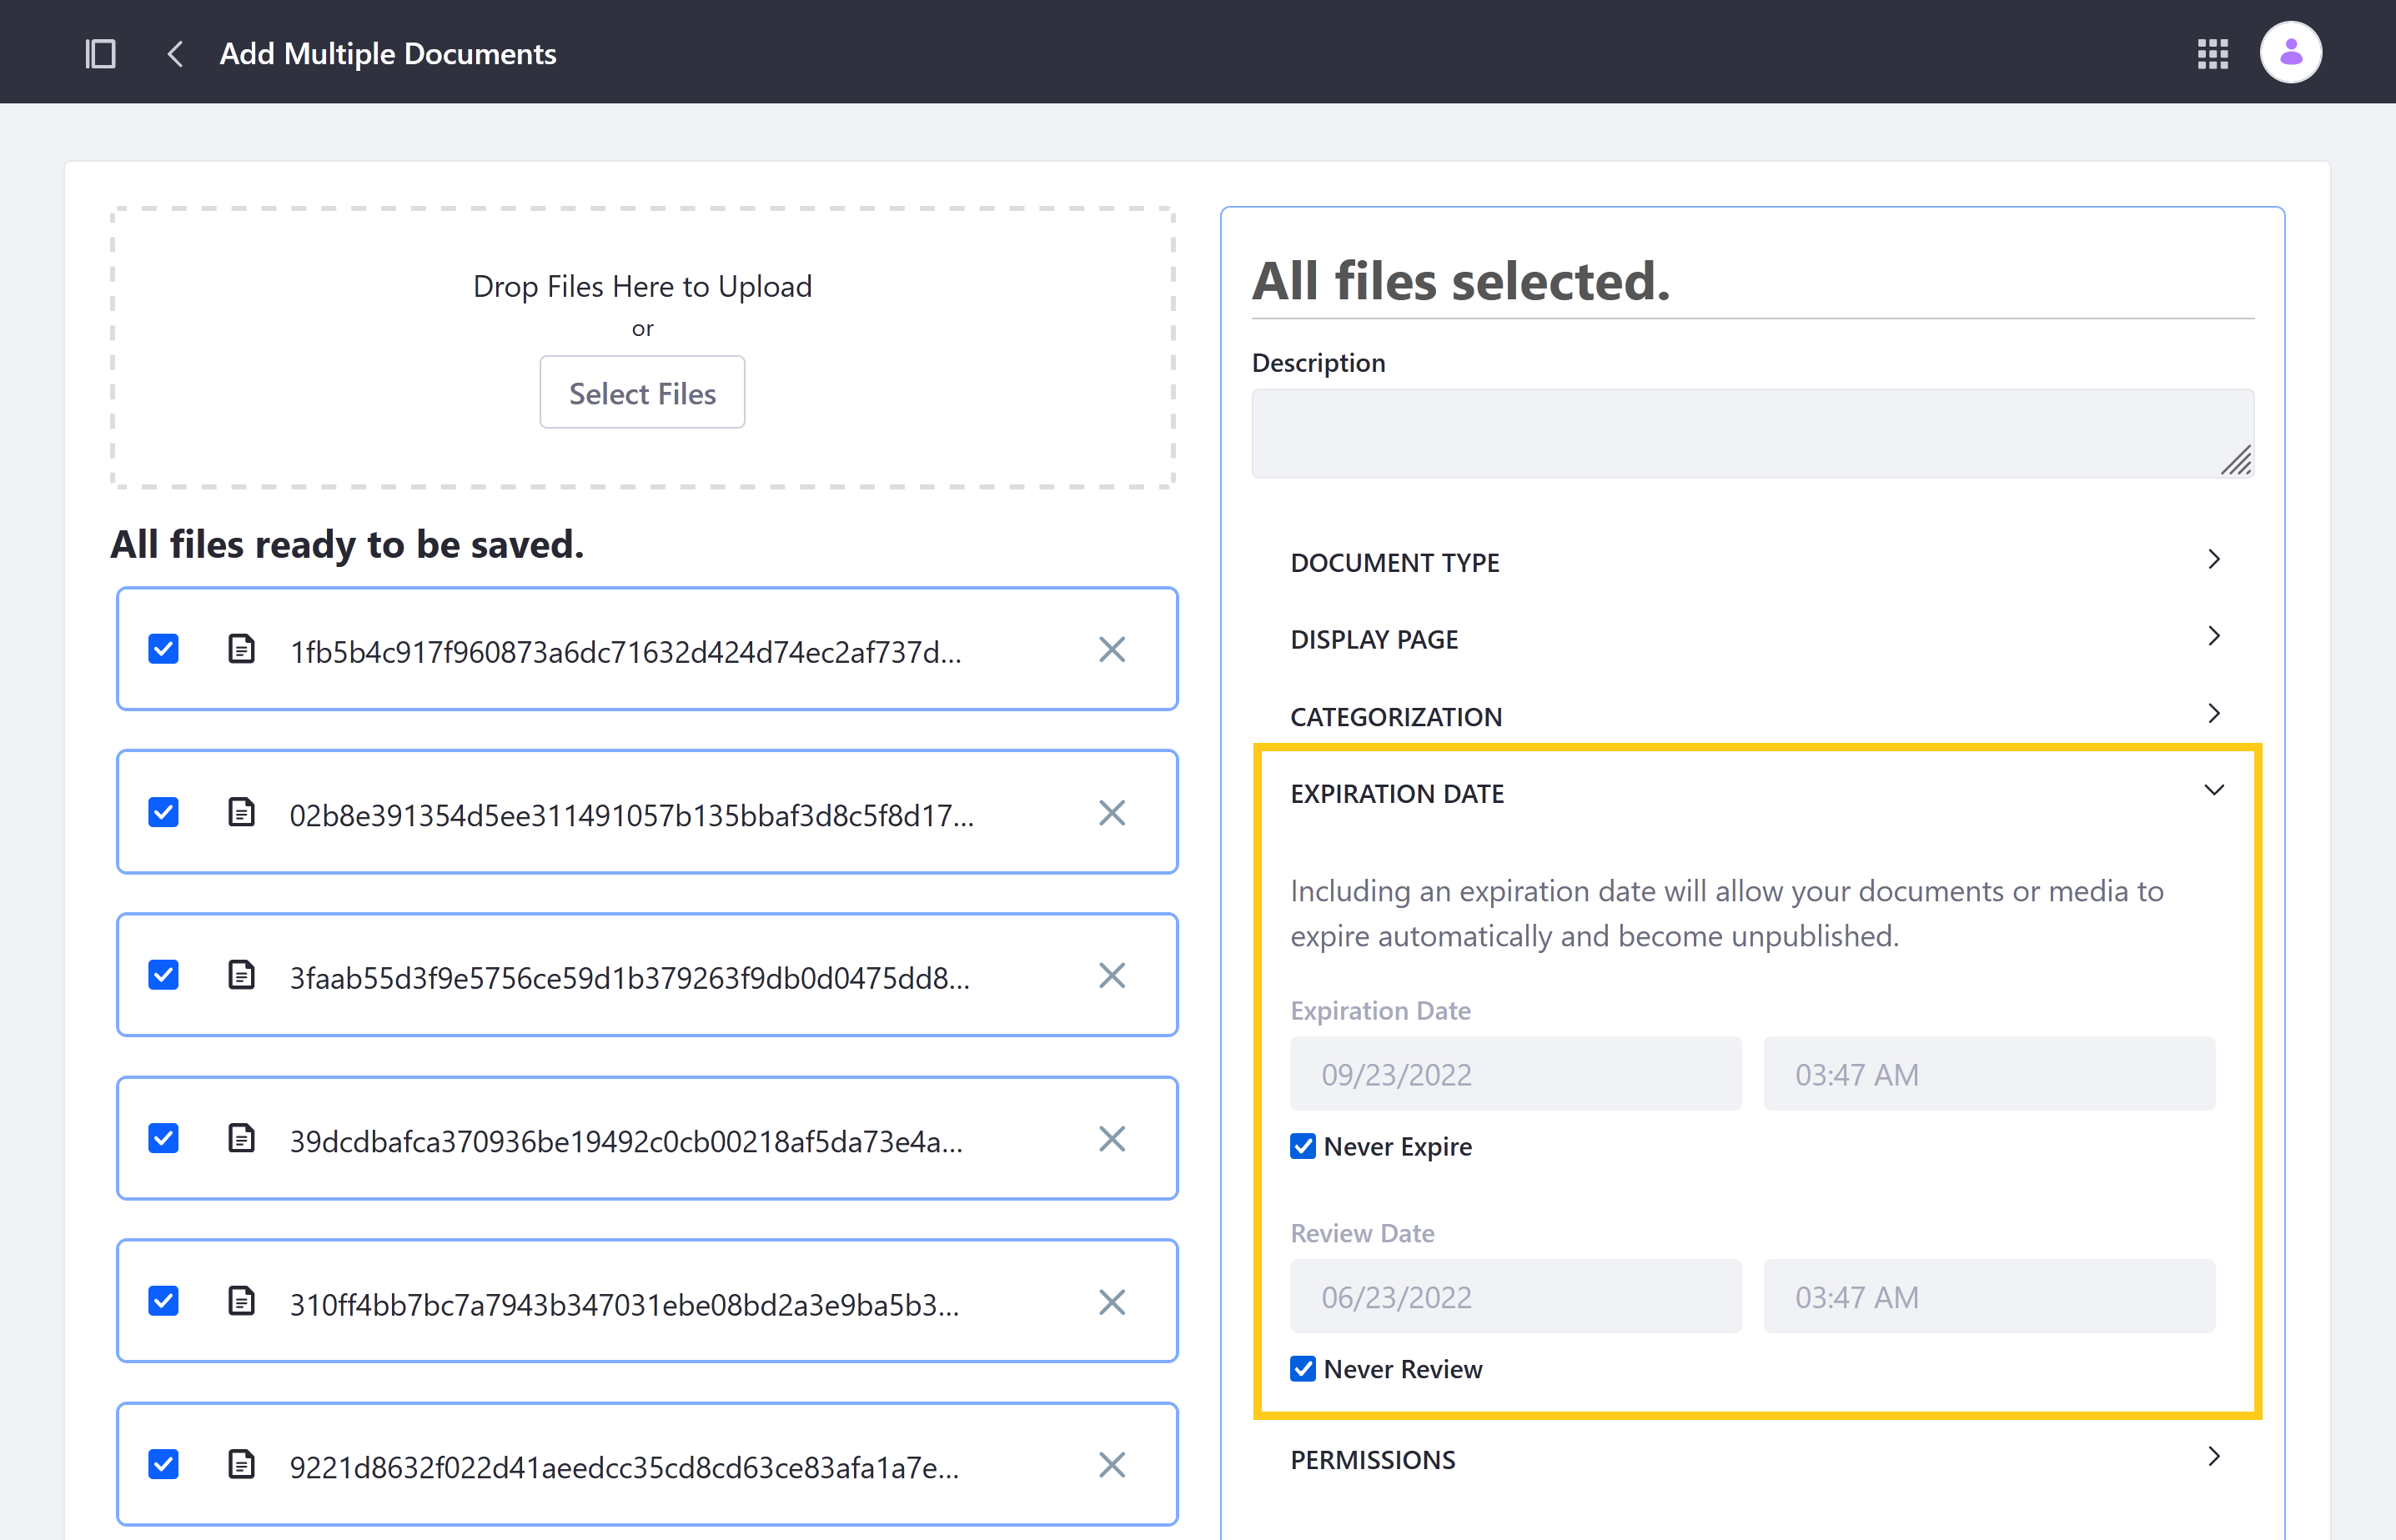
To activate expiration or review, uncheck the Never Expire or Never Review checkbox. The default review and expiration dates are set to one year from the time of activation. If desired, you can set an alternative date and time.
Liferay’s system only checks for files that have reached their expiration or review date according to the set check interval.
When a date has been reached, relevant users are notified automatically. If the file is expired, it is no longer available for use on the platform.
Configuring the Check Interval
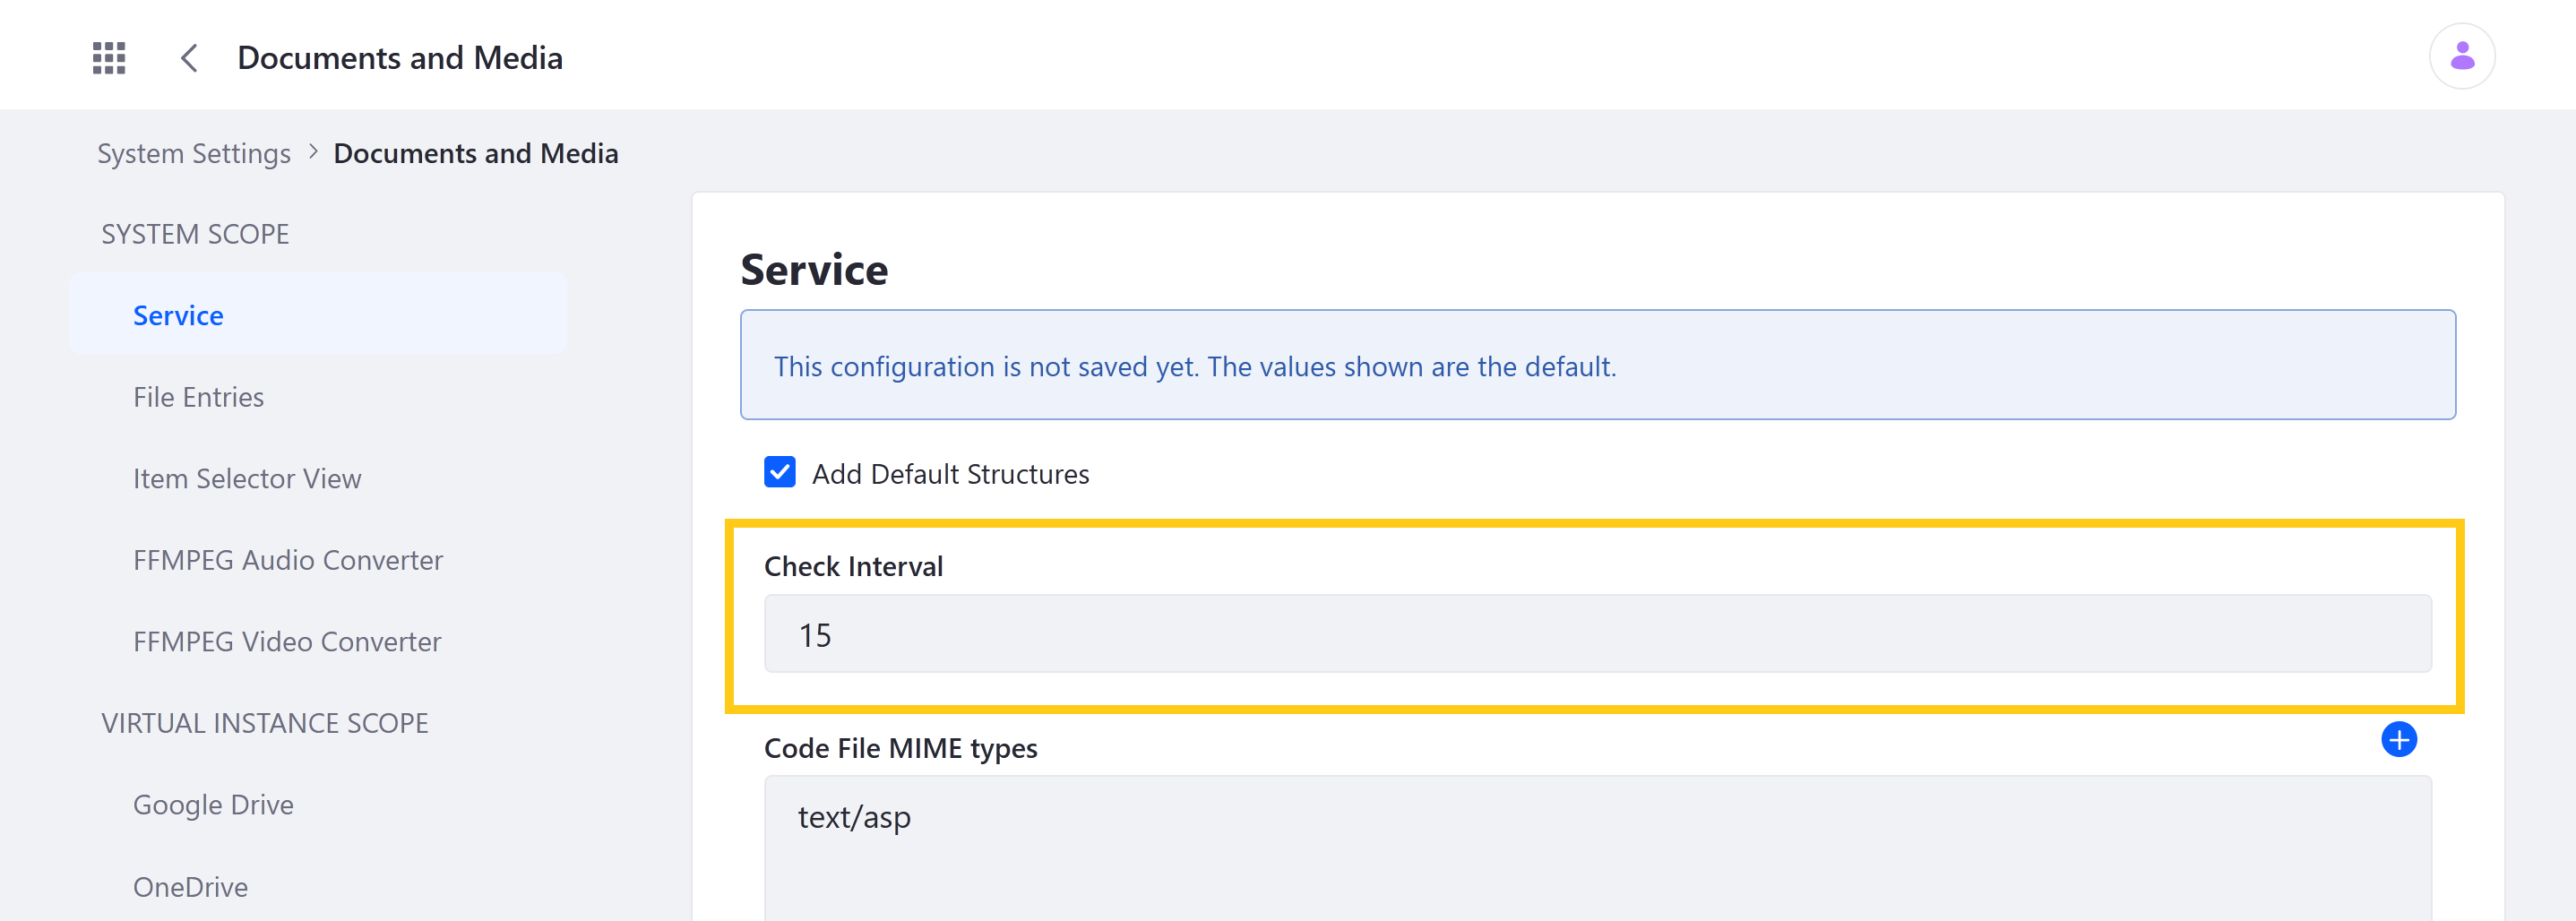
By default, the Documents and Media application is configured to check file expiration and review dates every 15 minutes. However, you can configure this interval via the Control Panel.
Open the Global Menu (
 ), click on the Control Panel tab, and go to System Settings → Document and Media → Service.
Use the Check Interval field to determine the number of minutes between file checks.
Click Save when finished.
Once saved, the system automatically checks for files that have reached their expiration or review date according to the set interval.
If you require this feature to be disabled, blacklist the component. Do not enter zero or a negative number for the interval.
Configuring Notification Emails
When a file expires or requires review, a notification email is sent to the file’s owners, reviewers, or any users subscribed to the folder containing the file. Documents and Media provides a default notification message, but you can edit the message if desired.
Navigate to the Documents and Media application in a site or asset library.
Click Actions (
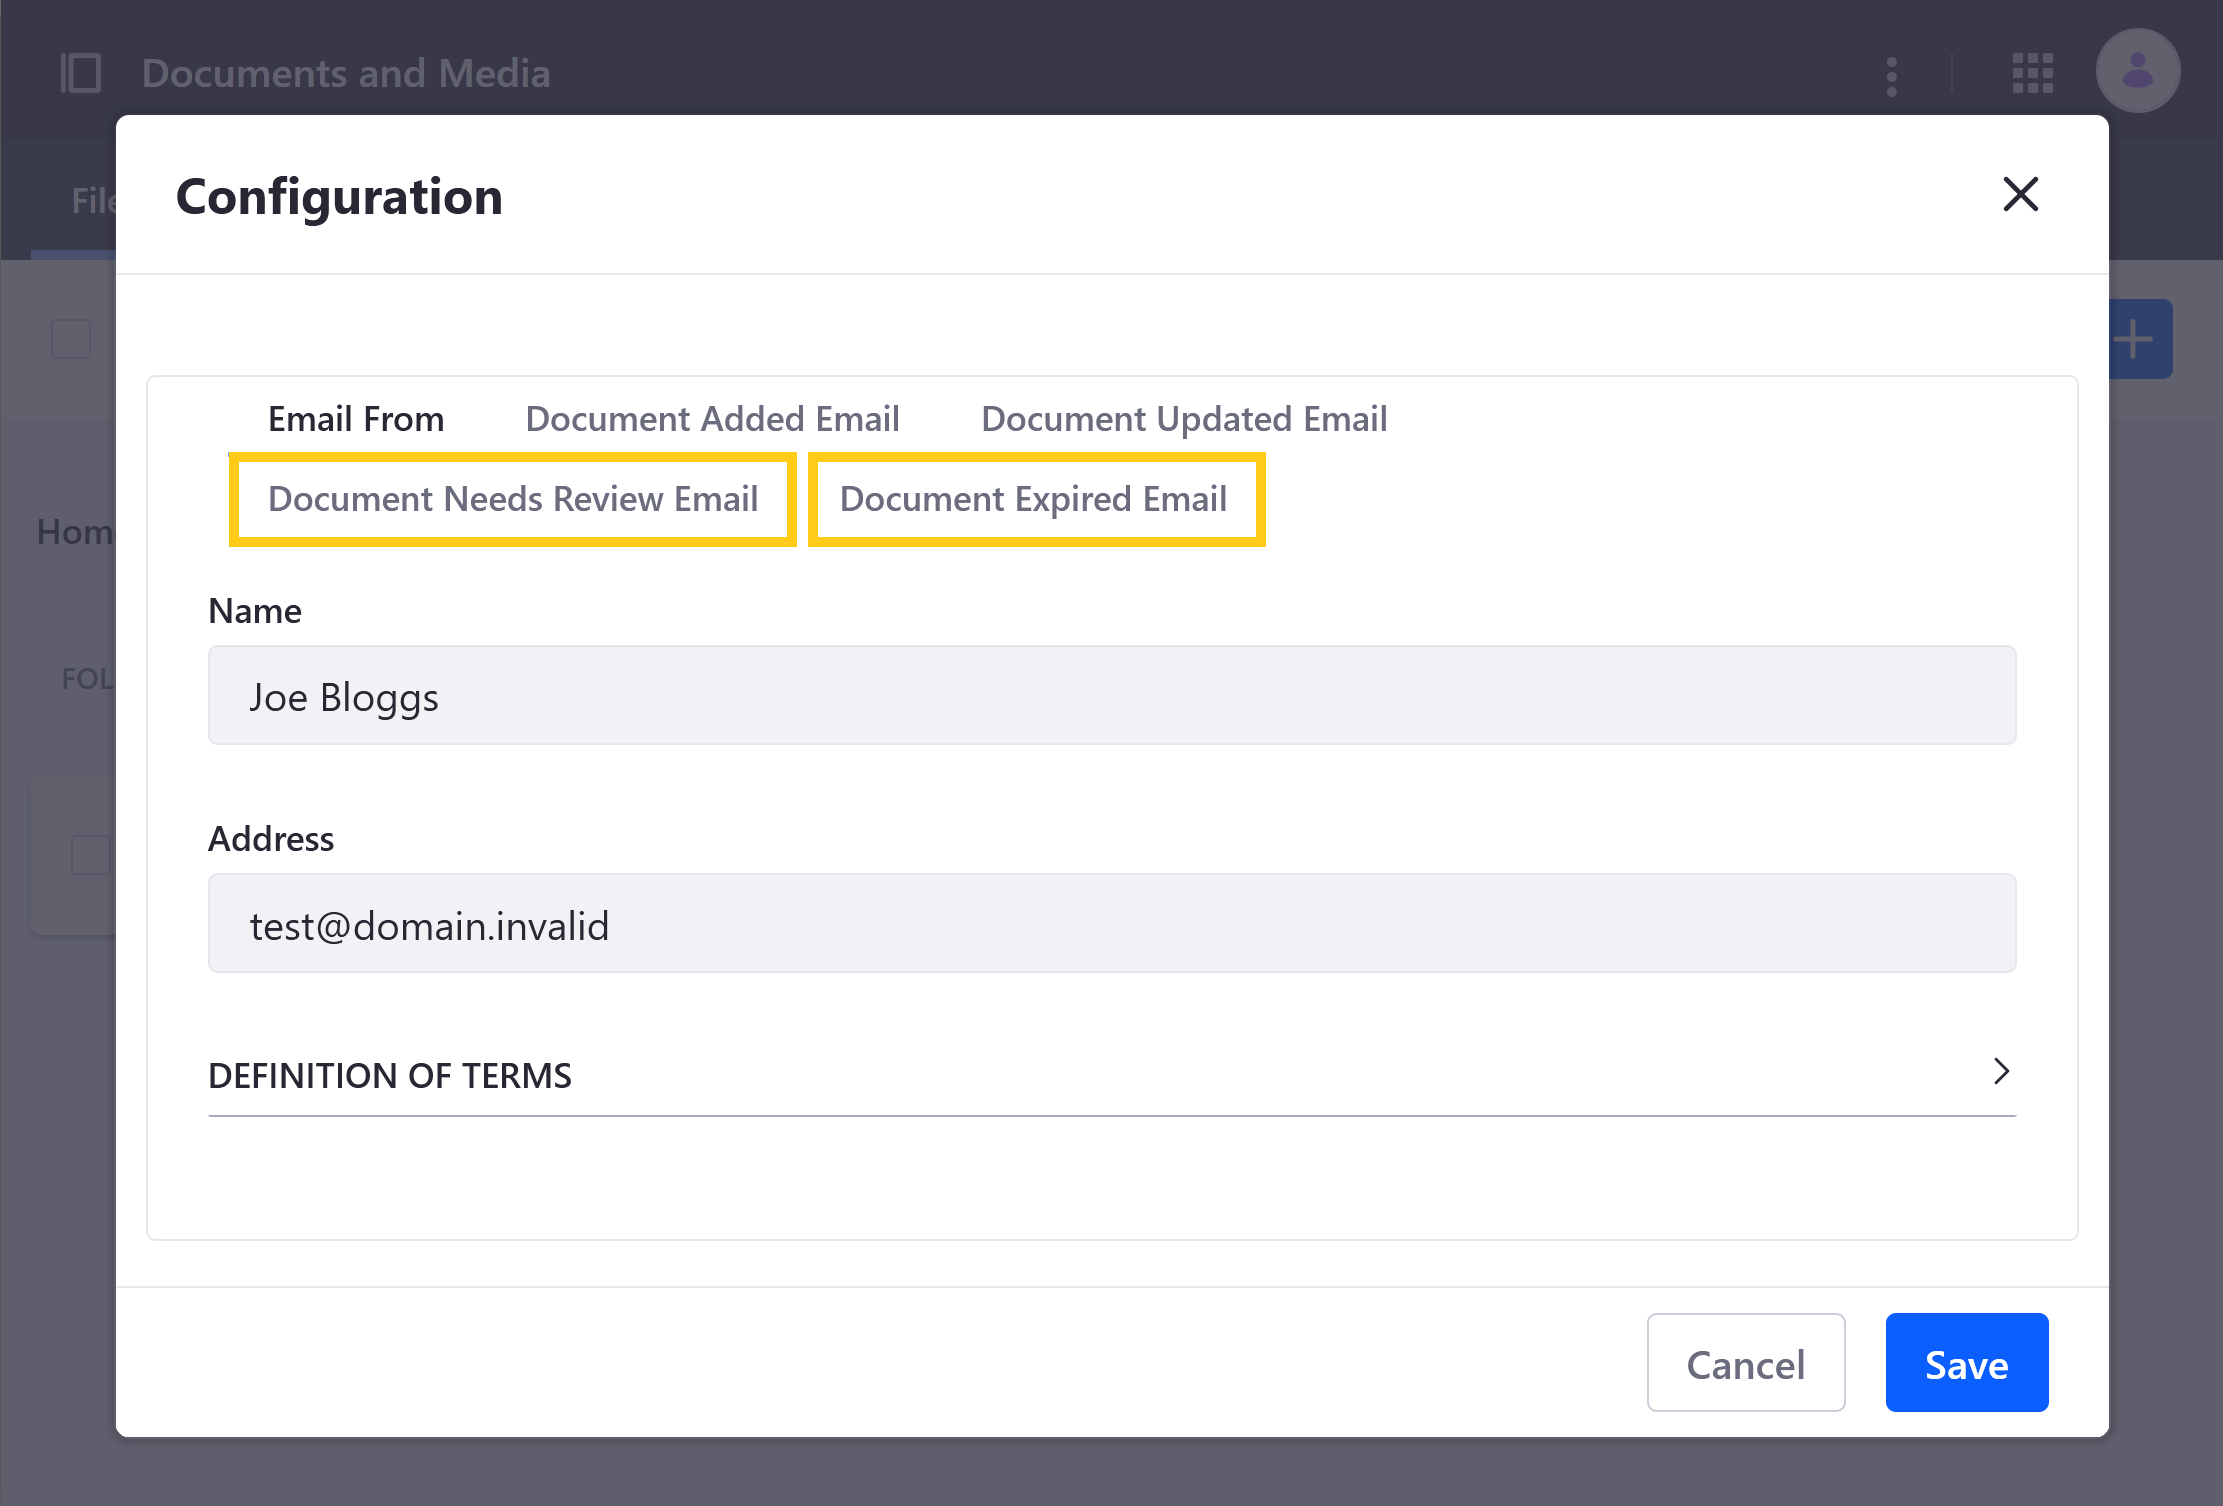
 ) in the Application Bar, and select Configuration.
In the modal window, click Documents Needs Review Email or Document Expired Email tabs.
Draft the desired notification message.
Click Save when finished.
Scheduling The Publication
Liferay DXP 2024.Q3+/Portal 7.4 GA132+
Currently, this feature is behind a release feature flag (LPD-10701). Read Release Feature Flags for more information.
Digital assets are published as soon as they are created. However, you can set a future publication date and time for single or multiple files if you don’t want to publish them right away.
Also, if there’s a workflow in place, the asset isn’t published until the scheduled publication date and time is reached.
To schedule publishing a single file or multiple files,
Open the Site Menu (
 ), expand Content & Data, and go to Documents and Media.
Click New and select File Upload. If you want to publish multiple files, select Multiple Files Upload.
Upload the file and configure the document. If you are publishing multiple files, upload the files and select the ones you want to publish.
Under Schedule, select a Publish Date and Time.


Once you click Publish, the document is marked as Scheduled in the application. If there’s a workflow in place, the asset is only marked as Scheduled after it’s approved through the workflow. If the asset isn’t approved, it’s not published on the scheduled date.