DDM Form Annotations
The auto-generated configuration interface UI may be too simplistic for some configurations. You can use the Dynamic Data Mapping (DDM) form annotations to customize your layout’s UI.
See a Sample Configuration UI
Start a new Liferay instance by running
docker run -it -m 8g -p 8080:8080 liferay/portal:7.4.3.132-ga132
Sign in to Liferay at http://localhost:8080. Use the email address test@liferay.com and the password test. When prompted, change the password to learn.
Then, follow these steps:
-
Download and unzip DDM Form Annotations
curl https://resources.learn.liferay.com/examples/liferay-v1d9.zip -Ounzip liferay-v1d9.zip -
From the module root, build and deploy.
./gradlew deploy -Ddeploy.docker.container.id=$(docker ps -lq)NoteThis command is the same as copying the deployed jars to /opt/liferay/osgi/modules on the Docker container.
-
Confirm the deployment in the Liferay Docker container console.
STARTED com.acme.v1d9.impl_1.0.0 [1650] -
Open your browser to
https://localhost:8080and navigate to Control Panel → Configuration → System Settings. Under Platform click Third Party. Click V1D9 Configuration on the left.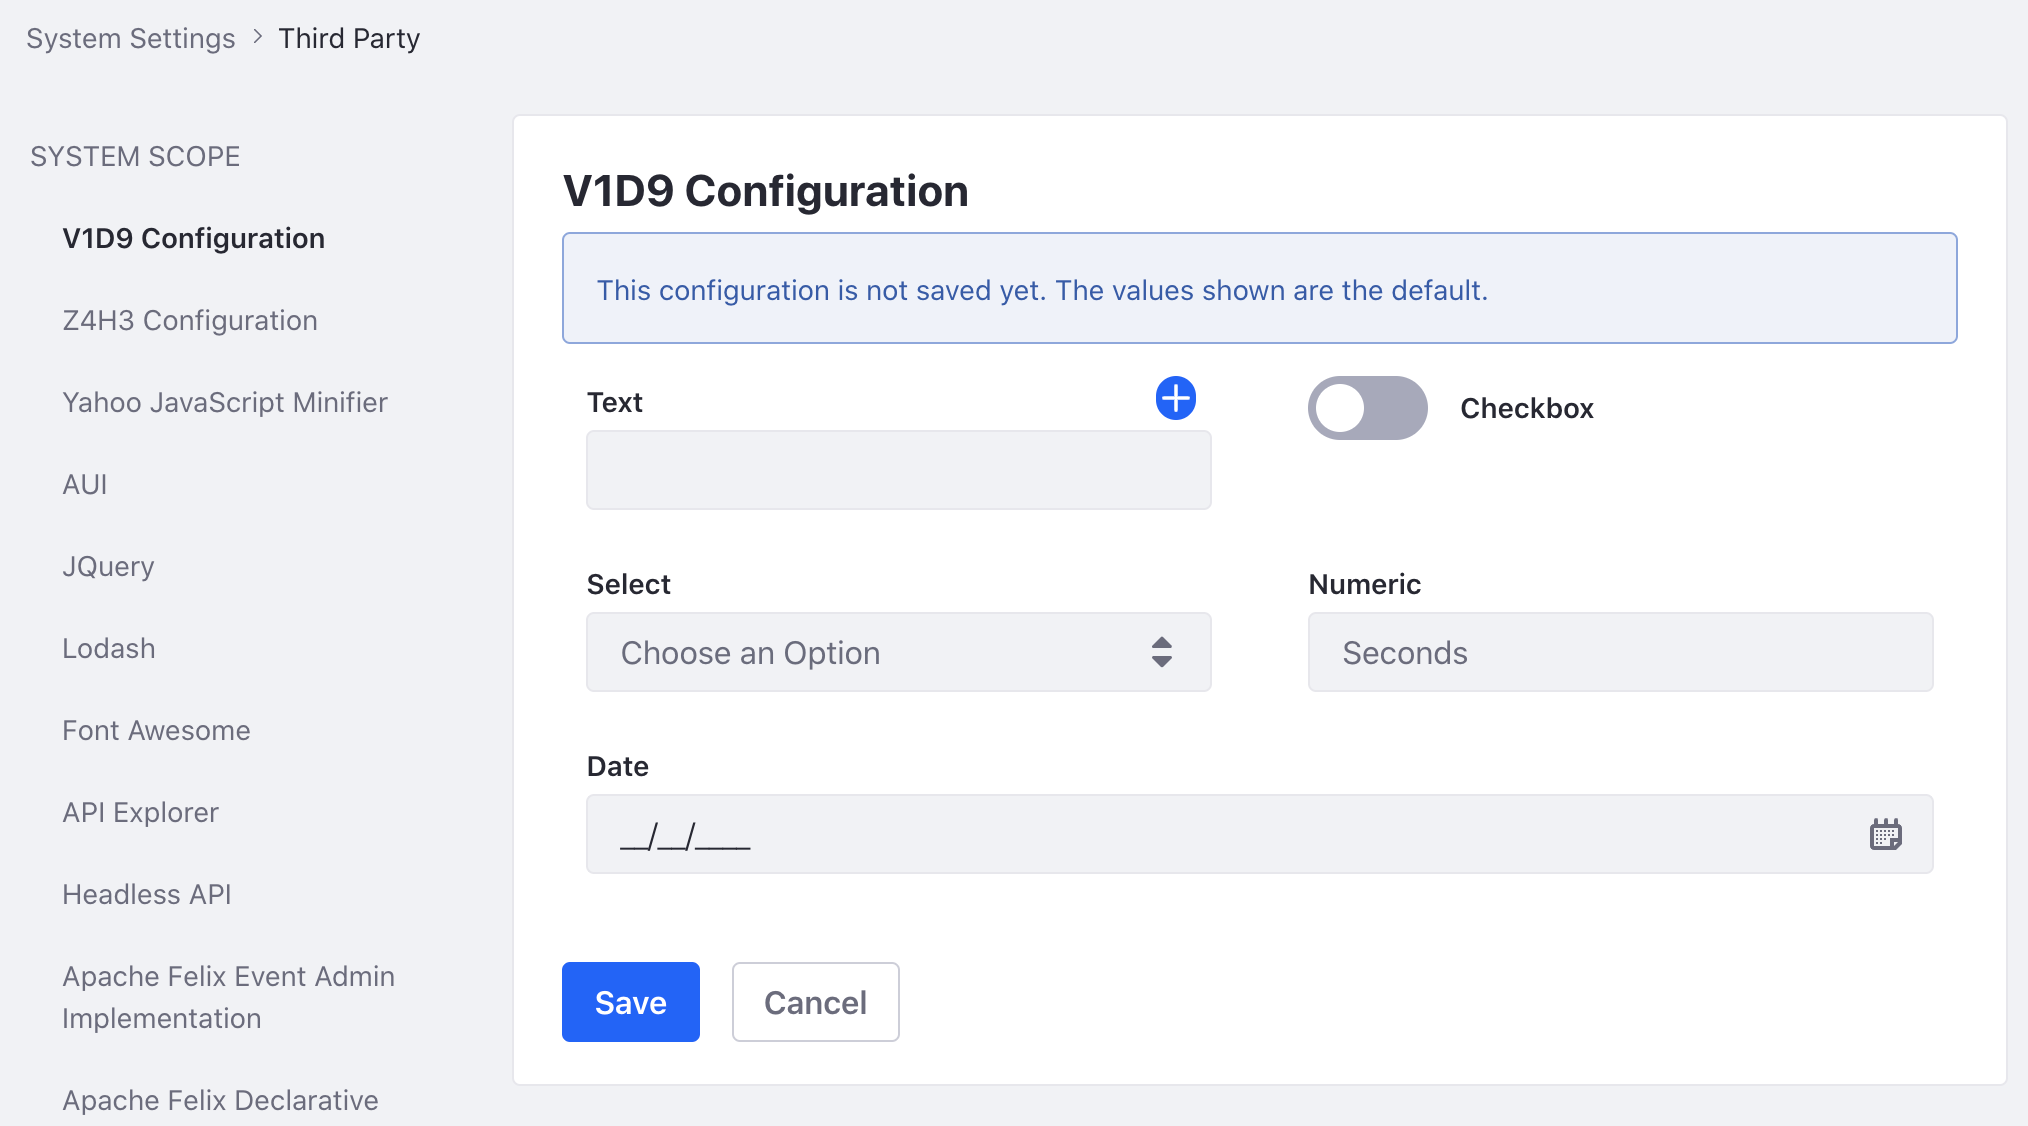
Here’s how the DDM form annotations work.
Write the Configuration Form
Create a configuration form interface that includes all the form fields in your settings UI. For each field use a @DDMFormField annotation. Define attributes such as label, properties, and type for each field.
@DDMFormField(label = "%checkbox", properties = "showAsSwitcher=true")
public boolean checkbox();

@DDMFormField(label = "%date", type = "date")
public String date();

@DDMFormField(
	label = "%numeric", properties = "placeholder=%seconds",
	type = "numeric",
	validationErrorMessage = "%please-enter-an-integer-between-0-and-60-seconds",
	validationExpression = "(numeric >= 0) && (numeric <= 60)"
)
public String numeric();

@DDMFormField(
	label = "%select", optionLabels = {"%foo", "%bar"},
	optionValues = {"foo", "bar"}, type = "select"
)
public String select();

@DDMFormField(label = "%text")
public String[] text();
Visit Form Field Types Reference to learn more about all the available field types. See Field Type Constants for the type variable names of each field type.
After annotating each form field, define the layout of the form right above the class declaration with the DDMFormLayout annotation.
@DDMForm
@DDMFormLayout(
	paginationMode = com.liferay.dynamic.data.mapping.model.DDMFormLayout.SINGLE_PAGE_MODE,
	value = {
		@DDMFormLayoutPage(
			{
				@DDMFormLayoutRow(
					{
						@DDMFormLayoutColumn(size = 6, value = "text"),
						@DDMFormLayoutColumn(size = 6, value = "checkbox")
					}
				),
				@DDMFormLayoutRow(
					{
						@DDMFormLayoutColumn(size = 6, value = "select"),
						@DDMFormLayoutColumn(size = 6, value = "numeric")
					}
				),
				@DDMFormLayoutRow(
					{@DDMFormLayoutColumn(size = 12, value = "date")}
				)
			}
		)
	}
)
Use the DDMFormLayoutRow annotation and the DDMFormLayoutColumn to arrange your form fields in the rows and columns you need for your UI.
Write the Form Declaration
Create a new implementation of ConfigurationDDMFormDeclaration to register your new configuration form class.
@Component(
	property = "configurationPid=com.acme.v1d9.internal.configuration.V1D9Configuration",
	service = ConfigurationDDMFormDeclaration.class
)
public class V1D9ConfigurationDDMFormDeclaration
	implements ConfigurationDDMFormDeclaration {

	@Override
	public Class<?> getDDMFormClass() {
		return V1D9ConfigurationForm.class;
	}

}
Note that the configurationPid in the Component annotation must match the fully qualified class name of the configuration interface.