Authorizing with OAuth2
Use Liferay’s OAuth2 tools to authorize third-party applications to access data. For example, a Clarity Vision Solutions’ partner wants to sell the eyewear products with up-to-date pricing. They request Clarity Vision Solutions to provide access to the price list API. Follow the steps below to see this in action.
Setting Up OAuth2
-
Open the Global Menu (
 ) and navigate to Control Panel → Security → OAuth 2 Administration.
 -
Click New.
-
Give the application a name (e.g., foo). Set the Website URL as
http://localhost:3000and the Callback URI ashttp://localhost:3000/grant-type-authorization-code. Click Save. -
Copy the Client ID and Client Secret to your clipboard. To get the Client Secret click Edit. Copy the value from the pop-up window. These values are needed later in the sample React app.
-
Click the Scopes tab at the top of the page. Scroll down, click LIFERAY.HEADLESS.COMMERCE.ADMIN.PRICING, then check the box for read data on your behalf.
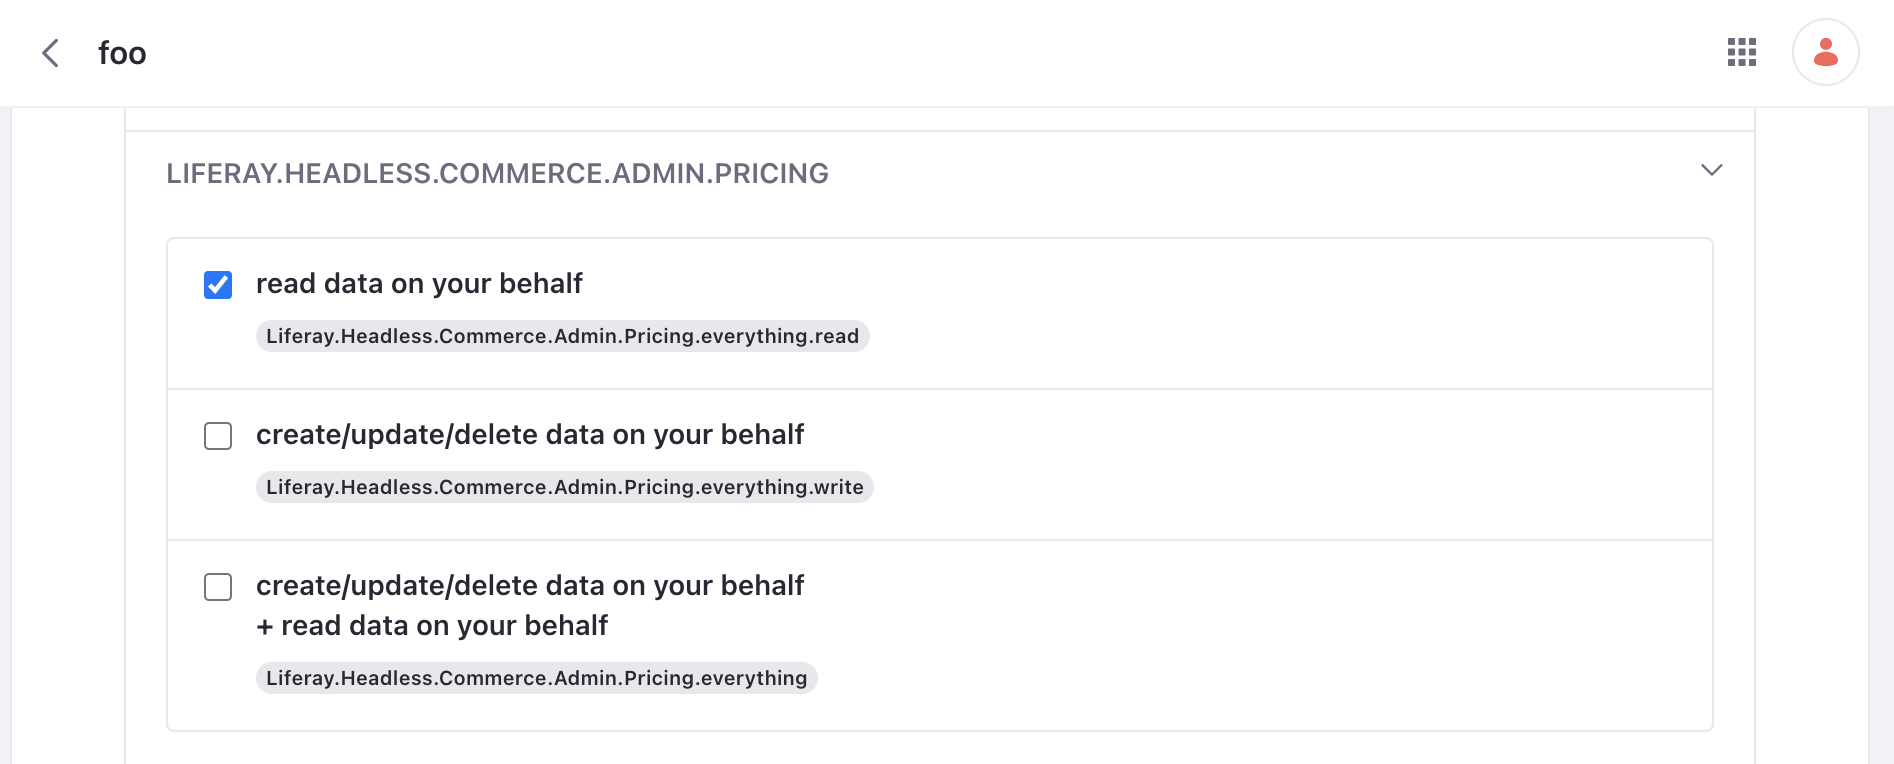
Click Save. Your OAuth2 Application now has read privileges for the commerce pricing API category.
-
Next, open the Global Menu (
), click the Control Panel tab, and go to System Settings → Security Tools. -
Go to the Portal Cross-Origin Resource Sharing (CORS) tab and click Default Portal CORS Configuration.
-
Add a URL Pattern with the value
/o/headless-commerce-admin-pricing/*and click Save. This enables CORS for theheadless-commerce-admin-pricingcategory of APIs.
Deploy the Sample React App
-
Download and unzip the OAuth2 React App.
-
Verify that
nodeandyarnare installed. If not, run the setup script and follow the prompts: -
Navigate into the app’s root directory and start the React server.
-
Open the React app running at
http://localhost:3000. Click Authorization Code Flow. -
Enter
http://localhost:8080/o/oauth2/authorizefor the Liferay authorize URL. Paste the client ID from your clipboard. Click Authorize. -
If you’re not already logged in, you are redirected to the Liferay login page before being sent to the authorization page. Enter your username and password (e.g. test@liferay.com:learn) and click Sign In. On the authorization page, click Authorize. If you are already logged in, you are sent directly to the authorization page.
-
Enter
http://localhost:8080/o/oauth2/tokenfor the Liferay token URL. Paste the client ID and client secret from your clipboard. Click Get Token. -
Enter
http://localhost:8080/o/headless-commerce-admin-pricing/v1.0/priceListsfor the request URL. Click Get Data.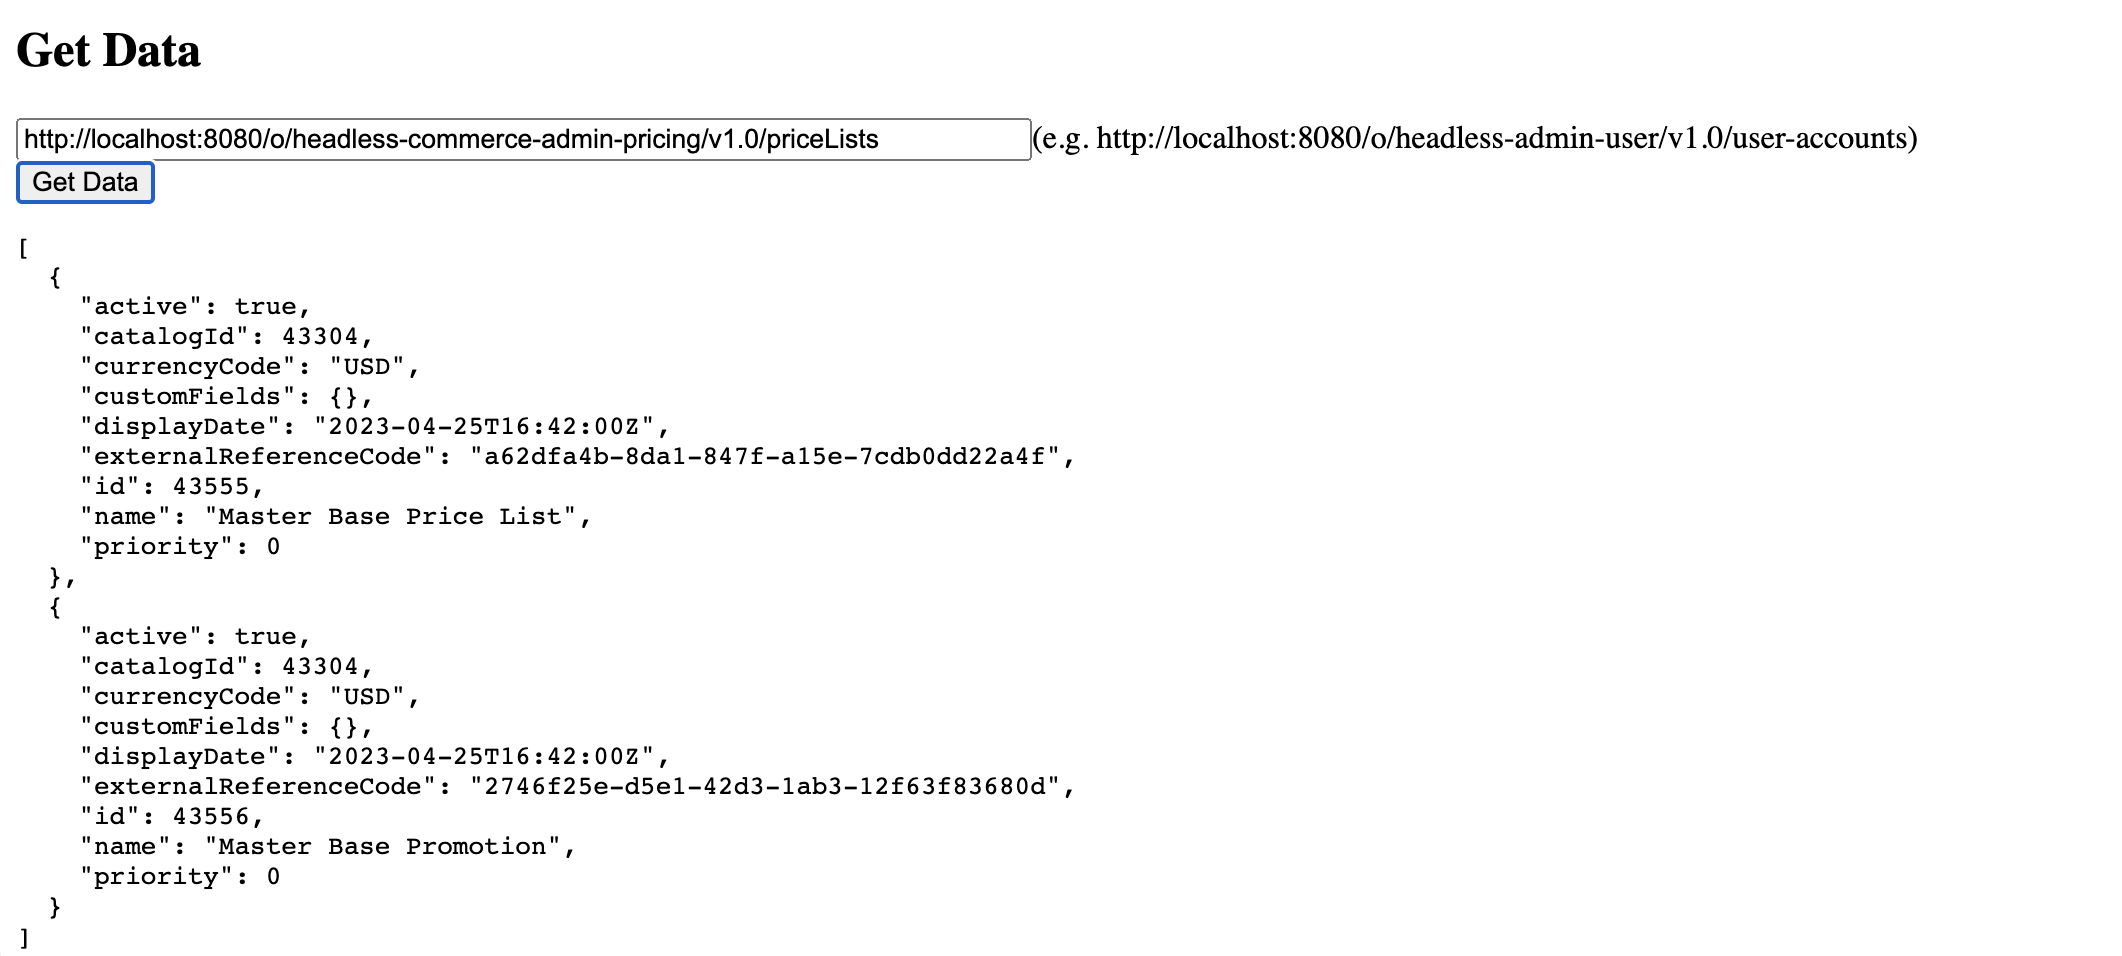
Next: Managing AntiSamy