Creating Picklists
Liferay 7.4 U72+/GA72+
Picklists are lists of name/key pairs stored as string values. Once defined, you can use the lists with object definitions to populate single or multiple selection fields. See Picklists for more picklist use cases.
To create a picklist,
Open the Global Menu (
 ), go to the Control Panel tab, and click Picklists.
Click Add (
 ).
).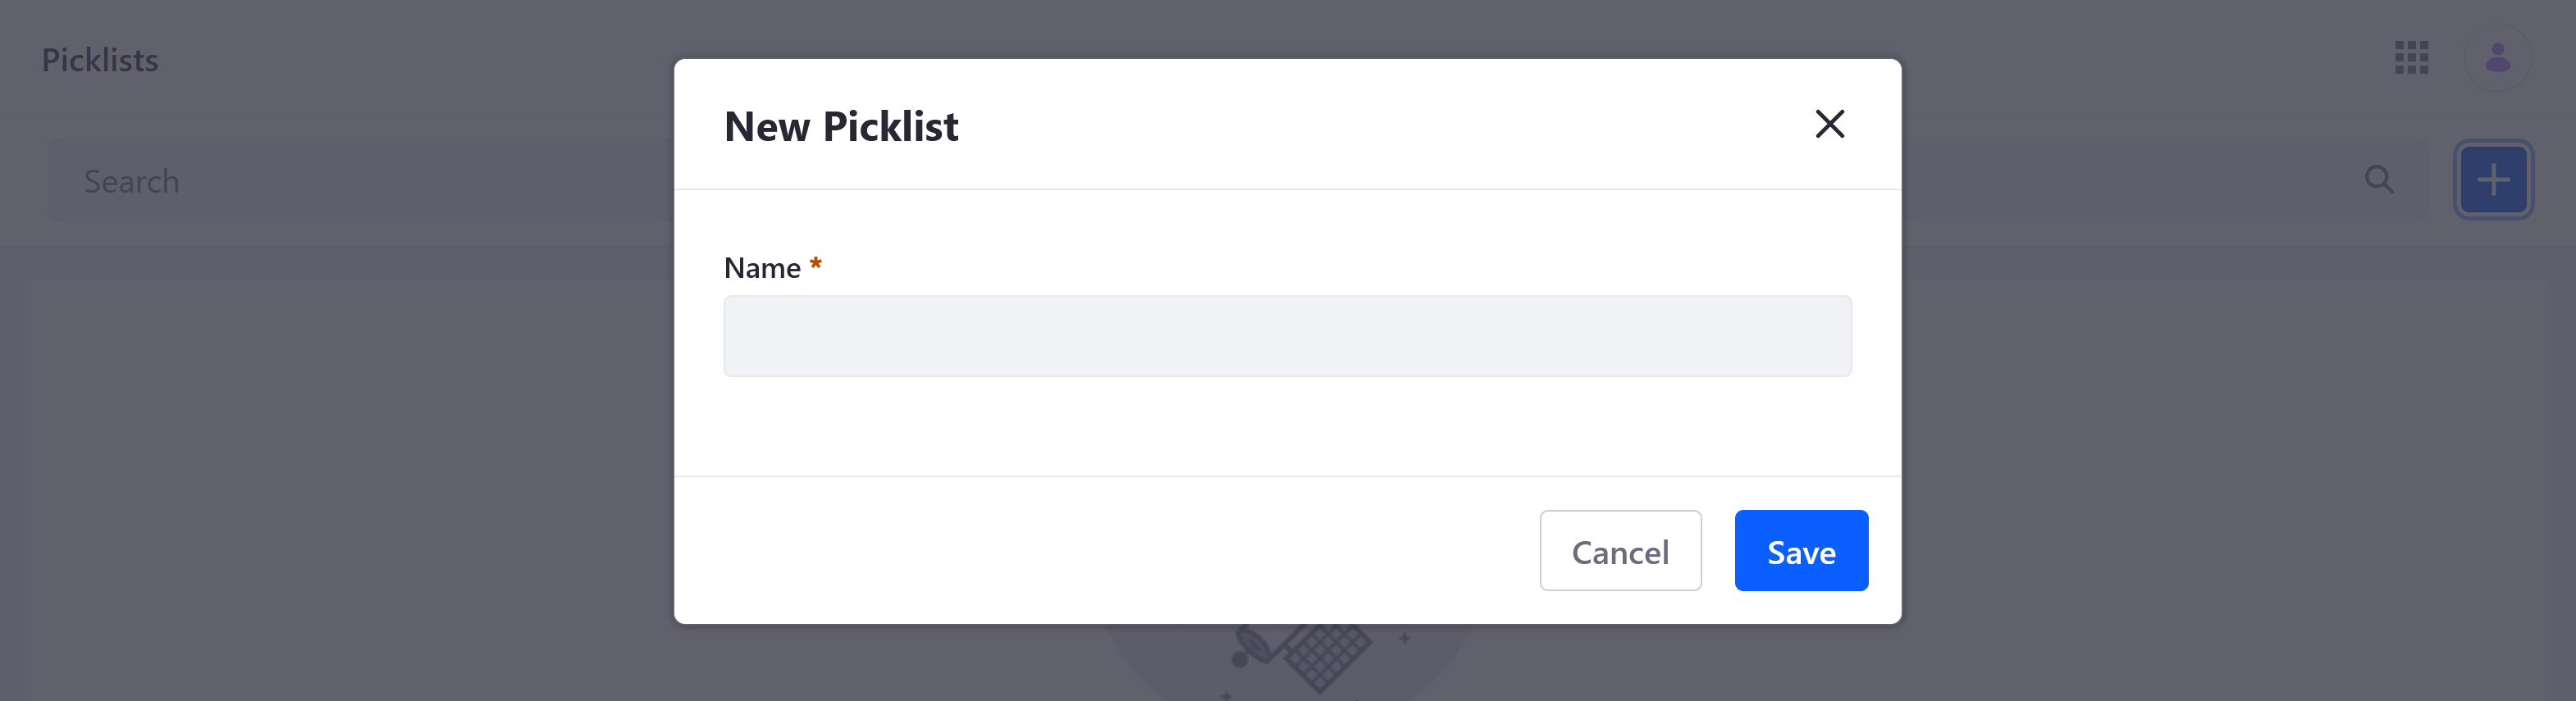
Name the picklist to identify the list in the UI. You can localize the name after creation.
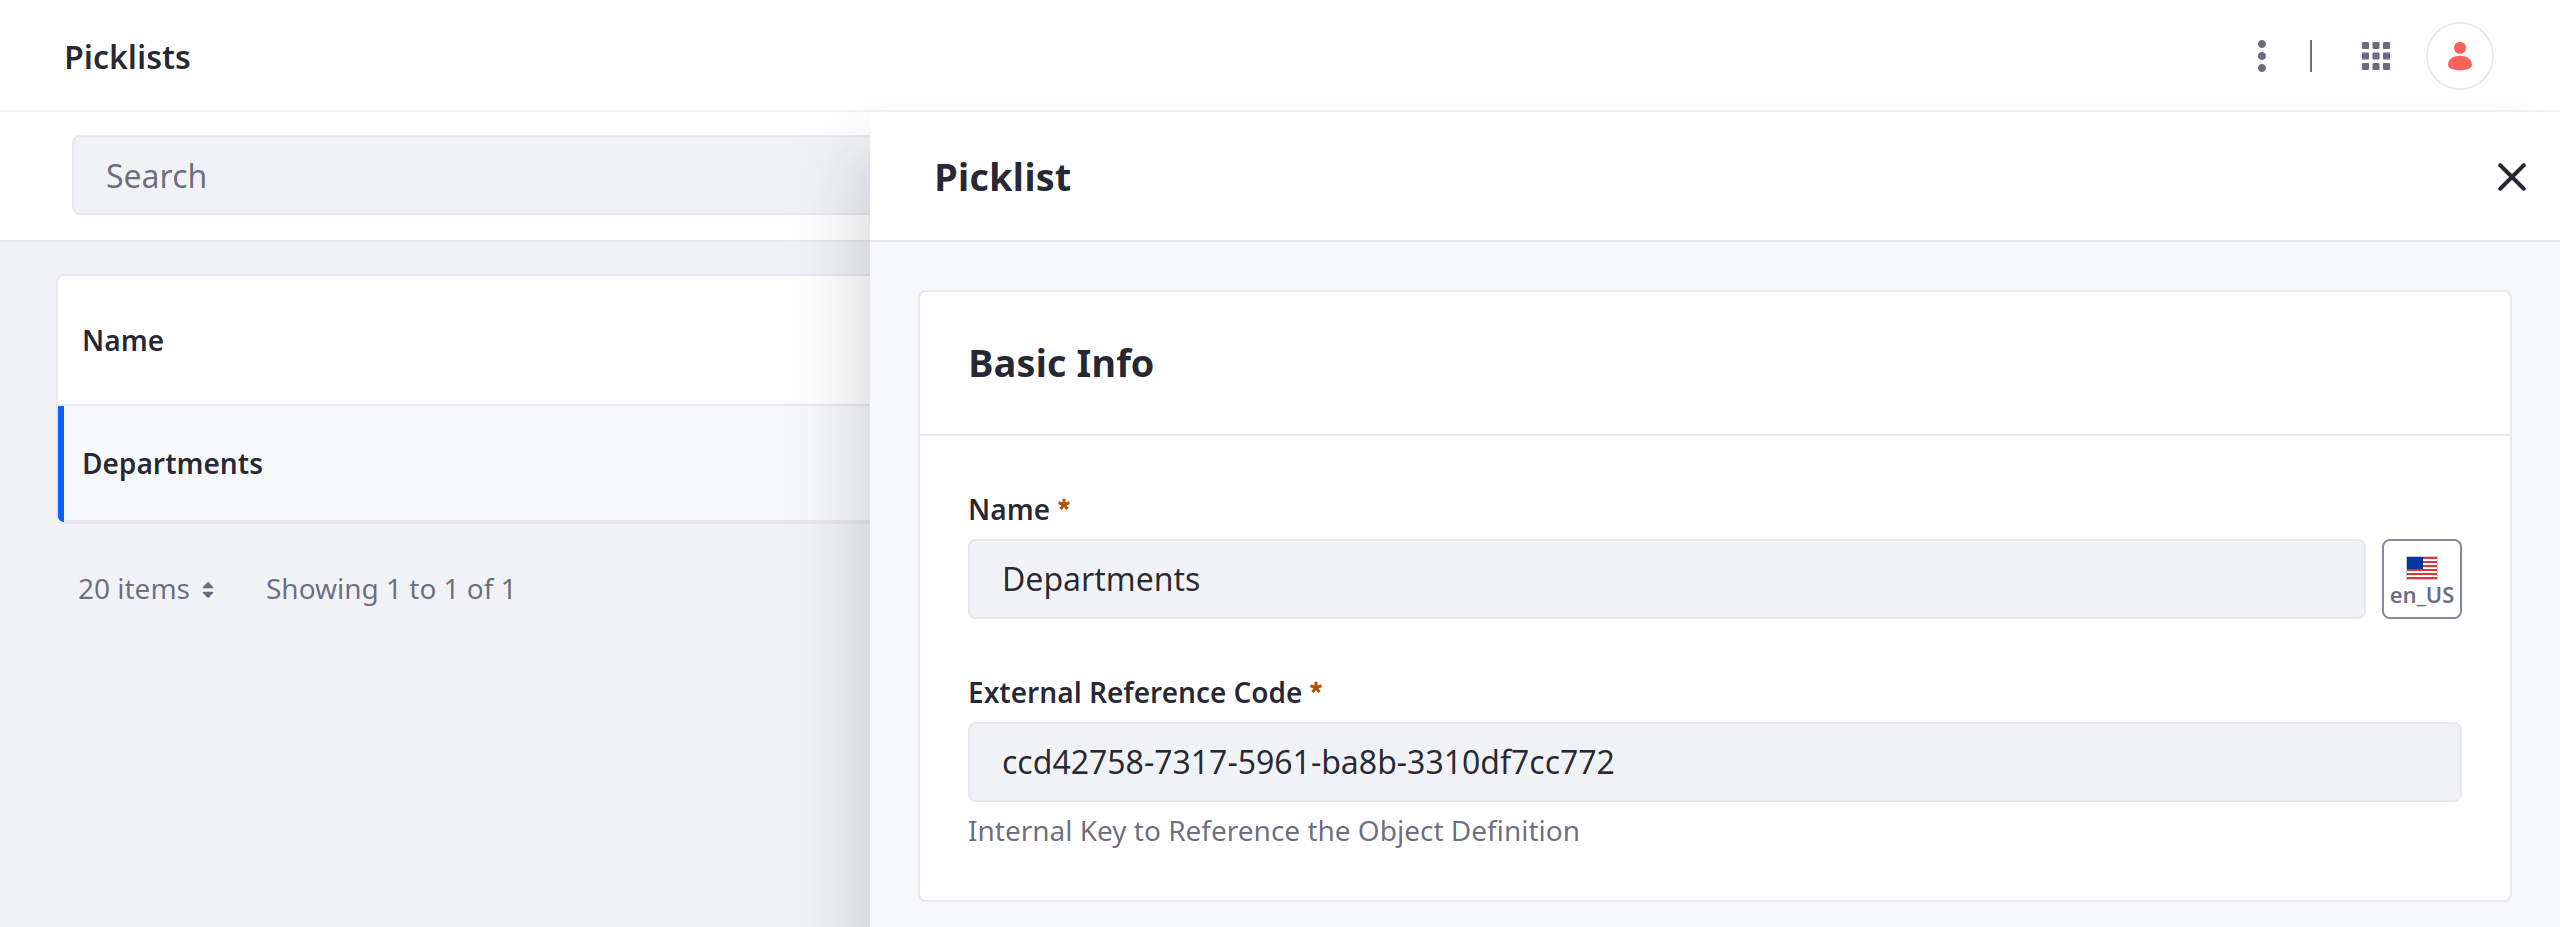
Click Save to create an empty picklist definition and generate an external reference code (ERC). You can edit the ERC after creation.
Click the new picklist to begin editing it.
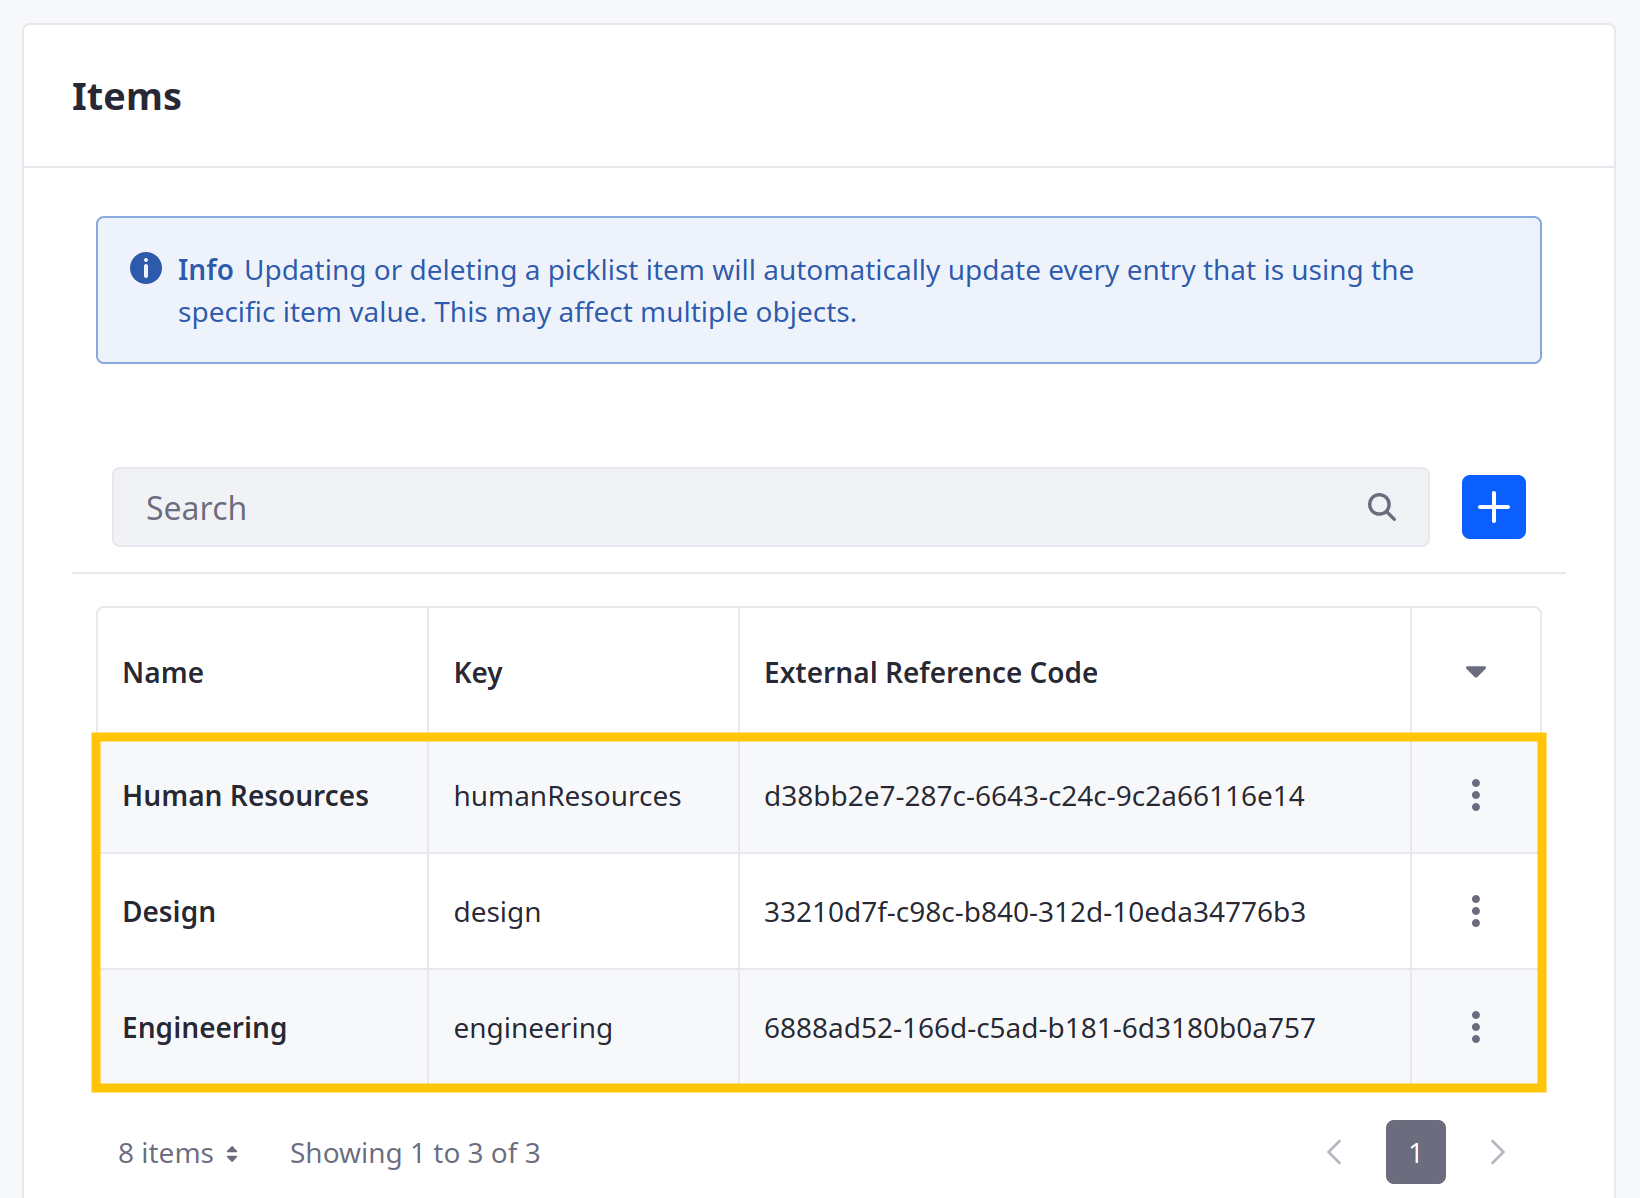
Under Items, click Add (
).
In the modal window, enter a name and key for the item.
Name: Determines the item’s display name and can be localized after creation.
Key: Determines the standard value understood by applications in the backend and uses camel case.

Click Save. The picklist updates immediately with the new item and generates an external reference code (ERC) for it.
You can click the list item to localize its name or edit its ERC, but you cannot change its key. You can remove items at any time.
Repeat the above steps to add additional items to the list.
Once created, you can select a picklist when creating object fields. Select the Picklist (single select) or Multiselect Picklist field type and choose the list. See Adding Fields to Objects and Picklist Fields for more information.
