Building a Time Off Requester
Liferay 7.4+
With Liferay Objects, you can build entire applications without writing code or deploying modules. Here, you’ll create a Time Off Request application using Liferay Objects and Picklists.
First, you’ll add a Picklist for defining department values. Then, you’ll create two Objects, one for Time Off Requests and another for Employees. During this process, you’ll relate these Objects to one another and add a webhook to the Time Off Request Object. Finally, you’ll design custom layouts to display the relationship fields.
Because of limitations with extending system Objects, you must create an Employee Object to relate requests with user profiles.

Start a new Liferay DXP instance by running
docker run -it -m 8g -p 8080:8080
Sign in to Liferay at http://localhost:8080 using the email address test@liferay.com and the password test. When prompted, change the password to learn.
Adding a Department Picklist
Your Picklist represents company departments:
Open the Global Menu (
 ), go to the Control Panel tab, and click Picklists.
Click the Add button (
 ), enter Department for name, and click Save.
Select the new Picklist and use the Add button (
) to add items to it (e.g., Marketing, Human Resources, Sales).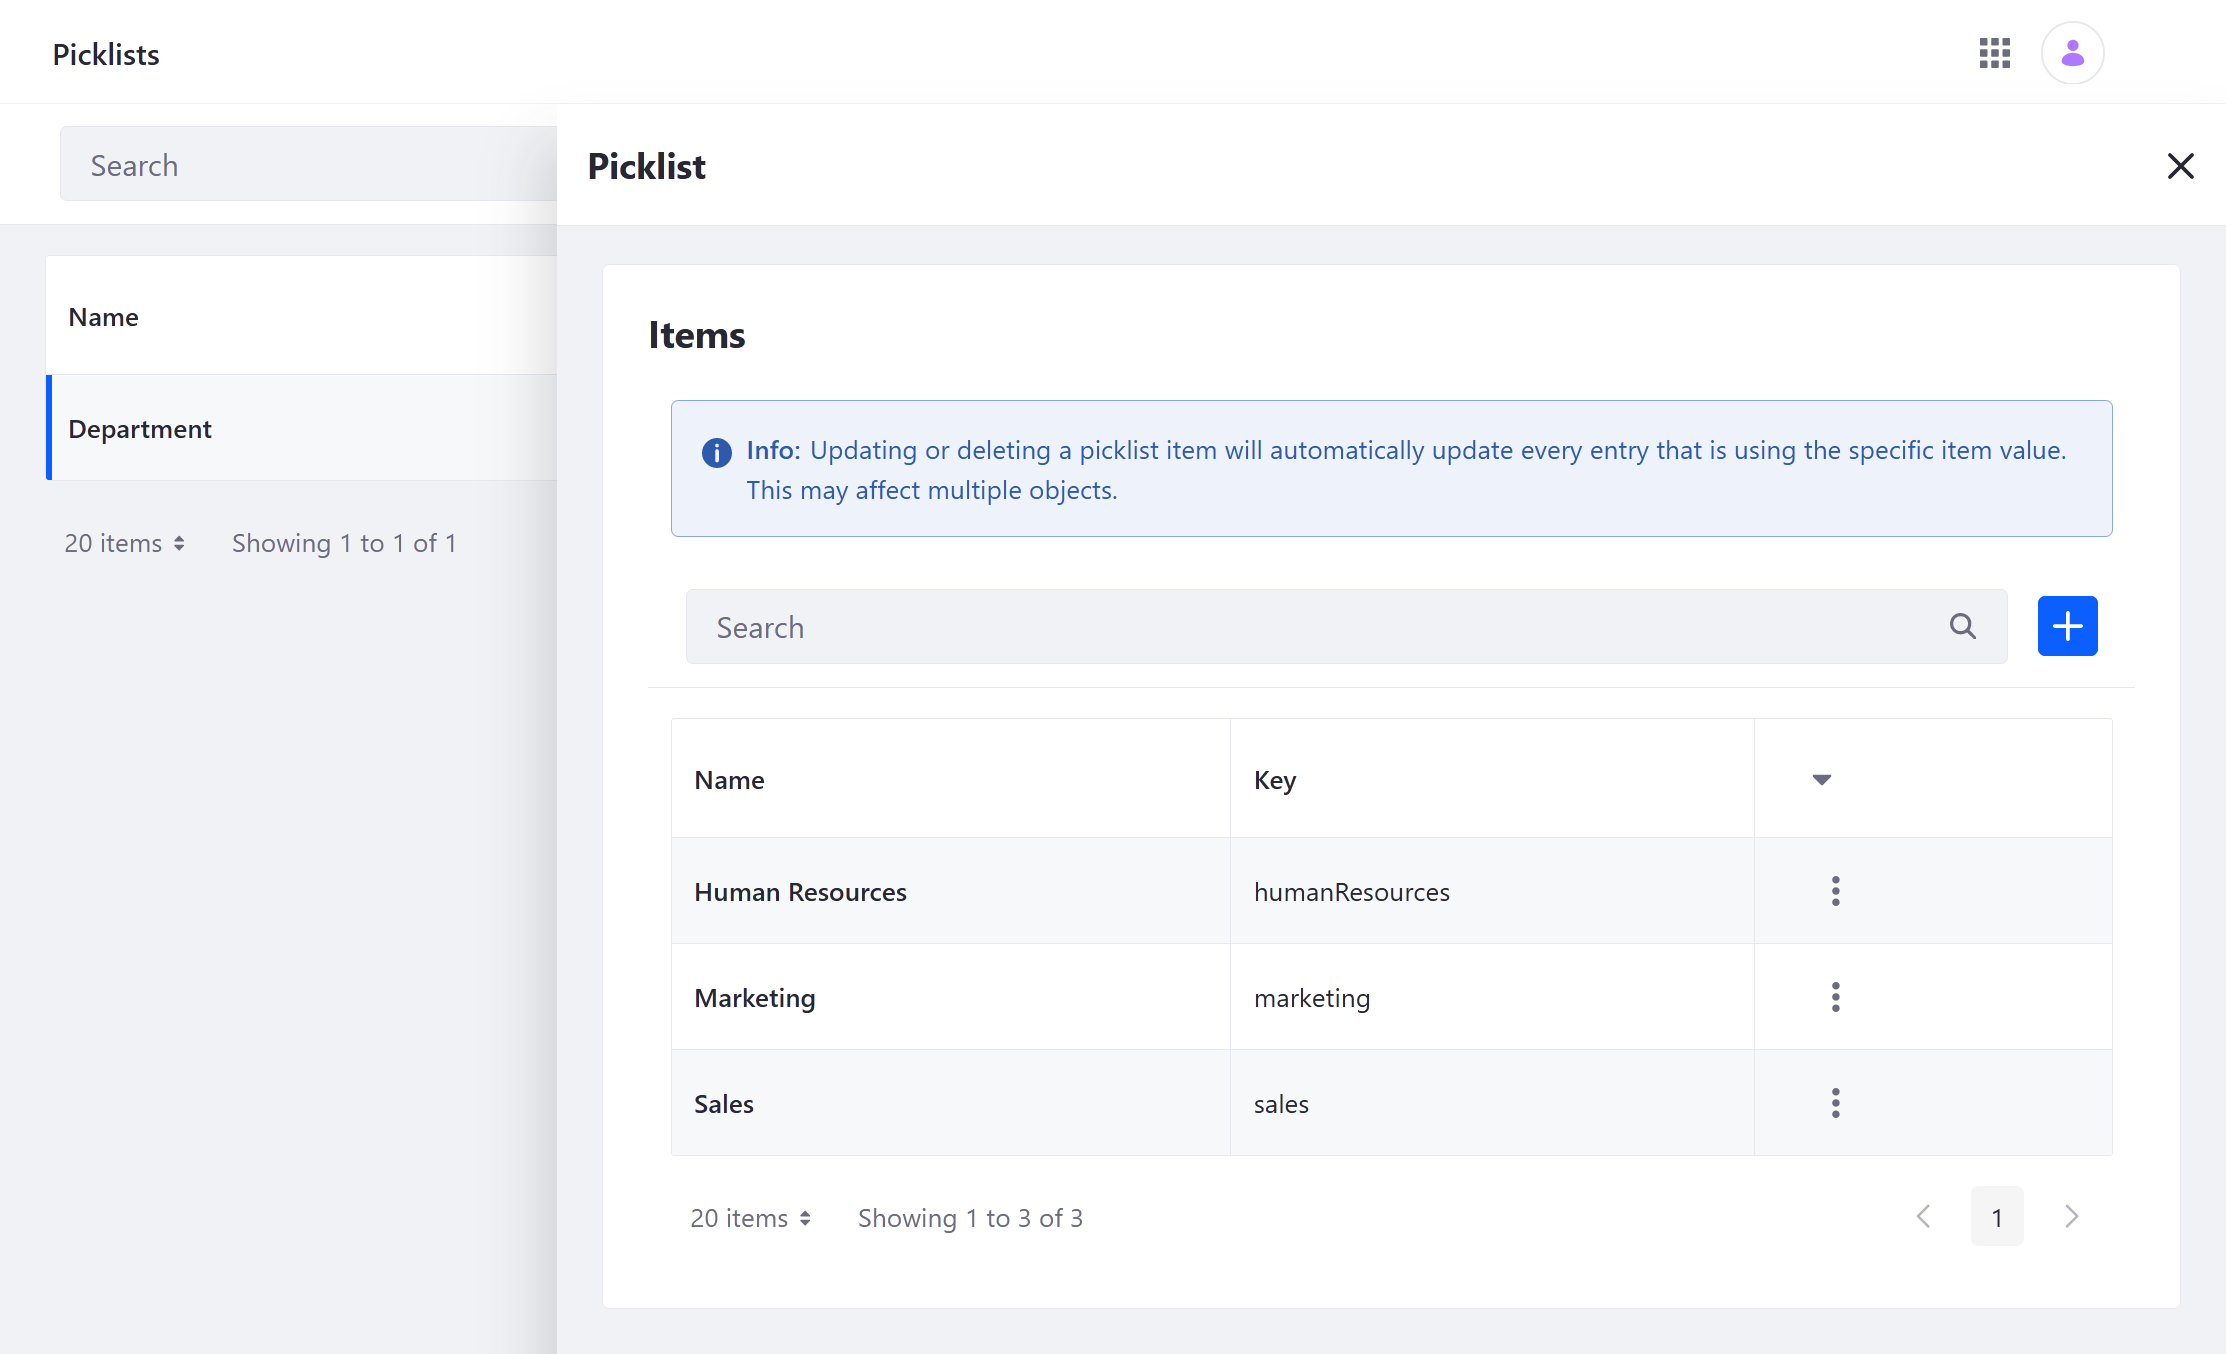
You can now use the Picklist as a field in the Time Off Request Object.
Adding a Time Off Request Object
Open the Global Menu (
), go to the Control Panel tab, and click Objects.Click the Add button (
 ) and enter these values.
Field Value Label Time Off Request Plural Label Time Off Requests Object Name TimeOffRequest Select the Object, click the Fields tab, and add these four fields.
Label Field Name Type Picklist Required Start Date startDateDate n/a ✔ End Date endDateDate n/a Department departmentPicklist Department ✔ Comments commentsText n/a 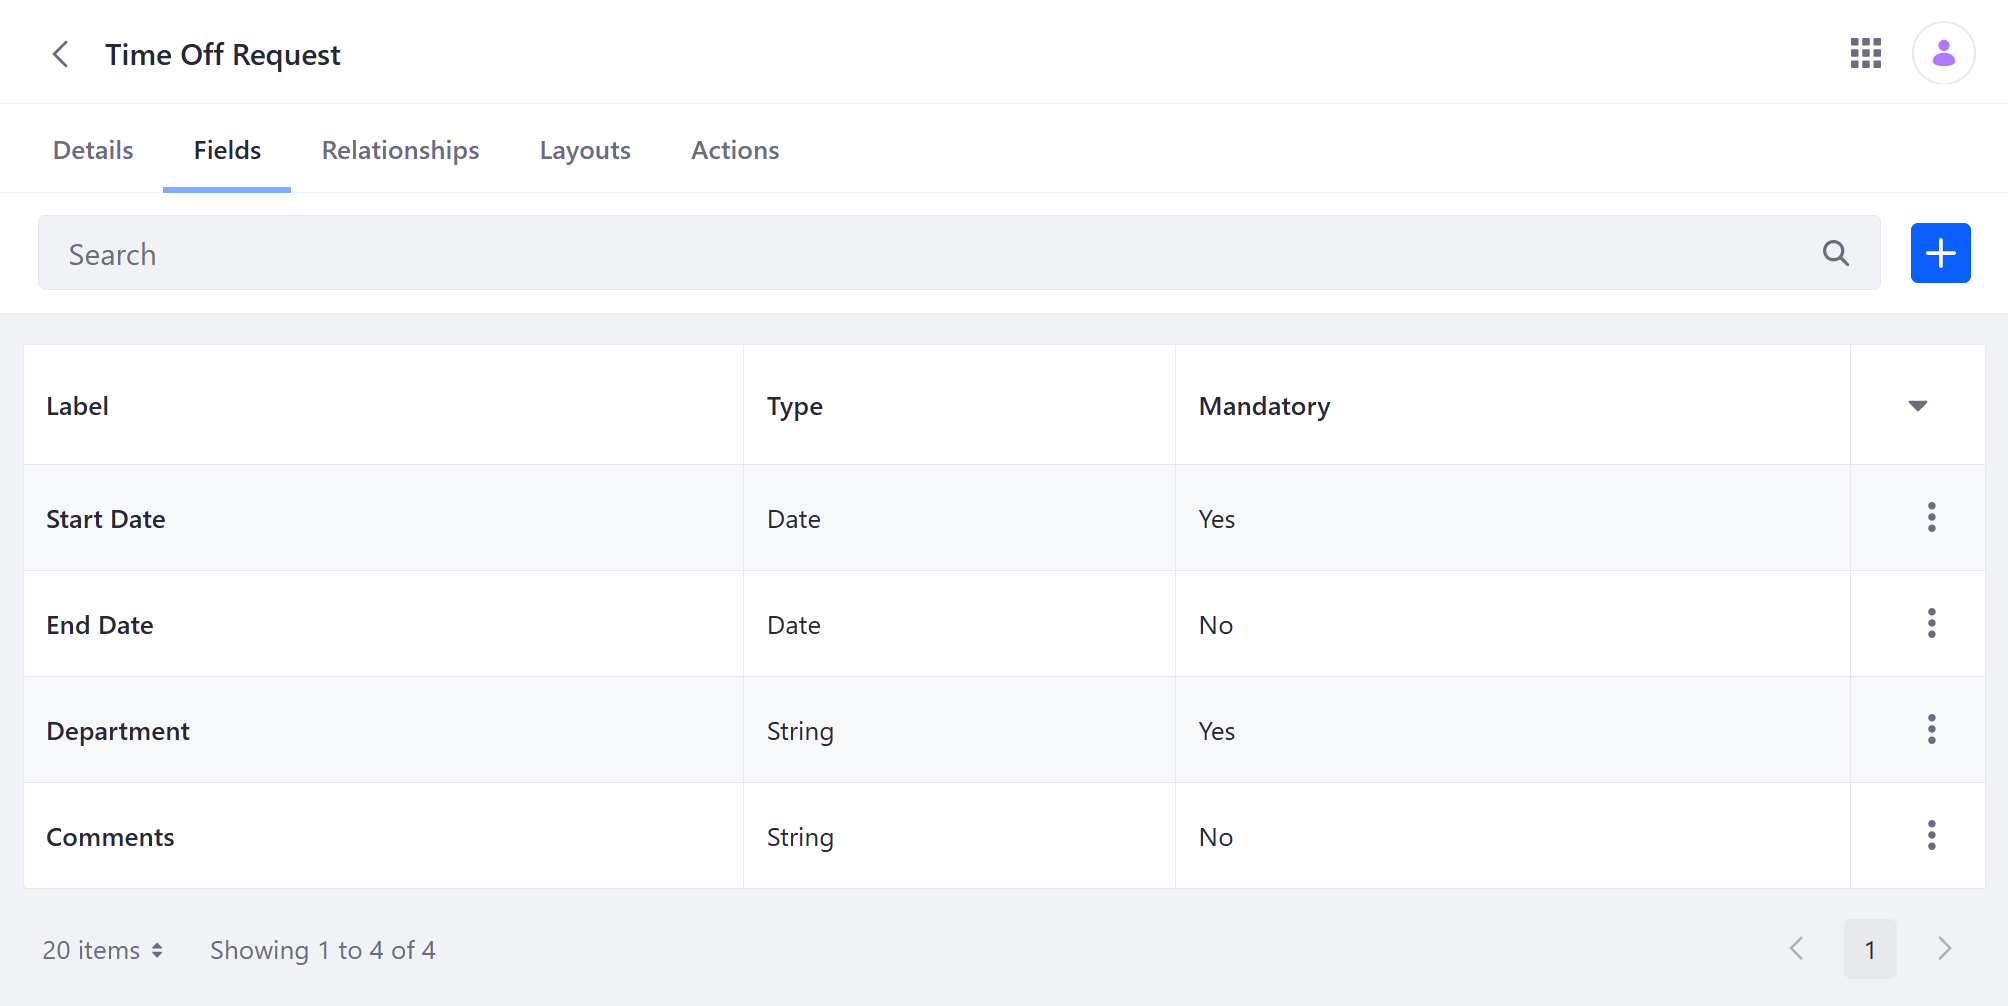
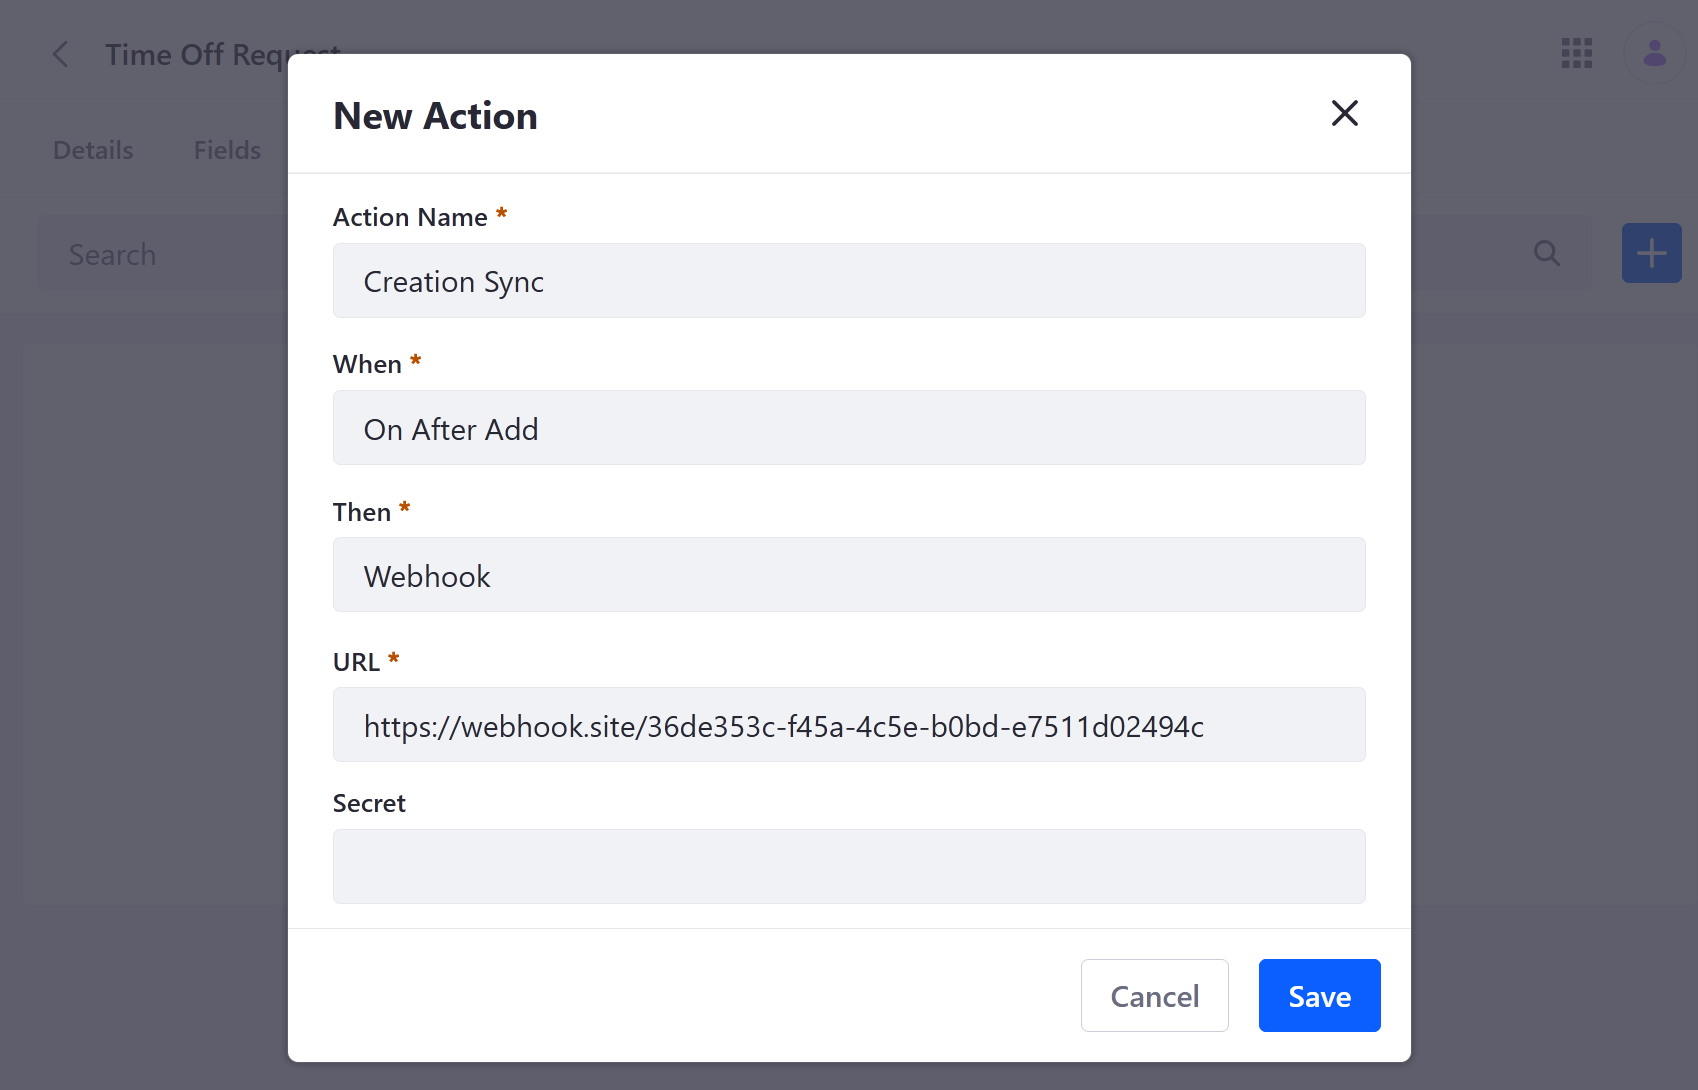
Click the Actions tab and add this action.
Field Value Action Name Creation Sync When On After Add Then Webhook URL Enter a test webhook URL from either your app or a site like, https://webhook.site. This action sends data to an external system whenever Time Off Request entries are added. See Defining Actions for more information.
Click the Details tab and set the following Entry Display and Scope settings.
Field Value Title Field Start Date Scope Company Panel Link Applications > Communication Click Publish. This activates the Object.
Next, you’ll create an Employee Object and relate it to the Time Off Request Object, so you can associate request entries with individual users.
Adding an Employee Object
Open the Global Menu (
), go to the Control Panel tab, and click Objects.Click the Add button (
) and enter these values.Field Value Label Employee Plural Label Employees Object Name Employee Select the Object, click the Fields tab, and add these fields.
Label Field Name Type Required Name nameText ✔ Email emailText ✔ 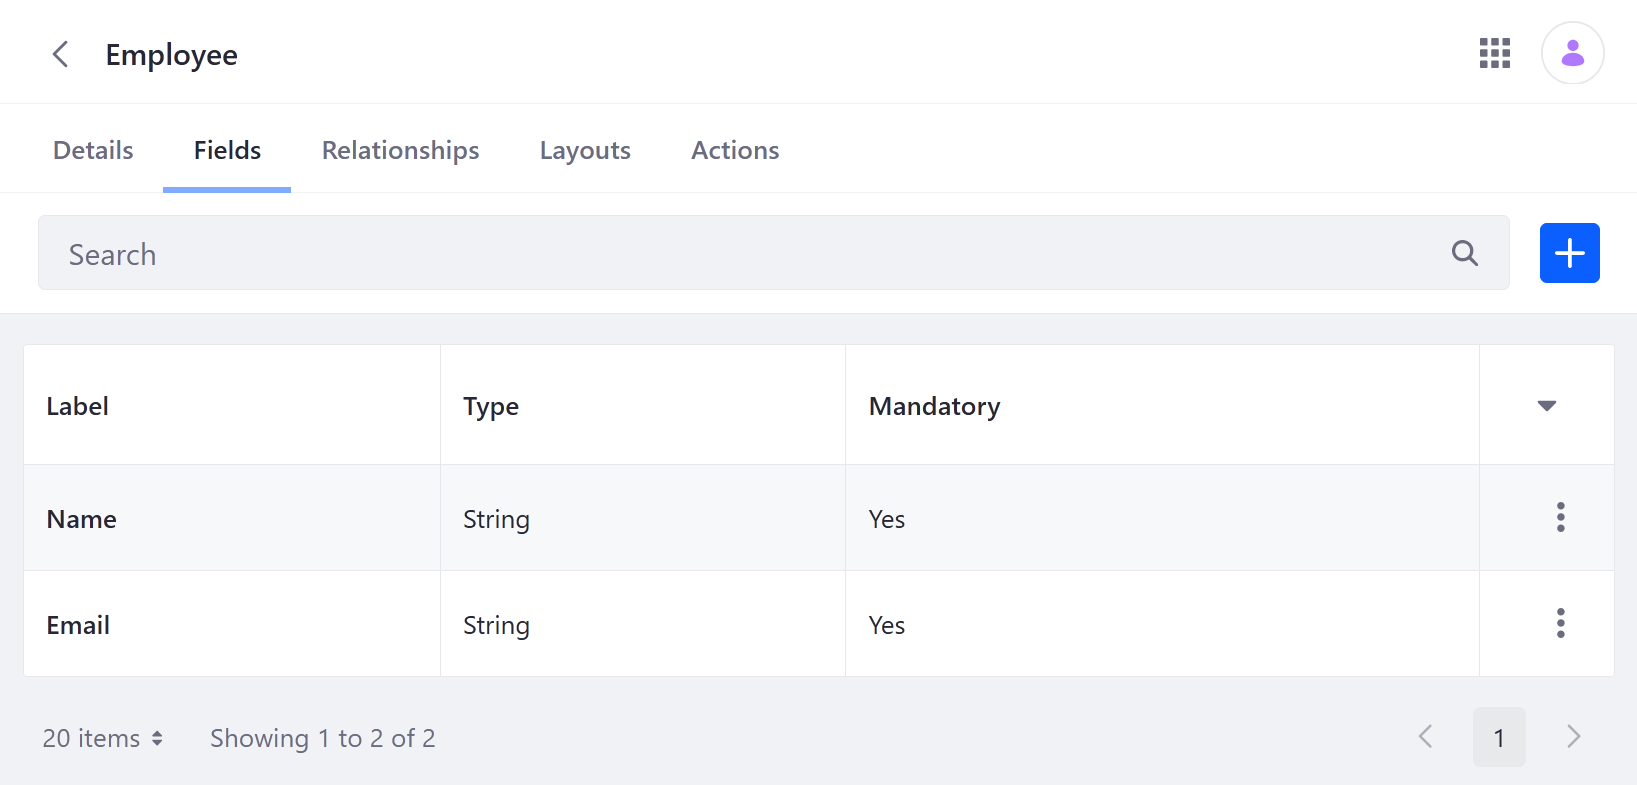
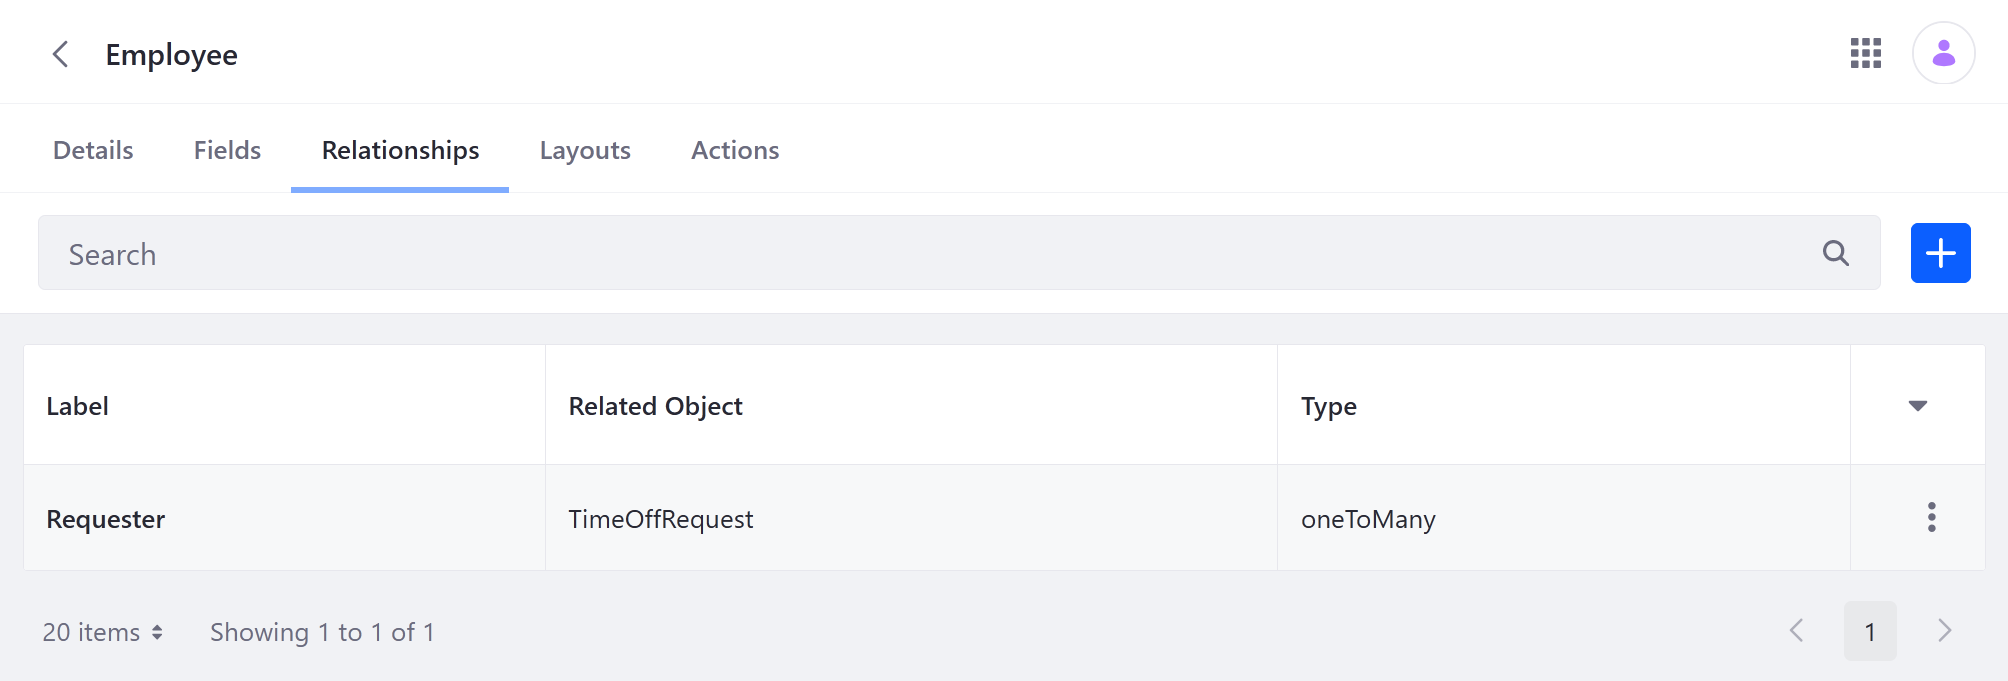
Click the Relationships tab and add this relationship.
Field Value Label Requester Relationship Name requester Type One to Many Object TimeOffRequest noteWhen you create this relationship, you add a foreign key field automatically to the Time Off Request Object.
Click the Details tab and set the following Entry Display and Scope settings.
Field Value Title Field Name Scope Company Panel Link Control Panel > Users Click Publish.
Once published, you can create entries via the Liferay UI or Headless APIs. However, to relate these entries to request entries, you must first create a custom layout.
Designing Custom Object Layouts
Object layouts determine how fields are organized when creating and editing Object entries. Since relationships are not displayed in default Object layouts, you must design custom layouts for both Objects to display their relationship fields.
For Time Off Requests
Navigate to the Objects application and select the Time Off Request Object.
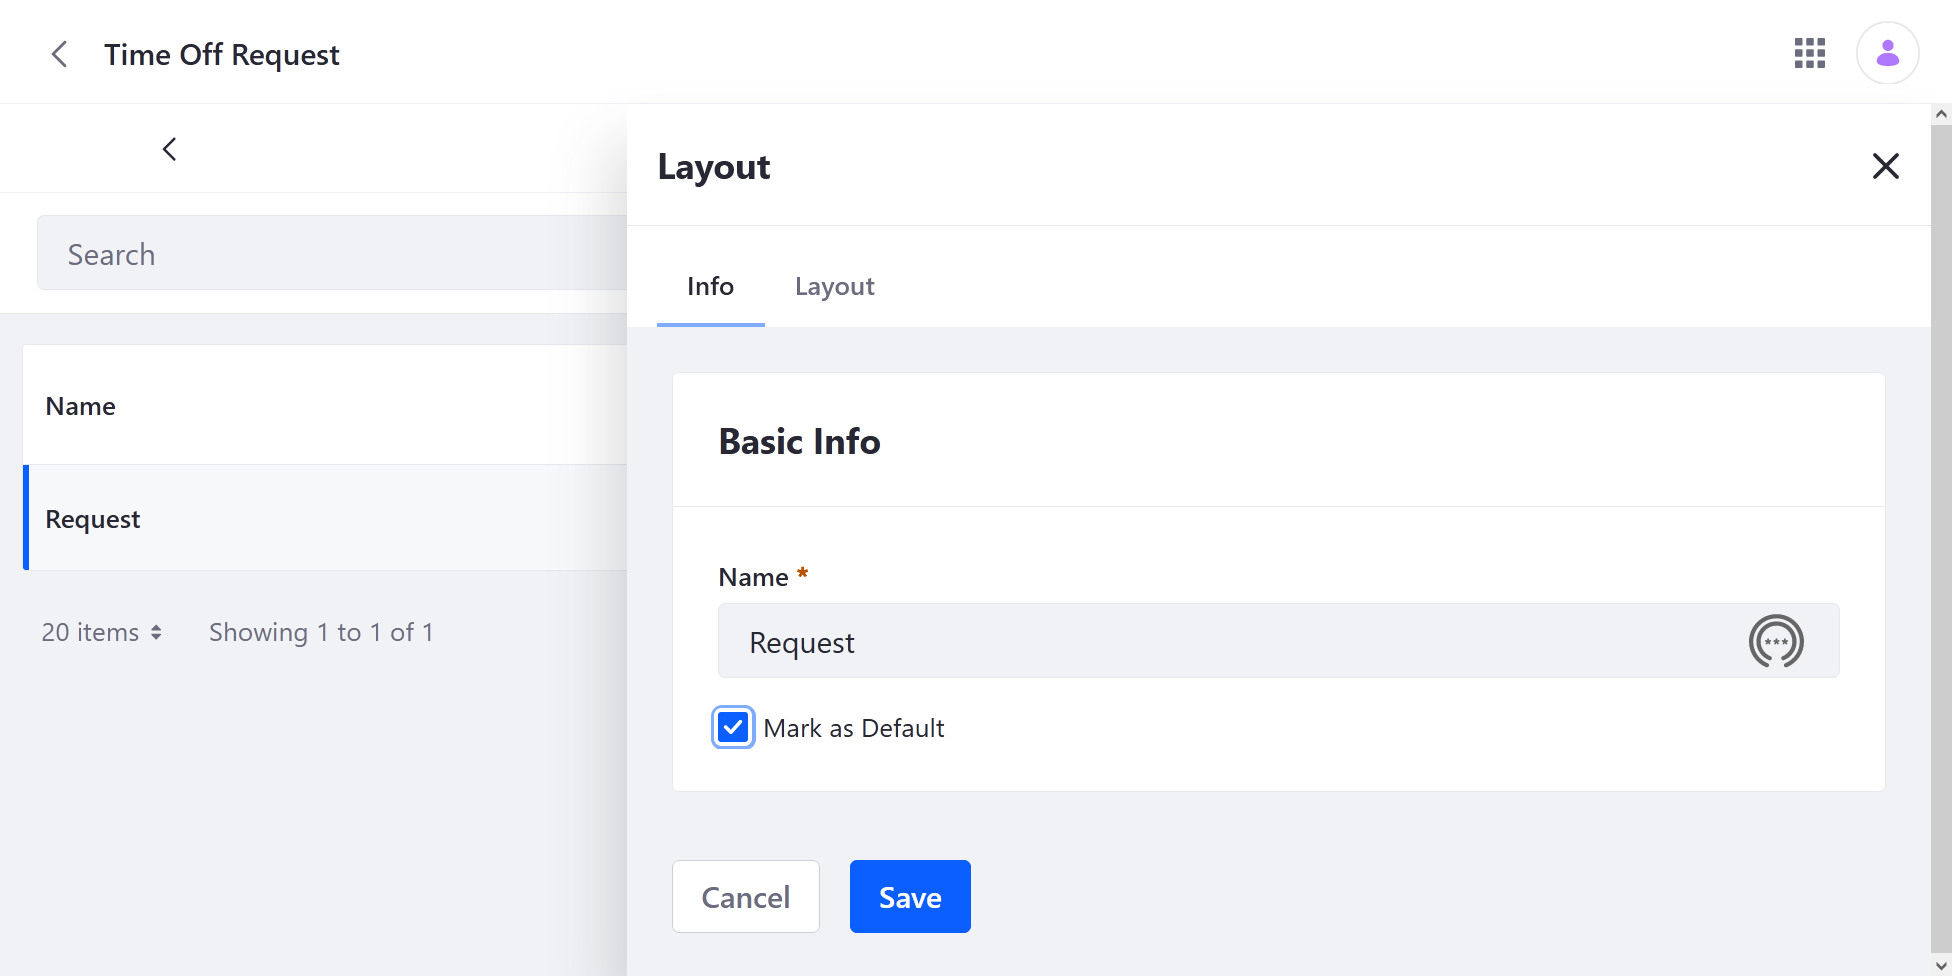
Click the Layouts tab, click the Add button (
), enter Request for name, and click Save.Select the new Layout and check the Mark as Default box.
Click the Layout tab and add a tab with two blocks.
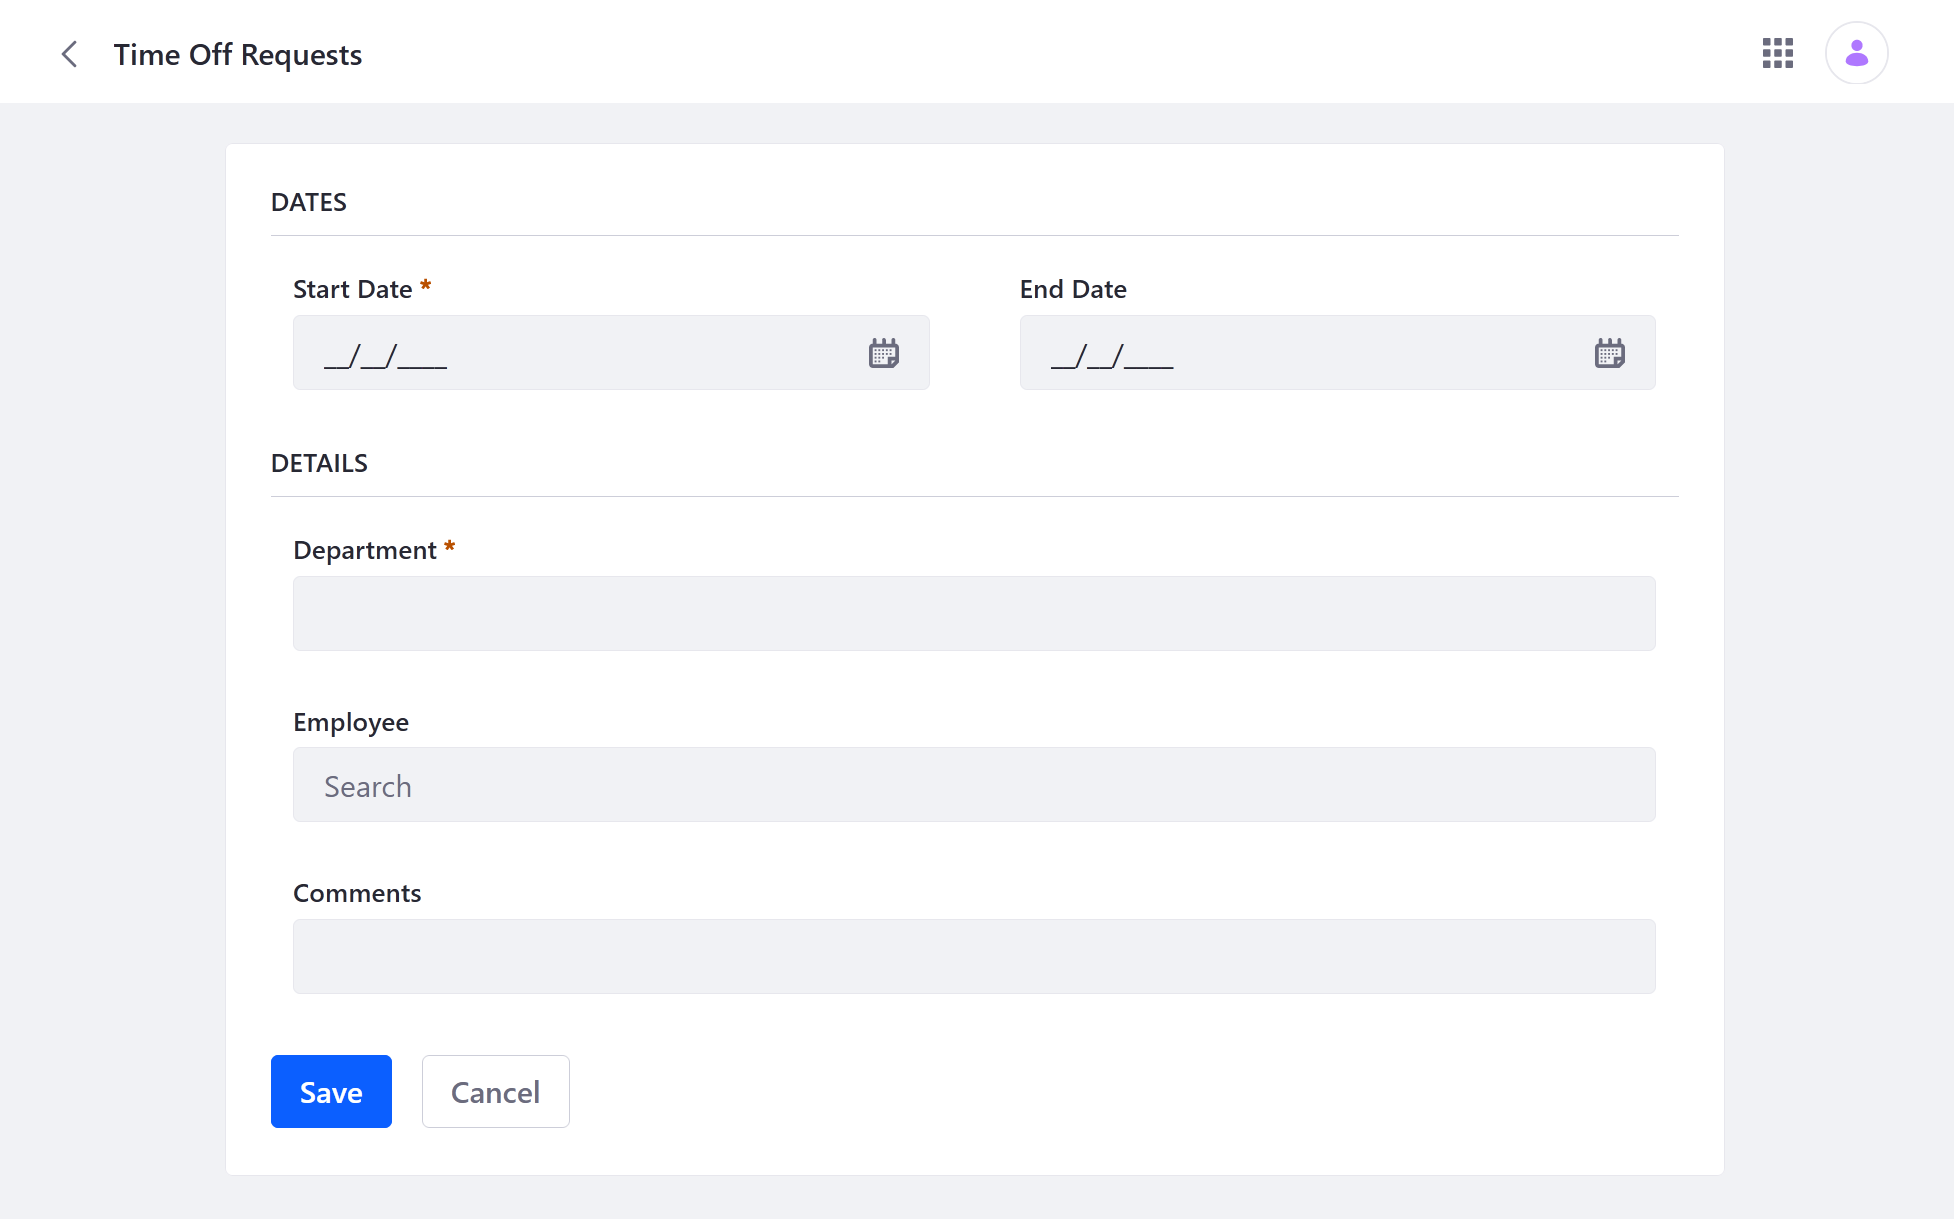
Element Label Type Tab Request Info Fields Block Dates n/a Block Details n/a Add fields to the blocks.
Block Fields Dates Start Date, End Date Details Department, Employee, Comments 
Click Save.
Once saved, the new layout is used in the Liferay UI for creating and editing Time Off Request entries. If employee entries exist, you can relate them to individual requests.
For Employees
Navigate to the Objects application and select the Employee Object.
Click the Layouts tab, click the Add button (
), enter Employee Info for name, and click Save.Select the new Layout and check the Mark as Default box.
Click the Layout tab and add a Fields tab with one block.
Element Label Type Tab Basic Details Fields Block Employee Info n/a Add the Name and Email fields to the block.
Add a Relationship tab for the Employee Object’s Requester relationship.
Element Label Type Relationship Tab Time Off Requests Relationships Requester 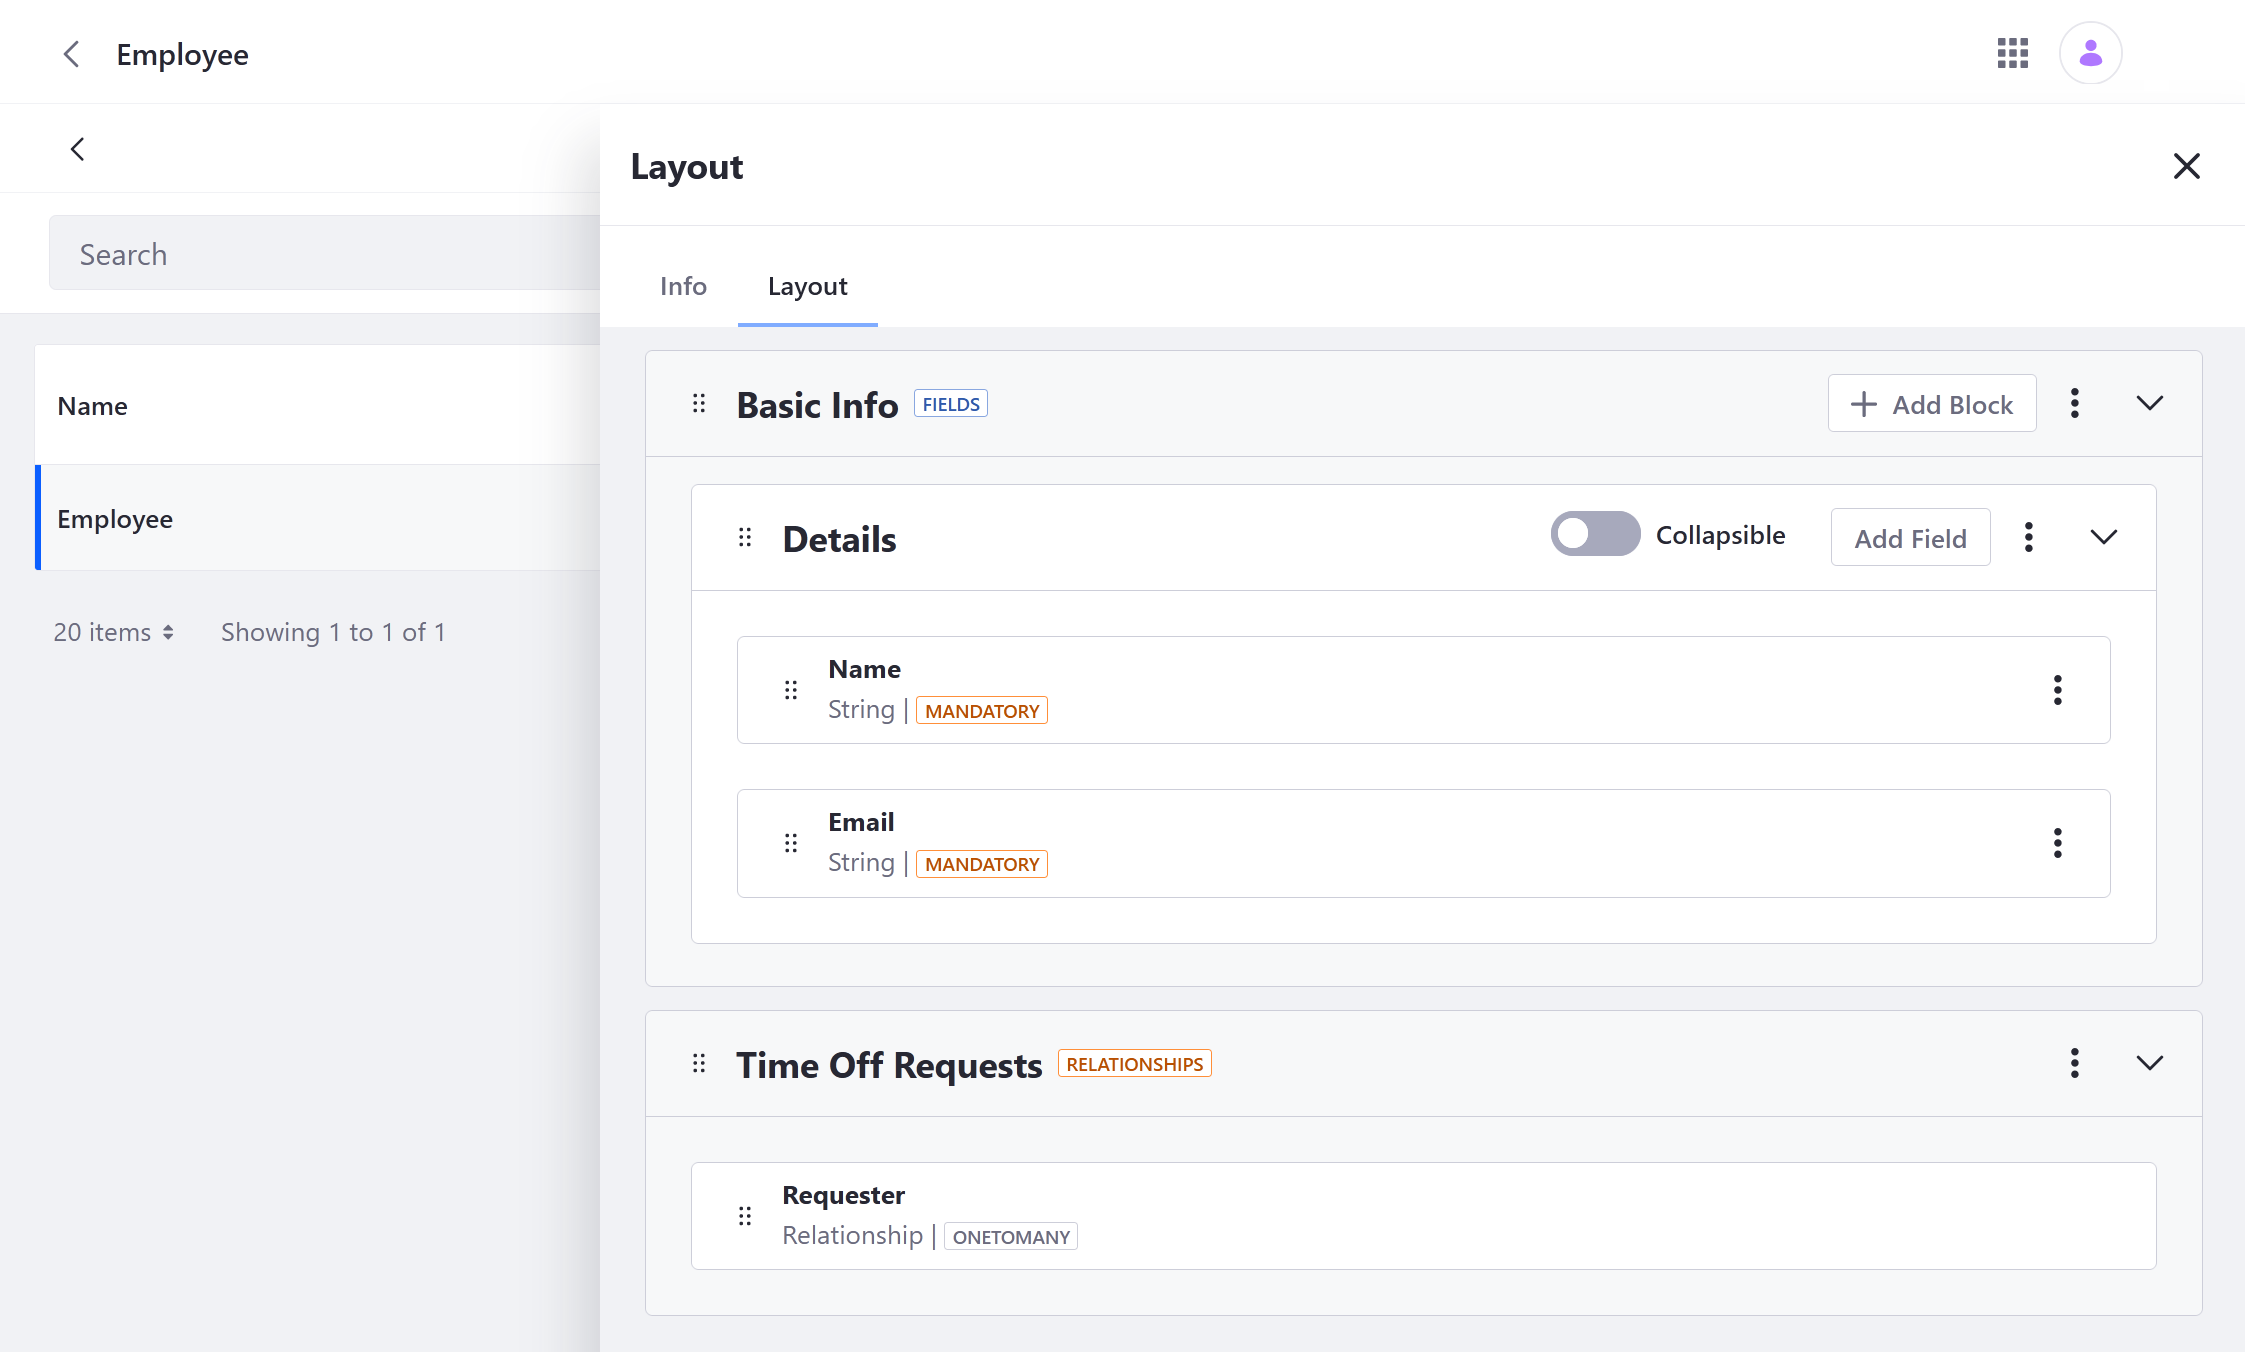
Click Save.
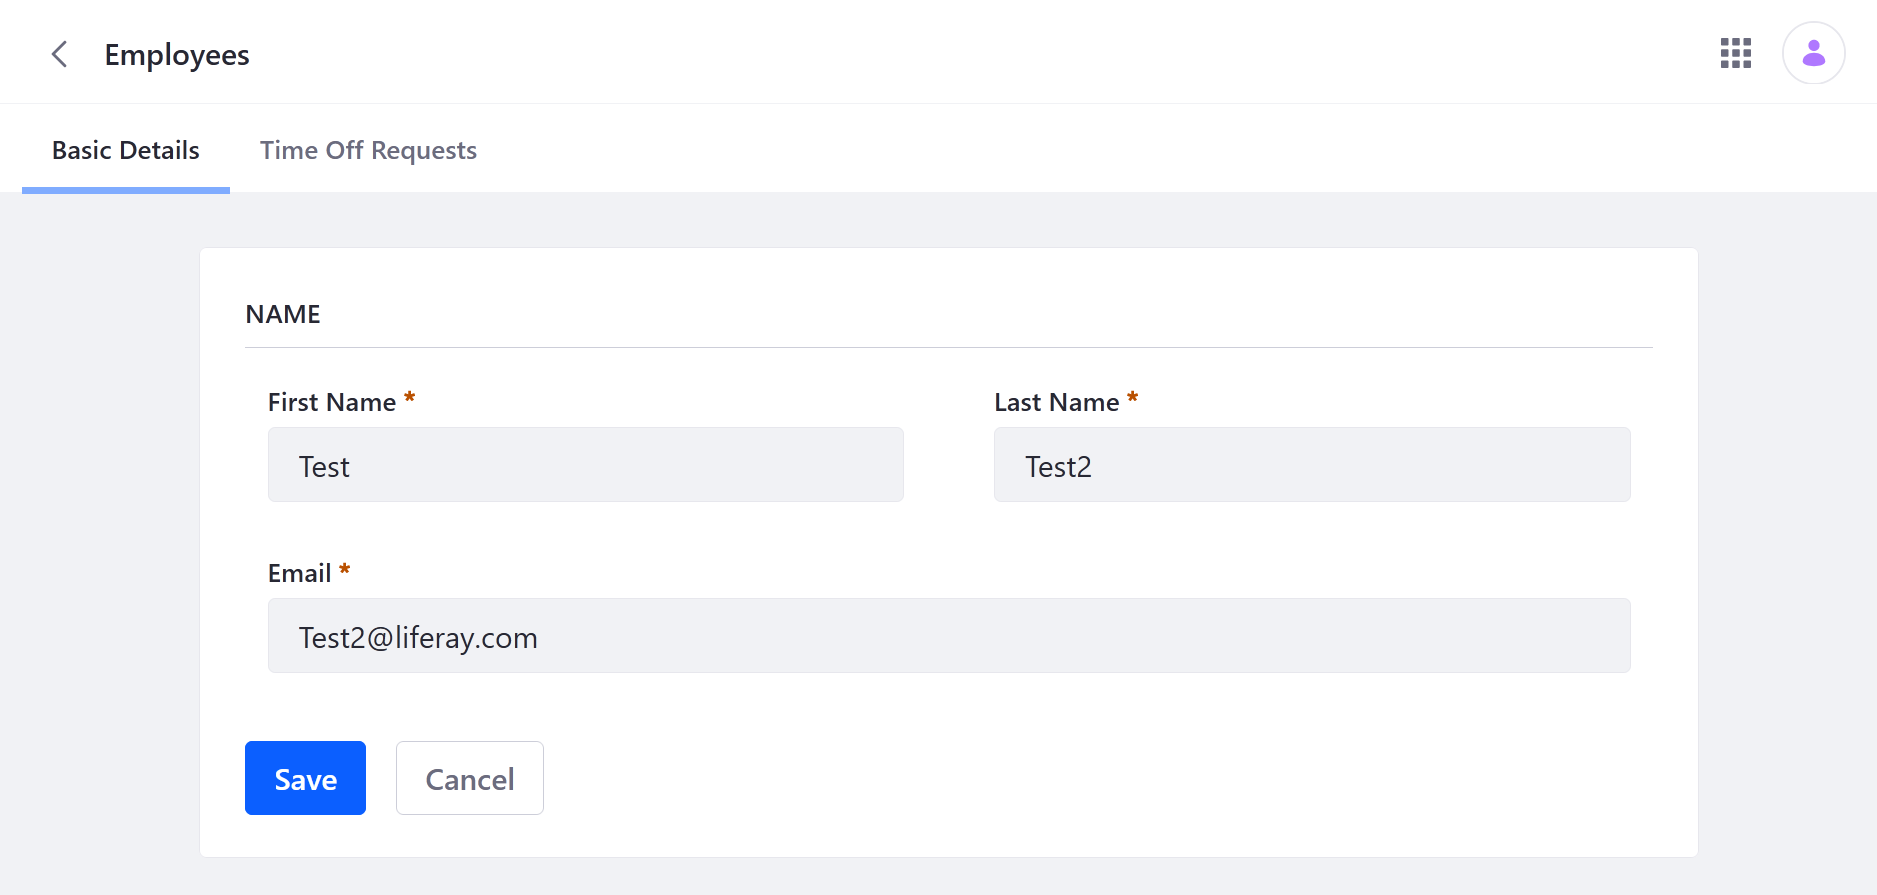
Once saved, the new layout is used in the Liferay UI for creating and editing employee entries. If request entries exist, you can relate them to employee entries in the Time Off Requests tab. Here, you can also view all requests related to the select employee entry.
Adding Object Entries
Now that your app is complete, you can use the Liferay UI and Headless APIs to add data to the Time Off Request and Employee Objects.
Adding Employees
Follow these steps to add employee entries using Headless APIs:
Open Liferay’s API Explorer (i.e.,
localhost:8080/o/api), click the REST Applications drop-down menu, and click c/employees.Enter this script into the request body for the batch
POSTAPI.[ { "email": "foo@liferay.com", "name": "Able" }, { "email": "bar@liferay.com", "name": "Baker" }, { "email": "goo@liferay.com", "name": "Charlie" } ]Click Execute.
This adds three entries to the Employee Object.
Adding Time Off Requests
Follow these steps to add request entries via the Liferay UI:
Open the Global Menu (
), click the Applications tab, and select Time Off Requests.Click the Add button (
) and fill out the formClick Save.
After saving an entry, you see the entry’s edit screen. To add more entries, return to the Time Off Requests main page. When time requests are added, the Object’s webhook is triggered and posts the entry’s data to the set URL.
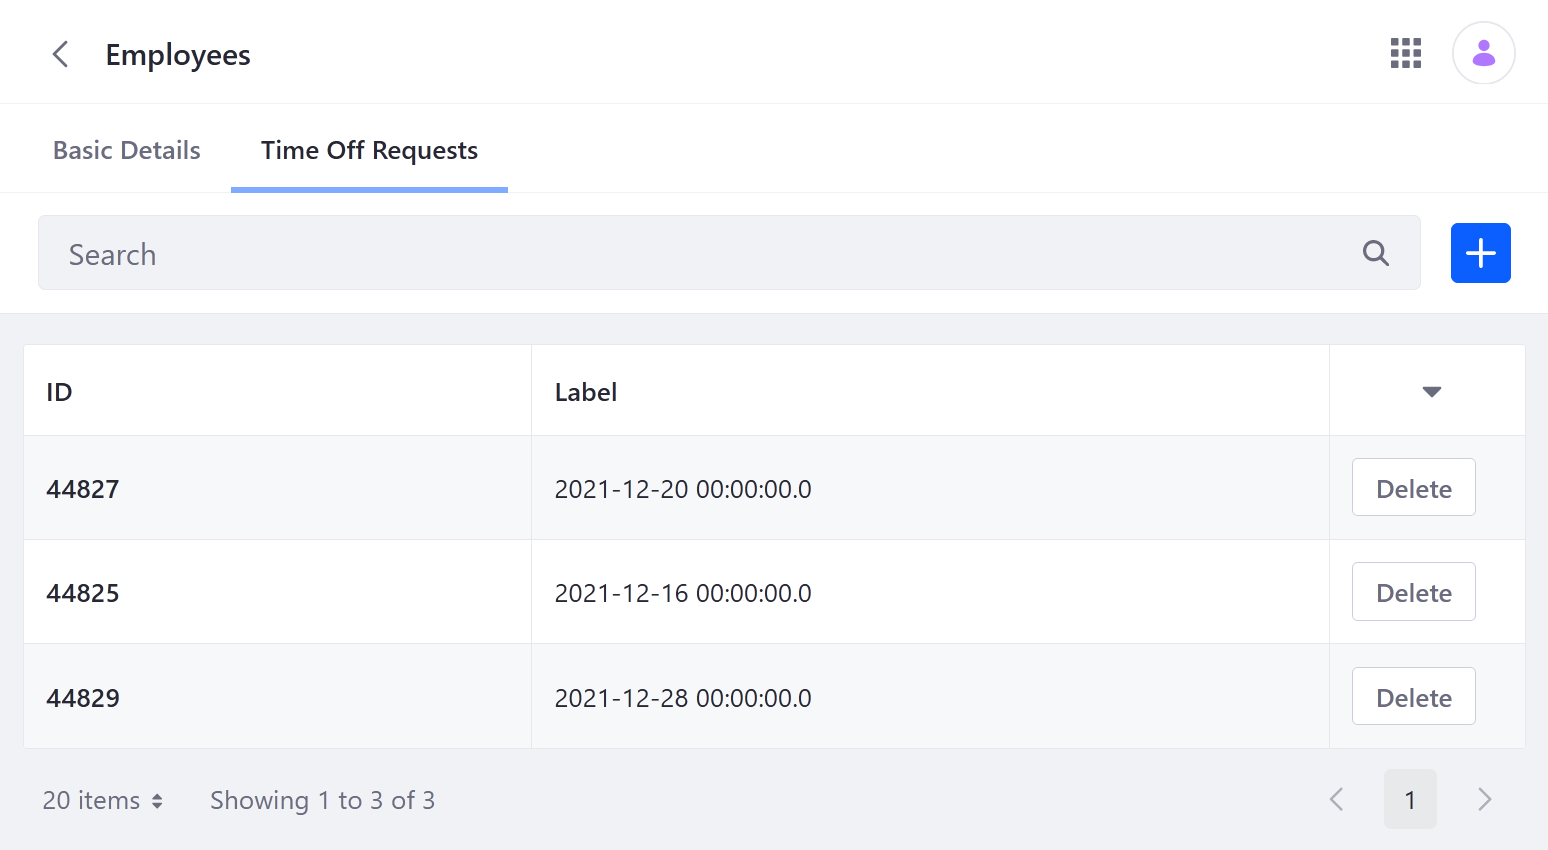
Once requests are added and related to employee entries, you can view them in the Employees application. Open the Global Menu (![]() ), go to the Control Panel tab, and click Employees. Select the related entry and click the Time Off Requests tab.
), go to the Control Panel tab, and click Employees. Select the related entry and click the Time Off Requests tab.