
This article is designed to help with troubleshooting Adaptive Media issues. Adaptive Media detects the device capabilities of the visitor and automatically delivers an appropriate scaled and optimized version of your stored media.
Q1. "What happens if the adaptive media process gets stuck?"
Usually, the process is seamless and the time it takes to execute depends on how many images you have. The reason why the process gets stuck is because of a corrupted image.
You might see this in the console:
2018-11-23 22:35:03.583 ERROR [liferay/background_task-1][BackgroundTaskMessageListener:166] Unable to execute background task
java.io.IOException: Unsupported image type
	at com.liferay.adaptive.media.image.internal.util.RenderedImageUtil.readImage(RenderedImageUtil.java:82)
	at com.liferay.adaptive.media.image.internal.processor.util.TiffOrientationTransformer._transform(TiffOrientationTransformer.java:96)
	at com.liferay.adaptive.media.image.internal.processor.util.TiffOrientationTransformer.transform(TiffOrientationTransformer.java:52)
	at com.liferay.adaptive.media.image.internal.scaler.AMDefaultImageScaler.scaleImage(AMDefaultImageScaler.java:54)
	at com.liferay.adaptive.media.image.internal.processor.AMImageProcessorImpl.process(AMImageProcessorImpl.java:123)
Resolution
- Create then deploy a debug patch that can help identify corrupt files. You can always open a Help Center ticket; Liferay Support can assist in this matter.
- The debug patch should display something like this in the console:
2018-12-04 22:37:39.196 DEBUG [liferay/background_task-1][DLAMImageOptimizer:183] DLFileEntry : Uui=[125ebb69-e71c-1240-8fef-6e982a035832] FileEntryId=[8632600] GroupI=[20143] CompanyId=[20116] UserId=[2661137] UserName=[xxx yyyy] RepositoryId=[20143] TreePath=[/] Name=[11333] FileName=[dnn.JPG] Extension=[jpg] MimeType=[image/jpeg] Title=[dnn.JPG] Descriptio=[] Version=[1.0] Size=[4056523]
In this example, the corrupted file is shown to bednn.jpg - Once the patch has identified the corrupted file(s), delete the corrupted file(s) from the Documents and Media repository.
- Repair or replace the files then upload them again to the Documents and Media repository.
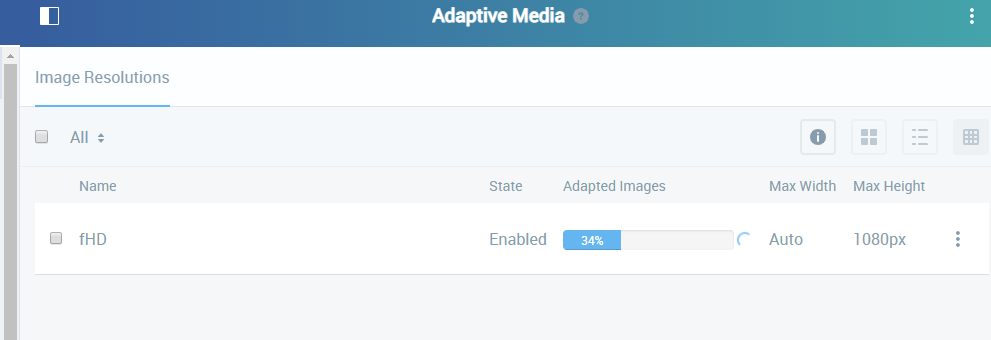
- Navigate to the Control Panel → Configuration → Adaptive Media.
- Click the 3 dot icon → Adapt Remaining.
At this point, the process converts the new image and is rendered according to the resolution rule.