Defining Content Relationships
When creating new content, you can define relationships between assets even if they don’t share any tags and aren’t in the same category. Related Assets puts related content at your users’ fingertips.
Before creating a relationship, you must create web content first:
Go to Product Menu(
 ) → Web Content.
Click New (
 ), then Basic Web Content.
Give your new web content a name and a short description.
Now you can create relationships to this content.
Go to Product Menu (
) and navigate to Blogs.Click Add Blog Entry (
).Give your new blog entry a title and fill in the Content field.
Now define the relationship with the web content you just created. Click Related Assets.
Click Select. From here you can choose from any asset category that Liferay provides.
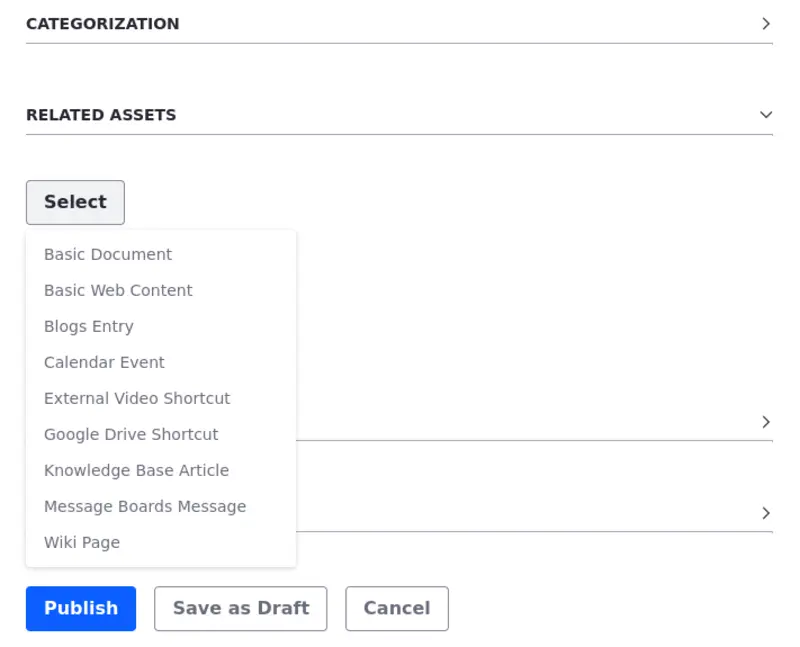
Click Basic Web Content. The content you created previously appears.
Check the box next the web content, then click Done.
The relationship is now established! Click Publish.
Using the Related Assets Widget
Once relationships are created, you can display them with the Related Assets Widget. By default, the Related Assets widget shows assets related to the asset displayed in the Asset Publisher. If you don’t want to show every related asset, you can configure what content relationships to display. To do this, follow these steps:
Go to the page editor, then click Widgets and search for the Asset Publisher widget on Fragments and Widgets. After adding it to the page, configure it to display the blog entry created previously. If you need more information, see Using the Asset Publisher Widget
Add the Related Assets widget to the page, next to the Asset Publisher widget.
Select Options (
 ) in the upper right corner of the Related Assets widget and click Configuration.
Under the Asset Selection tab, set the type of asset(s) to display using the Asset Type menu. The default value is set to Any.
You can narrow the scope of the app to display any single category of asset type or select multiple assets from the menu.
Filter options set minimum requirements for displaying assets by their categories, tags, and custom fields. Ordering and Grouping organizes assets using the same criteria. Display settings customize how the widget shows assets: by title, in a table, by abstract, or full content. You can convert assets to different document types like ODT, PDF, and RTF. You can choose to show metadata fields such as author, modification date, tags, and view count. You can even enable RSS subscriptions and customize their display settings.
When you’re finished setting the Source and Filter options, click Save.
Click Publish. The Related assets to the entry appear when you click it.
