Importing User Groups’ Memberships from an External IdP through SAML
This feature was released behind a dev feature flag. It was made Generally Available (GA) in Liferay DXP 2024.Q2/Portal GA120. You must not use this feature in production for earlier versions where it’s behind a dev feature flag.
You can import users’ user group membership from external identity providers (IdPs). This requires only configuring the necessary fields when registering the IdP. The XML structure varies by IdP, so your first step is to find the multi-valued attributes for user groups from your IdP.
For example, uses Okta’s structure for user groups looks like this:
<saml2:Attribute Name="userGroup" NameFormat="urn:oasis:names:tc:SAML:2.0:attrname-format:unspecified">
      <saml2:AttributeValue xmlns:xs="http://www.w3.org/2001/XMLSchema"
                           xmlns:xsi="http://www.w3.org/2001/XMLSchema-instance"
                           xsi:type="xs:string"
                           >Okta-UserGroup2
      </saml2:AttributeValue>
      <saml2:AttributeValue xmlns:xs="http://www.w3.org/2001/XMLSchema"
                           xmlns:xsi="http://www.w3.org/2001/XMLSchema-instance"
                           xsi:type="xs:string"
                           >Okta-UserGroup1
      </saml2:AttributeValue>
</saml2:Attribute>
Below is the configuration using this structure for importing user groups from an external IdP.
This example uses Okta as the external identity provider (IdP) and Liferay as the service provider (SP).
Creating a SAML 2.0 App on Okta
-
Log into the Okta admin dashboard.
-
Navigate to Applications → Applications, and click Create App Integration.
-
Select SAML 2.0 and click Next.
-
Enter the name as liferaysaml and click Next.
-
Enter the following values under General, in the SAML Settings section:
Single sign-on URL:
http://[IP_ADDRESS]:[PORT_NUMBER]/c/portal/saml/acs(If you’re running a local Liferay instance, this would behttp://localhost:8080/c/portal/saml/acs)Audience URI (SP Entity ID):
okta-samlName ID Format:
EmailAddressApplication username:
Email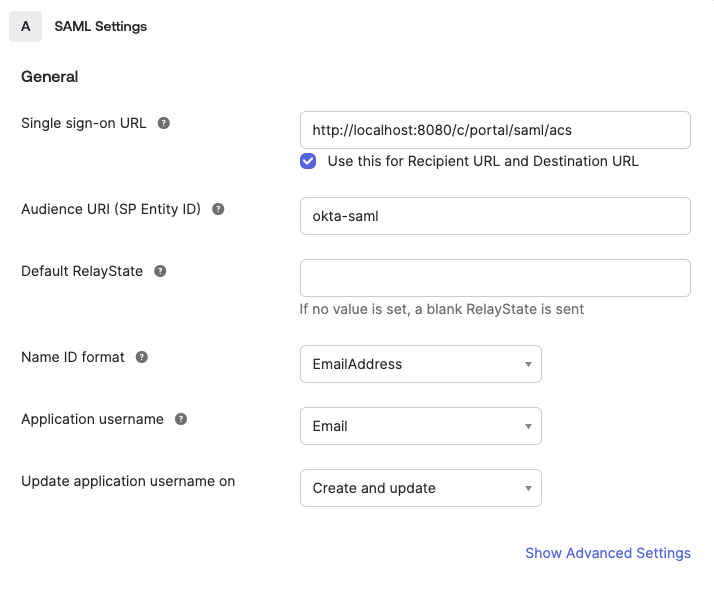
This field denotes the source of the username users use to log in to Okta, which then logs them into Liferay when using SAML.
-
Add the following values under Attribute Statements:
firstName (Unspecified):
user.firstNamelastName (Unspecified):
user.lastNameemailAddress (Unspecified):
user.emailscreenName (Unspecified):
user.firstNameThe values on the left are names of the SAML attributes. They map to the corresponding values on the right which specify different user fields in Okta.
-
Add the following values under Group Attribute Statements:
userGroup (Unspecified): Starts with
Okta(This assumes that your user groups on Okta start with the prefixOkta. For example:Okta-UserGroup-1)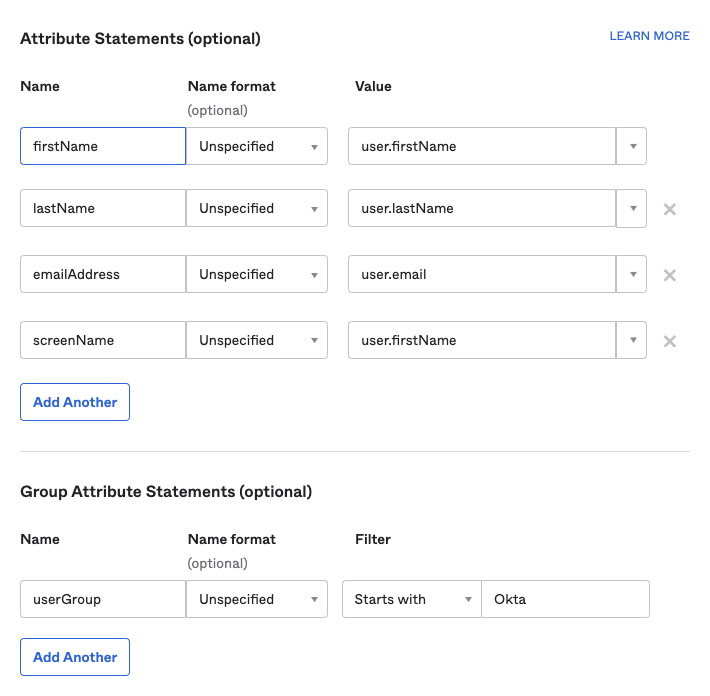 Note
NoteThe instructions above assume that you already have a set of users on Okta belonging to different groups (starting with the prefix
Okta). Okta recommends using either keywords or regex to define group memberships. These groups are matched by their name with user groups in Liferay.It is mandatory to specify a filter condition or regex for group attribute statements. The SAML attribute is sent empty if there is no filter condition or regex.
-
Click Next.
-
The rest of the form is Okta-specific and has no effect on the configuration. Select whatever suits you best and click Finish.
Saving the Metadata
The last step before moving to your Liferay instance is to save the SAML metadata.
-
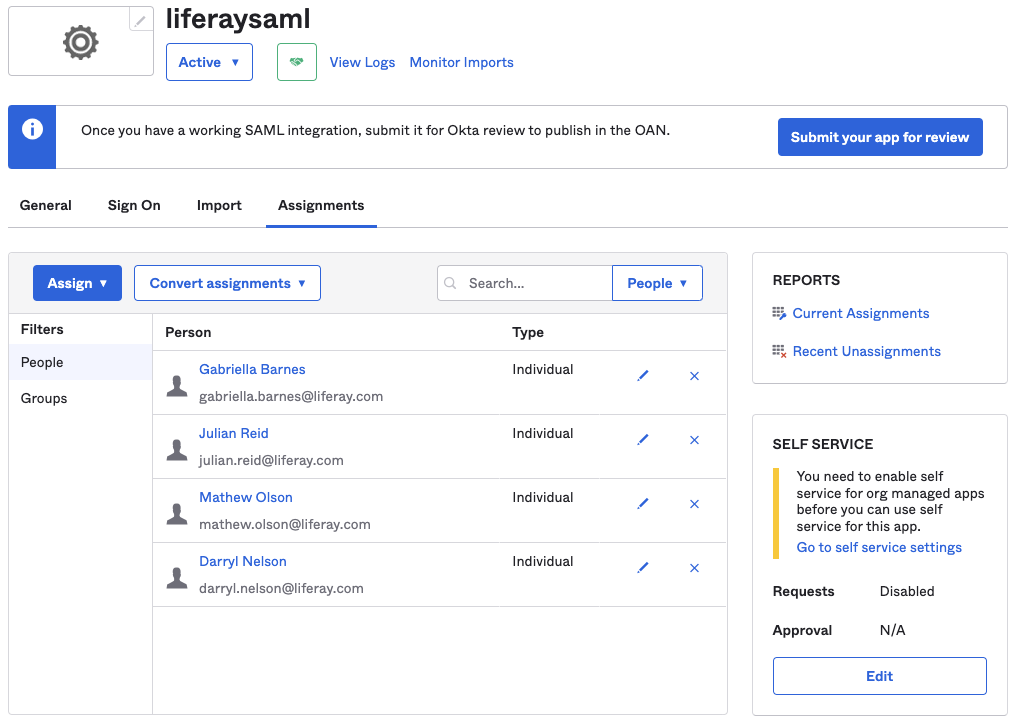
Navigate to Applications → Applications, and select liferaysaml.
-
You can view the Assignments tab by default. Click on Assign and select Assign to People. Search for users that can log into Liferay using this SAML app and click Assign. You can also select by groups here.
-
Click Done.
-
Select the Sign On tab.
-
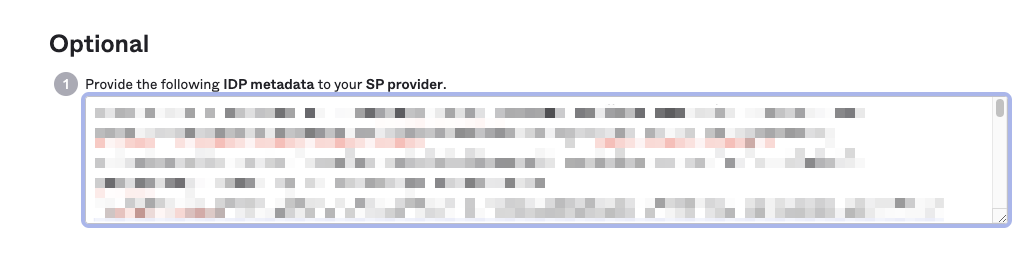
On the right side, click View SAML setup instructions.
-
On the new screen, scroll down to the Optional section. Copy the entire block of XML code and paste it in a new file named
oktasamlmetadata.xml.
Liferay Configuration
Now, you must set Okta as a service provider in Liferay’s SAML Admin.
-
Open the Global Menu (
 ) and navigate to Control Panel → SAML Admin.
 -
In the General tab, enter okta-saml as the Entity ID.
-
Click Create Certificate.
-
In the new window, enter okta-saml as the Common Name and learn as the Key Password.
-
Click Save.
-
Under Identity Provider Connections, click Add Identity Provider.
-
Enter Okta as the name.
-
Copy the entity ID from the
oktasamlmetadata.xmlfile and paste it here. -
Check the Enabled checkbox.
-
Under Metadata, click Upload Metadata XML and select the file created earlier.
-
Set Email Address as the Name Identifier Format.
-
Under Attribute Mapping, create three new basic user fields to get a total of four. Enter the information as shown:
User Fields SAML Attribute emailAddress emailAddress firstName firstName lastName lastName screenName screenName 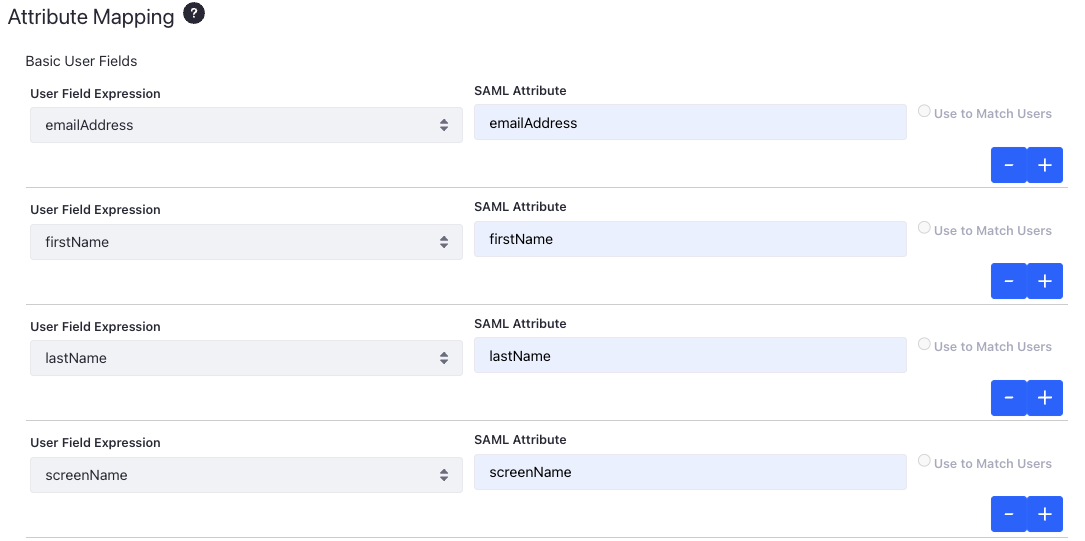
-
Under the User Memberships section, select
userGroupsfrom the drop-down and set its value asuserGroup.
Both the mappings above link user attributes in Liferay with SAML attributes configured on Okta. For instance, the name of the user group SAML attribute in Okta is
userGroup. This is mapped to theuserGroupsattribute in Liferay. -
Click Save.
Now you can go to your Liferay instance and click Sign In. This redirects you to the identity provider’s sign in page. When you log in, you are redirected back to Liferay’s home page. You can also verify the user’s user group membership by opening the Global Menu (![]() ) and navigating to Control Panel → User Groups.
) and navigating to Control Panel → User Groups.
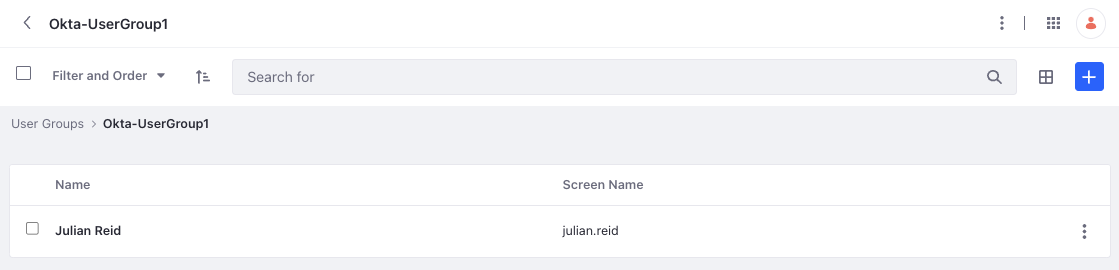
Users are assigned automatically to user groups only if they are already present. Ensure that you have user groups in Liferay that correspond to the groups on Okta. If Okta sends the group information and the corresponding user group doesn’t exist in Liferay, the attribute is ignored. See Creating and Managing User Groups to learn how to create and manage user groups.
If you assign users to other user groups in Liferay after signing in, these memberships are overwritten the next time you log in through the IdP. For user permissions, you should use LDAP or SCIM to manage memberships.