Account Roles
Available 7.4+
Create different account roles with specific permissions and assign them to account users to manage access to accounts.
There are two types of account roles:
- Shared roles are available across all accounts in the instance.
- Owned roles are created and managed within a specific account.
Account roles are always scoped to individual accounts. For example, a user can have the Buyer role for Account A, but not for Account B. See Defining Role Permissions to learn how permissions work and how they’re inherited.
Viewing Account Roles
To view shared roles,
-
Open the Global Menu (
 ) and go to Control Panel → Roles.
 -
Select the Account Roles tab to see the list of shared roles.
To view owned roles,
-
Open the Global Menu (
) and go to Control Panel → Accounts. -
Select an Account and select the Roles tab to view the list of owned roles.
Creating and Assigning Shared Account Roles
-
Open the Global Menu (
). Navigate to Control Panel → Roles. -
Select the Account Roles tab. Click New.
-
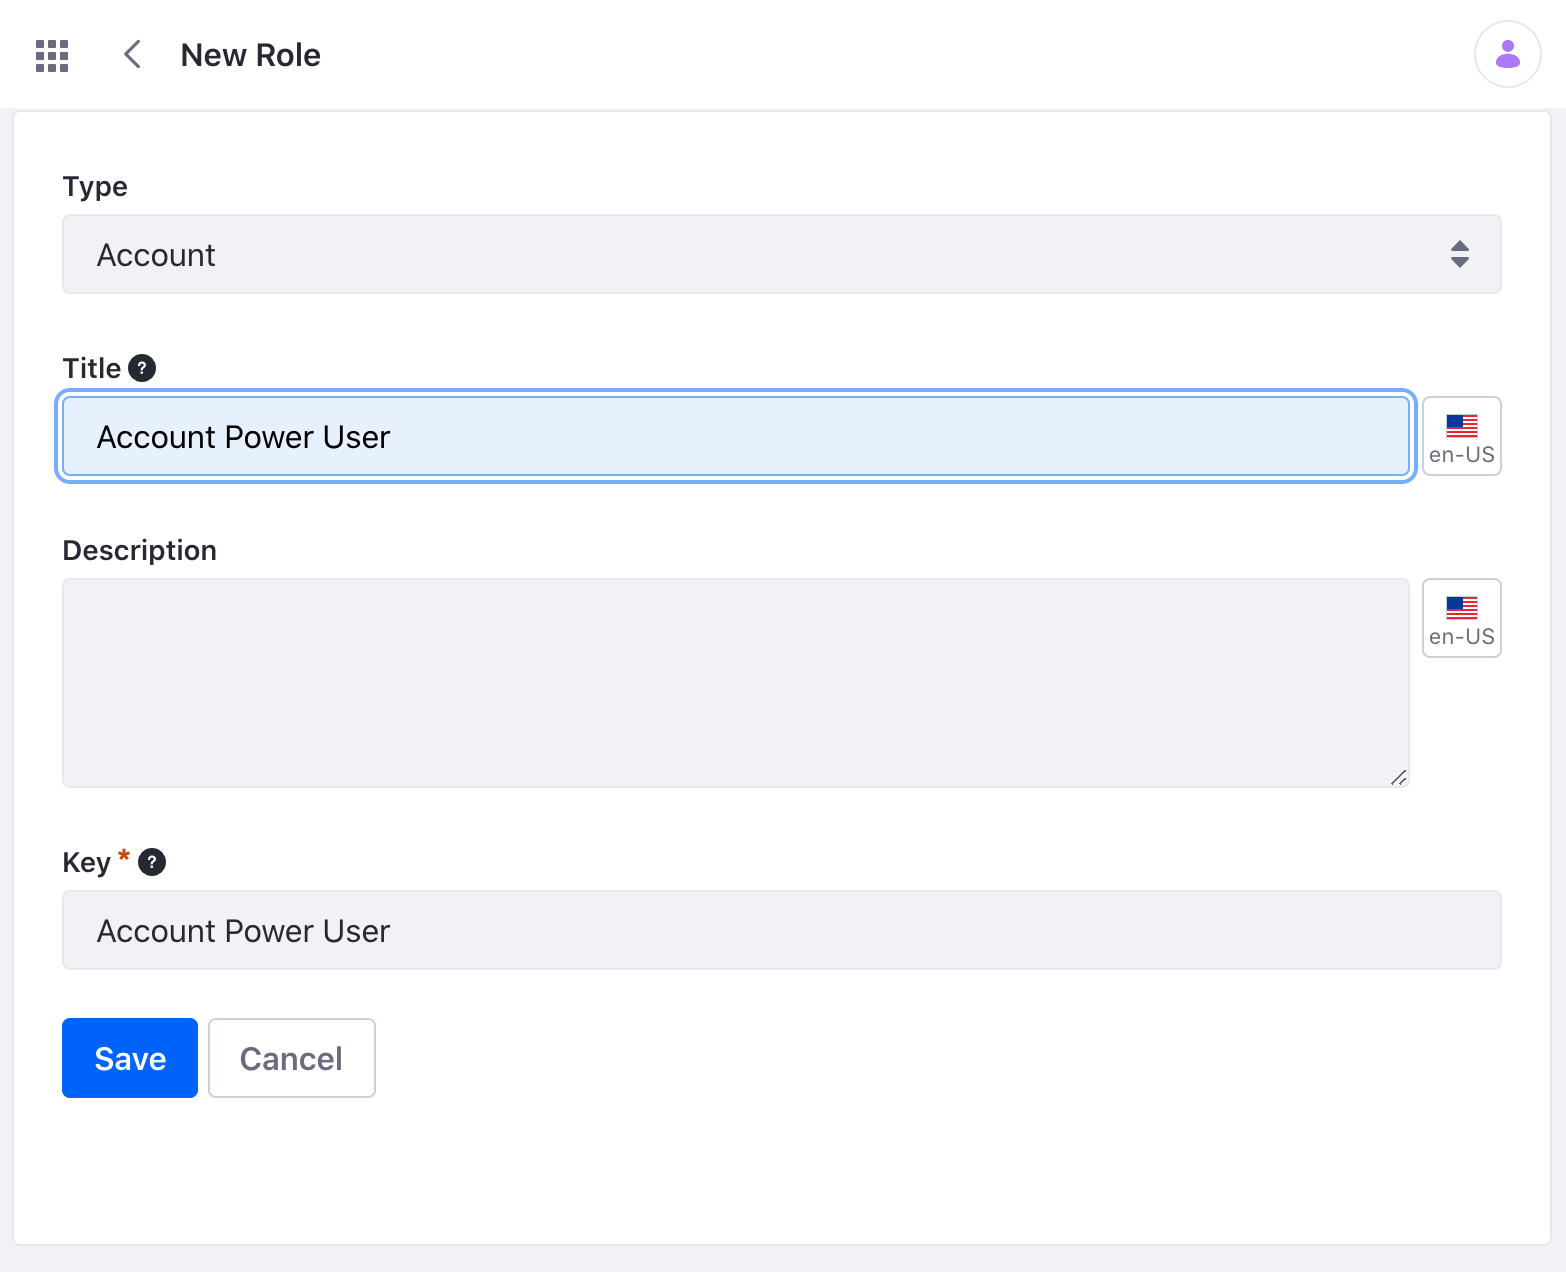
Give the new role a title and description. Click Save to create the role.
-
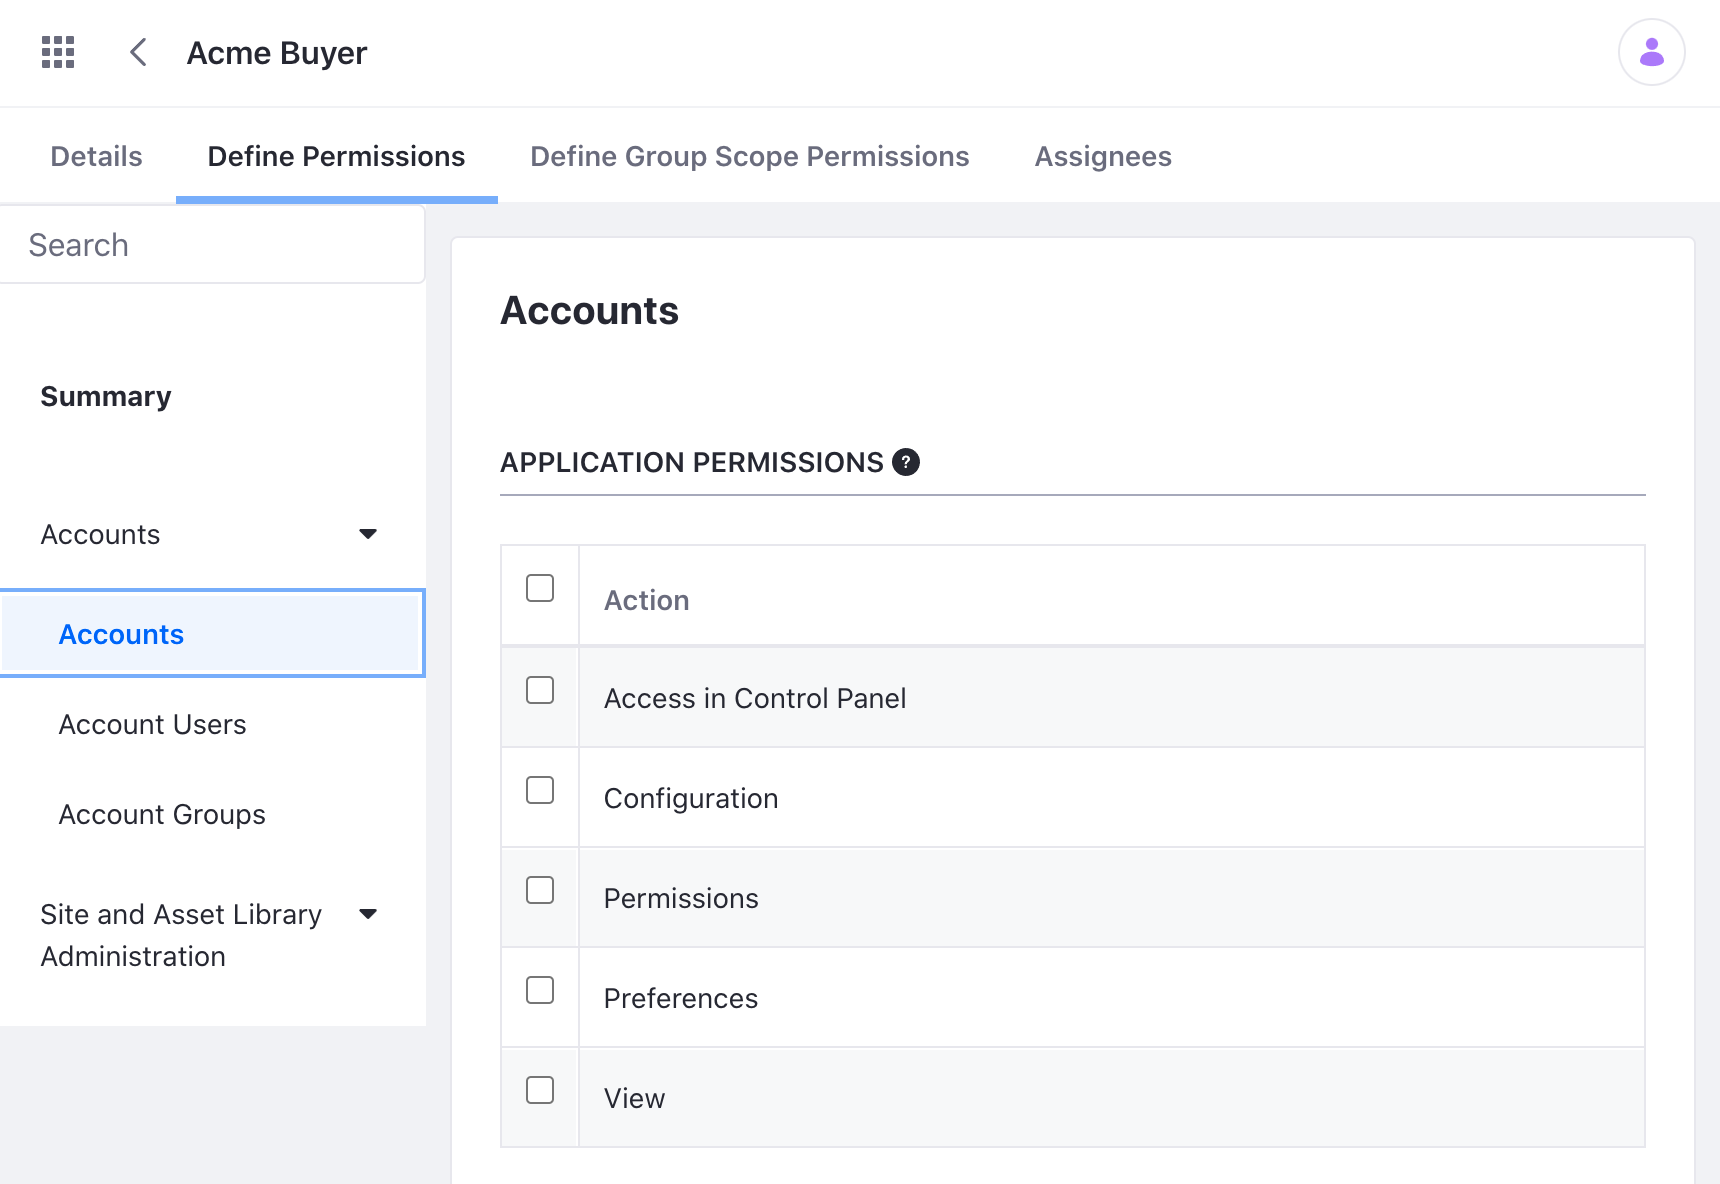
Select the Define Permissions tab at the top of the page to set permissions for account-owned resources, including the Account itself.
For example, selecting Update Permissions enables the role to change the account’s description.
Click Save to save the permissions.
-
Select the Define Group Scope Permissions tab to set permissions for other resources owned by other groups (i.e. sites, channels, asset libraries, etc.). These apply for the currently selected account.
To assign users to this role,
-
Open the Global Menu (
). Navigate to Control Panel → Accounts. Select a specific account. -
Select the Roles tab and click Actions (
 ) for the role you created. Click Assign Users.
-
Click New and assign a user to this role.
Creating and Assigning an Owned Account Role
-
Open the Global Menu (
). Navigate to Control Panel → Accounts. -
Select an account by clicking its name, or click Actions (
) on the account and click Edit. -
Select the Roles tab and click New.
-
Give the new role a title and description. Click Save to create the role.
-
Select the Define Permissions tab at the top of the page to set permissions for account-owned resources, including the Account itself.
For example, selecting Update Permissions enables the role to change the account’s description.
Click Save to save the permissions.
-
Select the Define Group Scope Permissions tab to set permissions for resources owned by other groups (i.e. sites, channels, asset libraries, etc.). These apply for the currently selected account.
-
To assign users to the role, select the Assignees tab and click New. Select the users and click Assign.