Rendering Views with MVC Portlet
If you want users to access your portlet’s views, you must implement navigation to them. Portlet render URLs help you do this.
Here you’ll deploy an example application that uses portlet render URLs. You’ll examine how the portlet creates URLs that set the view path using use MVC Portlet’s mvcPath parameter.
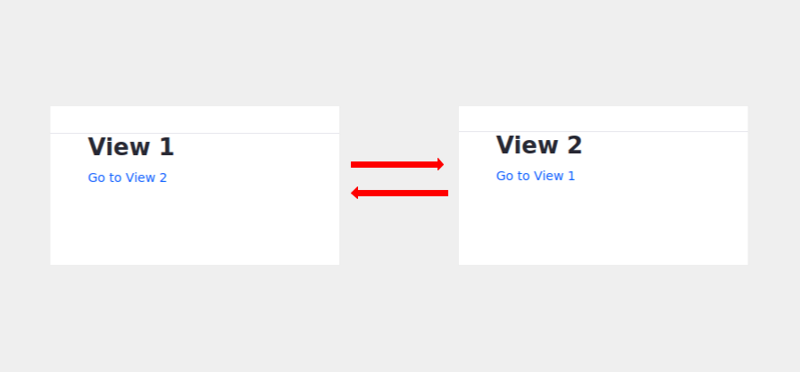
The example portlet has two views: View 1 displays its name and a link to View 2, and vice-versa.
Deploy an MVC Portlet with Multiple Views
Here’s how to deploy the example portlet and navigate between its views. For learning purposes, the portlet logs the mvcPath parameter value.
Start a new Liferay instance by running
docker run -it -m 8g -p 8080:8080 liferay/portal:7.4.3.132-ga132
Sign in to Liferay at http://localhost:8080. Use the email address test@liferay.com and the password test. When prompted, change the password to learn.
Then, follow these steps:
-
Download and unzip the example.
curl https://resources.learn.liferay.com/examples/liferay-c8m3.zip -Ounzip liferay-c8m3.zip -
Build and deploy the example.
cd liferay-c8m3./gradlew deploy -Ddeploy.docker.container.id=$(docker ps -lq)NoteThis command is the same as copying module JARs to
/opt/liferay/osgi/moduleson the Docker container. -
Confirm the deployment in the Docker container console.
STARTED com.acme.c8m3.web_1.0.0 -
Add the C8M3 Portlet widget from the Samples category to a widget page. View 1 (the portlet’s default view) appears.

The following message prints to your log.
MVC path nullThe render request doesn’t yet include an MVC path parameter. This is expected. The portlet renders View 1 by default using the portlet class (described later). The next step uses the MVC path parameter.
-
Click Go to View 2. View 2 appears.

The log message shows the MVC path value
/view_2.jsp—the path to the View 2 template.MVC path /view_2.jsp -
Click Go to View 1. View 1 appears again.
The log message prints the MVC path
/view_1.jsp.MVC path /view_1.jsp
You’ve made the round trip between the portlet views. Next, learn how the portlet sets a default view and sets paths to views using render URLs and the MVC path request parameter.
Setting the Default View
A portlet’s default view renders when users first land on the portlet’s page. An initialization parameter in the portlet class sets the default view. The C8M3Portlet.java example class sets the default view in its @Component annotation.
@Component(
	property = {
		"com.liferay.portlet.display-category=category.sample",
		"javax.portlet.display-name=C8M3 Portlet",
		"javax.portlet.init-param.view-template=/view_1.jsp"
	},
	service = Portlet.class
)
public class C8M3Portlet extends MVCPortlet {
The @Component property "javax.portlet.init-param.view-template=/view1.jsp" specifies /view1.jsp as the default view template. The template path is relative to the portlet’s src/main/resources/META-INF/resources folder.
Next, learn how View 1 links to View 2.
Linking to a View Using a Portlet Render URL
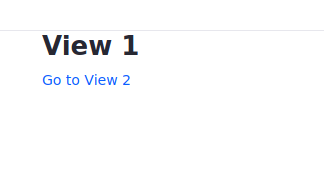
View 1 has only a heading called View 1 and a link labeled Go to View 2. Here’s the view1.jsp code:
<%@ taglib uri="http://java.sun.com/portlet_2_0" prefix="portlet" %>

<h4>C8M3 Portlet</h4>

<h5>View 1</h5>

<portlet:renderURL var="view2URL">
	<portlet:param name="mvcPath" value="/view_2.jsp" />
</portlet:renderURL>

<a href="<%= view2URL %>">Go to View 2</a>
The portlet:renderURL tag comes from the portlet taglib and is assigned the prefix portlet. The render URL above is assigned to the variable view2URL. The render URL declares the portlet:param named mvcPath the value /view_2.jsp. When the portlet renders, the mvcPath parameter is added to the portlet’s RenderRequest object. On processing portlet requests, MVCPortlet renders the template assigned to mvcPath.
A render URL must be bound to a UI component, such as a hyperlink or buttons, for the portlet to use the URL. The hyperlink <a href="<%= view2URL %>">Go to View 2</a> binds the render URL to a UI component.
When a user clicks on the Go to View 2 hyperlink, a portlet request that includes the mvcPath parameter is sent to the portlet class.
Handling the mvcPath Portlet Parameter
When a portlet receives the request object, it can respond to the request object parameters. C8M3Portlet’s render method responds to render requests.
@Override
public void render(
		RenderRequest renderRequest, RenderResponse renderResponse)
	throws IOException, PortletException {

	if (_log.isInfoEnabled()) {
		String mvcPath = renderRequest.getParameter("mvcPath");

		_log.info("MVC path " + mvcPath);
	}

	super.render(renderRequest, renderResponse);
}

private static final Log _log = LogFactoryUtil.getLog(C8M3Portlet.class);
C8M3Portlet’s render method logs the mvcPath parameter value and then delegates rendering the portlet to the superclass MVCPortlet. MVCPortlet renders the view assigned to the mvcPath portlet request parameter.
In the absence of an mvcPath request parameter, MVCPortlet displays its default template (i.e., the template that the javax.portlet.init-param.view-template component property specifies).
The View 2 template view2.jsp maps back to view1.jsp using a portlet render URL too.
<%@ taglib uri="http://java.sun.com/portlet_2_0" prefix="portlet" %>

<h4>C8M3 Portlet</h4>

<h5>View 2</h5>

<portlet:renderURL var="view1URL">
	<portlet:param name="mvcPath" value="/view_1.jsp" />
</portlet:renderURL>

<a href="<%= view1URL %>">Go to View 1</a>
It implements the round trip back to View 1.
What’s Next
Now you know how to render portlet views. Next, you can perform actions in your portlet or render your views using separate RenderCommand classes.