How to set up a Mail Server with DXP to receive email notifications?
How To articles are not official guidelines or officially
supporteddocumentation. They are community-contributed content and may
not alwaysreflect the latest updates to Liferay DXP. We welcome your
feedback toimprove How to articles!
While we make every effort to ensure this Knowledge Base is accurate,
itmay not always reflect the most recent updates or official
guidelines.We appreciate your understanding and encourage you to reach
out with anyfeedback or concerns.
Legacy Article
You are viewing an article from our legacy
"FastTrack"publication program, made available for
informational purposes. Articlesin this program were published without a
requirement for independentediting or verification and are provided
"as is" withoutguarantee.
Before using any information from this article, independently verify
itssuitability for your situation and project.
Issue
- This article outlines how to set up a Mail Server and SMTP in Liferay DXP to receive emails.
Resolution
- Liferay DXP uses a mail server and SMTP to get email notifications. Liferay DXP’s built-in mail session is the easiest way to configure mail and it’s recommended.
-
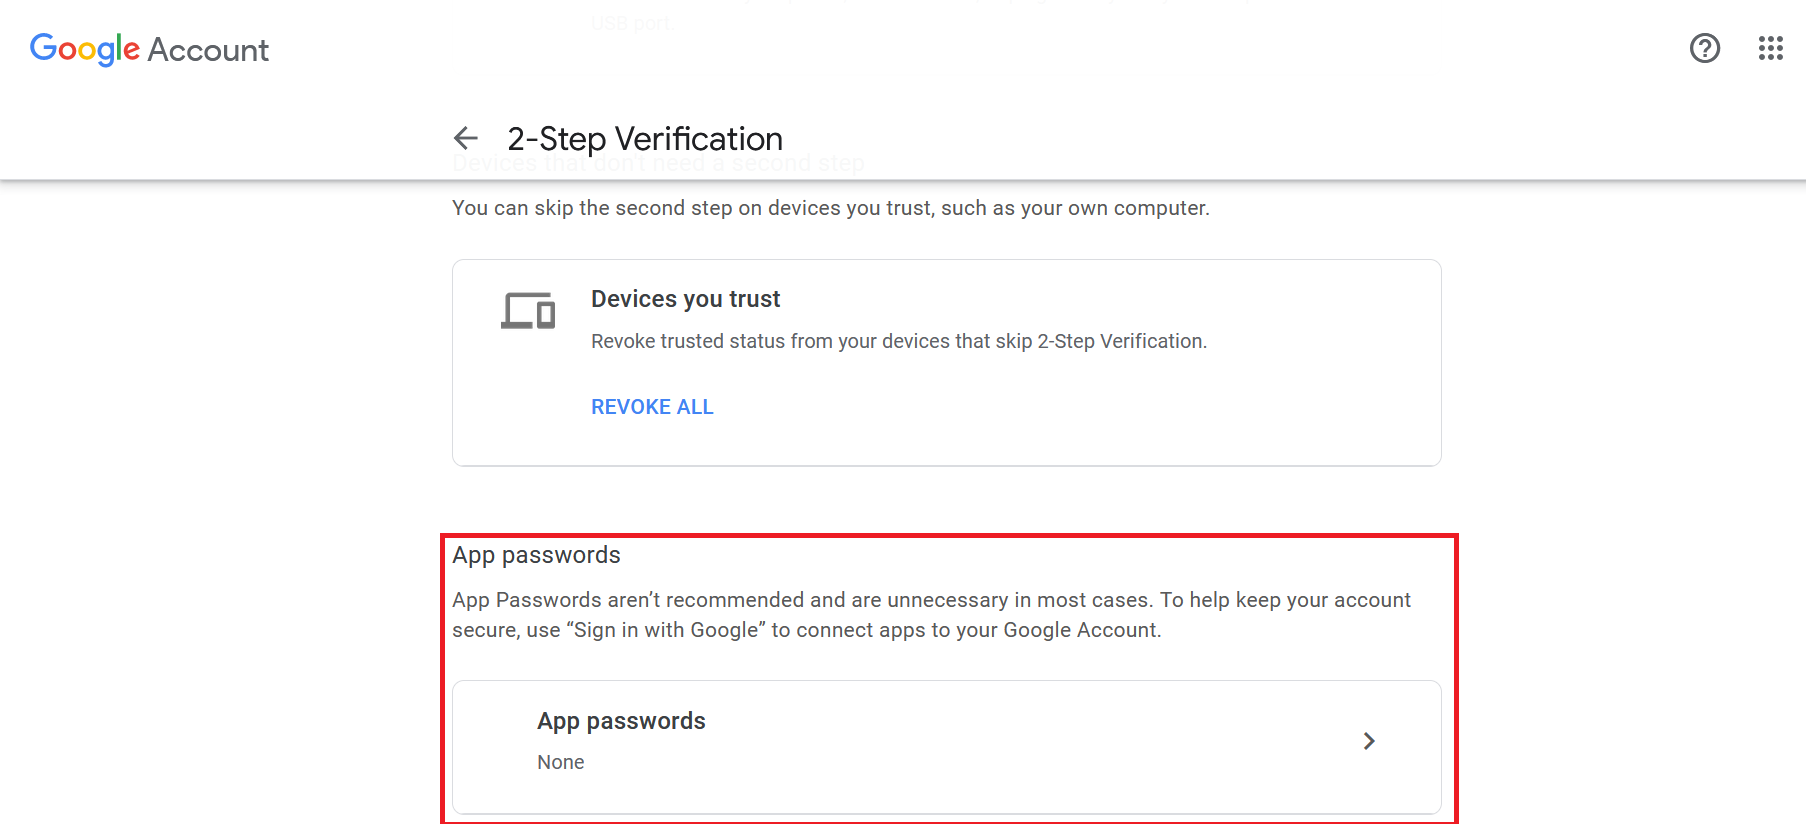
To fully utilize this, users need to go through some steps on Google's end. To receive emails, users must enable 'Less Secure Apps' settings, however, Google stopped supporting less secure apps on May 30th, 2022. As a result, instead of this step, use 2-Step Verification and generate an app password.
- Google Account > Security > 2-Step Verification > Input password as asked > Turn ON
- Google Account > Security > App password > Input password as asked > Select the app > Custom name -> Input app name (e.g. Myemails )-> Generate


- Copy a 16-character password
- Use a 16-character password with a Gmail username (xxx@gmail.com) on the Liferay side.
-
Set up IMAP and change your SMTP settings to read Gmail messages
- On your computer, open Gmail.
- In the top right, click Settings Settings and then See all settings.
- Click the Forwarding and POP/IMAP tab.
- In the
'IMAP Access' section, select Enable IMAP.
-
Click Save Changes.
-
Now, configuring Liferay DXP’s Built-in Mail Session in the Control Panel.
-
Navigate to
Control Panel-> System-> Server Administration-> Mail
-
Outgoing SMTP Server: Liferay DXP uses this server to send emails, such as password change emails and other notifications (as the Gmail server has been used here, and the Gmail SMTP server address is smtp.gmail.com)
Outgoing Port: The port on which the SMTP server is listening (SMTP Ports 25, 465, & 587. The 465 port has been used here)
Use a Secure Network Connection: Check this option.
User Name: The user ID Liferay DXP should use to log into the SMTP server.
Password: Use the generated 16-character password generated by the Gmail side.

-
- Click on the Save button
- Navigate to
Control Panel-> Instance Settings-> Email-> Email Sender, change Name and Address.
Did this article resolve your issue ?


