紹介
This recipe guides you through the basic steps needed to integrate Azure AD (now known as Microsoft Entra ID), your Identity Provider (IdP), with your Liferay environment using OpenID Connect.
prerequisites
Liferay DXP environment
A user with administrative access to Liferay's Control Panel
A Microsoft Azure account with permissions to administer Azure AD
At least one user created in your Azure AD account
steps
Log in to Azure portal.
On the left sidebar menu, go to Microsoft Entra ID.
Under Manage, go to App registrations.
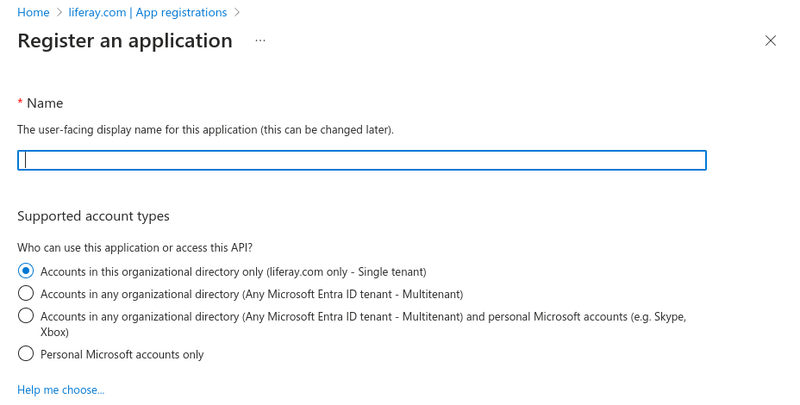
Click New registration at the top of the page to create a new application registration.
Name your application as desired and select Accounts in this organizational directory only (yourAzureActiveDirectoryName only - Single tenant) for the Supported Account Type.
Click Register.
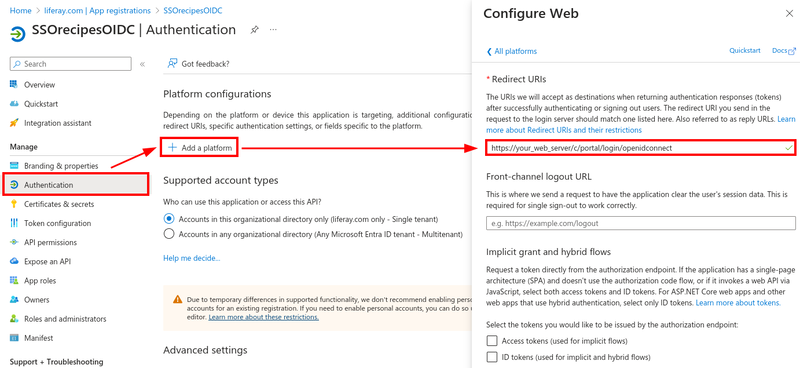
On your new application, click Authentication.
Click Add a platform.
On the Configure Platforms panel, select Web under Web Applications.
Under Redirect URIs, add
https://[your_web_server]/c/portal/login/openidconnect.This configures the identity platform to redirect the user to the given URL after authentication.
Click Configure.
On the left sidebar menu, go to Certificates & secrets and click the Client secrets tab.
Click New client secret to create a new secret string.
Add a description and an expiration time to your client secret.
Take note of the client secret value for a future step. It won't be shown again after navigating away from the tab.
On the left sidebar menu, go to API permissions and click Microsoft Graph.
Select email, openid, and profile permissions, then click Update permissions.
On the page breadcrumbs, click on the Azure Active Directory to navigate back to the AD main screen.
On the left sidebar menu, click Users under Manage and ensure your user is listed with their first name, last name, and email address.
This information is required to establish the Azure and Liferay connection.
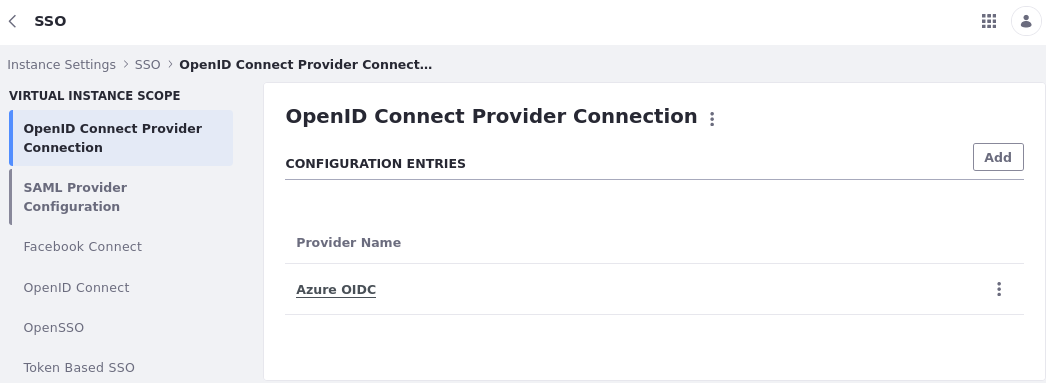
On your Liferay DXP instance, open the Global Menu and go to Control Panel → Instance Settings → Security → SSO.
Go to the OpenID Connect Provider Connection tab.
Click Add to create a new connection entry, enter these values, and click Save:
Field Data Provider Name Azure OIDC Discovery Endpoint OpenID Connect metadata documenturl. You can find this by going to Endpoints in your application's Overview tab in AzureOpenID Connect Client ID On the Overview tab of your application in Azure OpenID Connect Client Secret The client secret value you copied in a previous step. Open the Global Menu and go to Control Panel → Configuration → Instance Settings.
Under Security, click SSO.
Go to OpenID Connect, click the Enabled checkbox, and click Save.
You can now use OpenID Connect to authenticate in your Liferay instance.
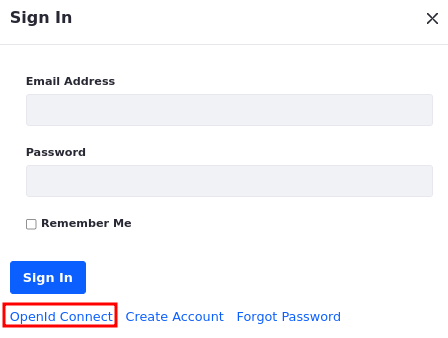
Log out of your current user.
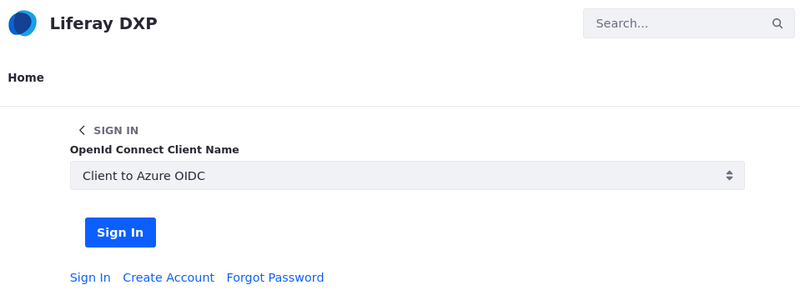
Click Sign In and select OpenId Connect.
Select Client to Azure OIDC from the dropdown list.
Click Sign In.
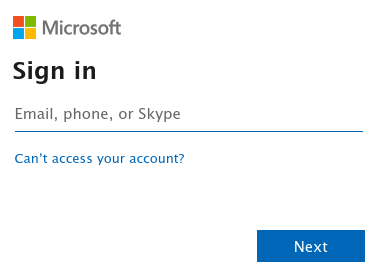
This redirects you to Azure's log in page.
Login with you user's email address and password.
Once you've successfully logged in, your Azure user is registered in Liferay.
Sign back in as your Liferay admin user.
Open the Global Menu and go to Control Panel → Users and Organizations. Verify that your Azure user displays on the list.






conclusion
Congratulations! Users may now authenticate to your environment using Azure AD via OpenID Connect.
ヒント
Redirect URIs
To ensure a successful Single Sign-On (SSO) connection between Liferay and Azure Active Directory (Azure AD), it's crucial to correctly configure the Redirect URI. Incorrect Redirect URIs prevent users from signing in to Liferay.