Site Staging UI Reference
After enabling Local or Remote Live Staging for your site, most page configuration options are only accessible in your Staging environment. This prevents users from directly editing live pages.
Once staging is enabled, additional options appear in your Staging environment. These options are in the Staging Bar, Publish to Live menu, and Staging Page.
Staging Bar and Editing Tools
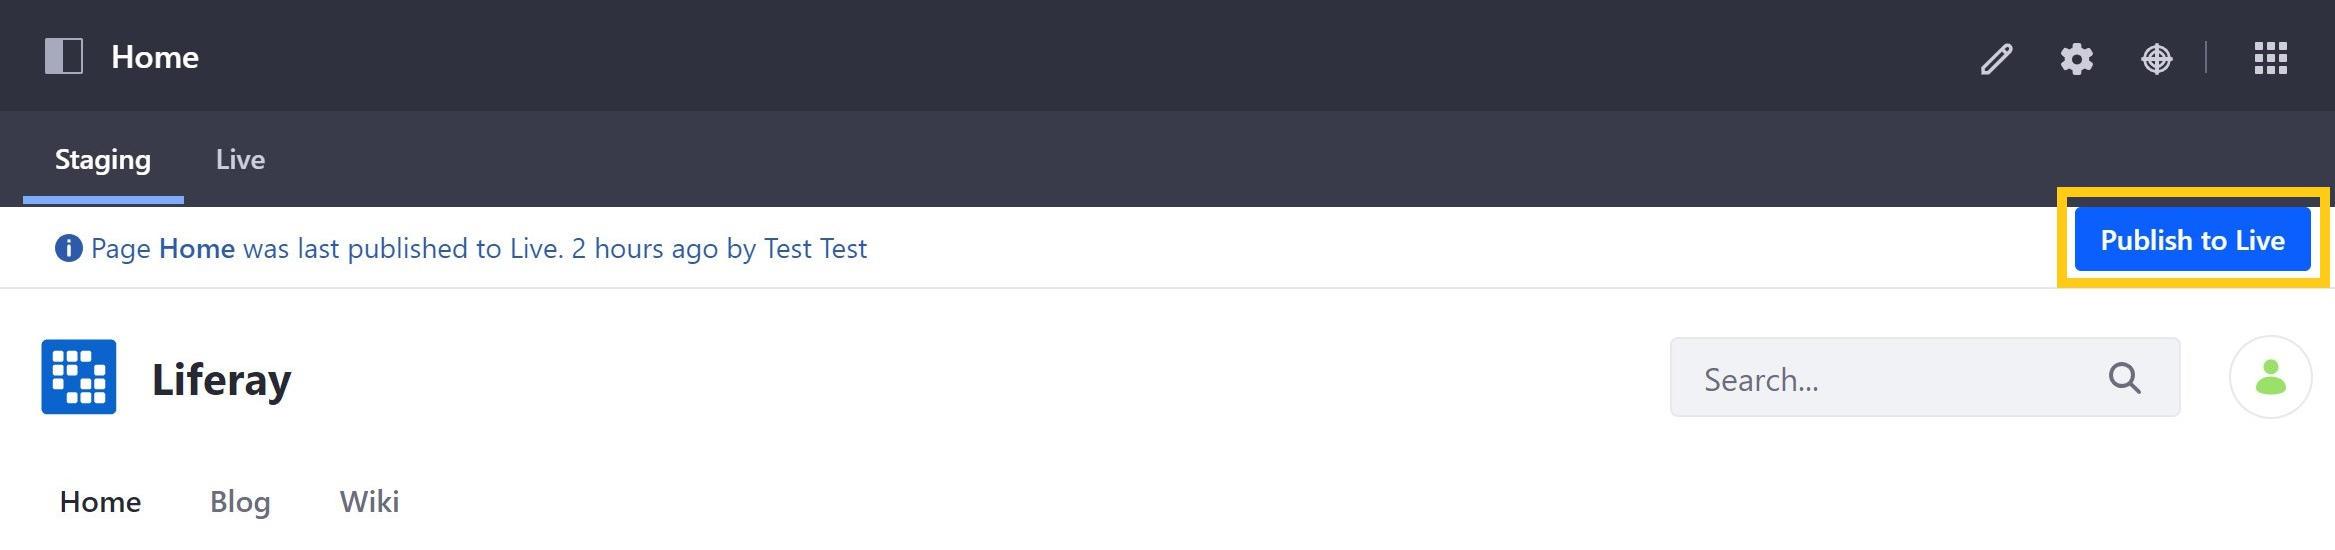
When Staging is enabled for a site, you can access additional options via the staging bar on each of your site’s pages. In this bar, you can toggle between Staging and Live environments and click on Publish to Live for staged pages.
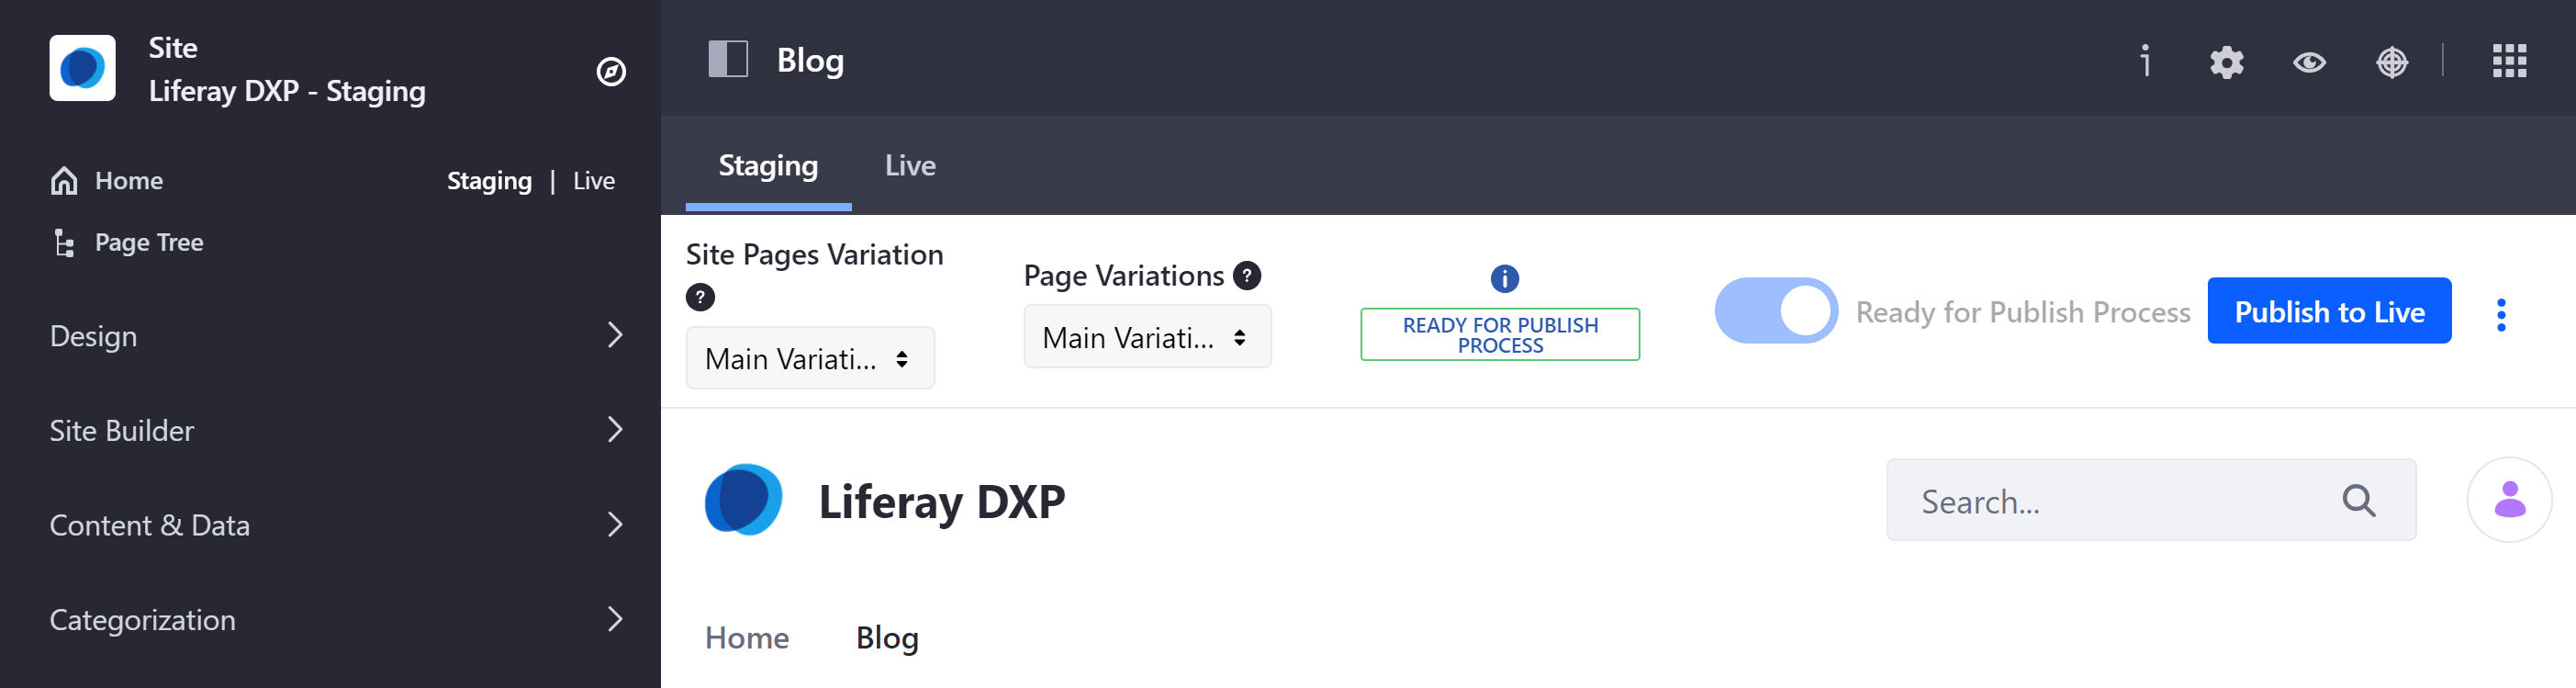
The following table and pictures describe the staging bar options and editing tools for widget pages:
| Option | Widget Page | # |
|---|---|---|
| Site Pages Variation |
|
1 |
| Page Variations |
|
2 |
| Undo/Redo |
|
3 |
| History |
|
4 |
| Ready for Publish Process |
|
5 |
| Edit Content | Use the Add button in the Liferay application bar to edit your Widgets. | 6 |

Publish to Live
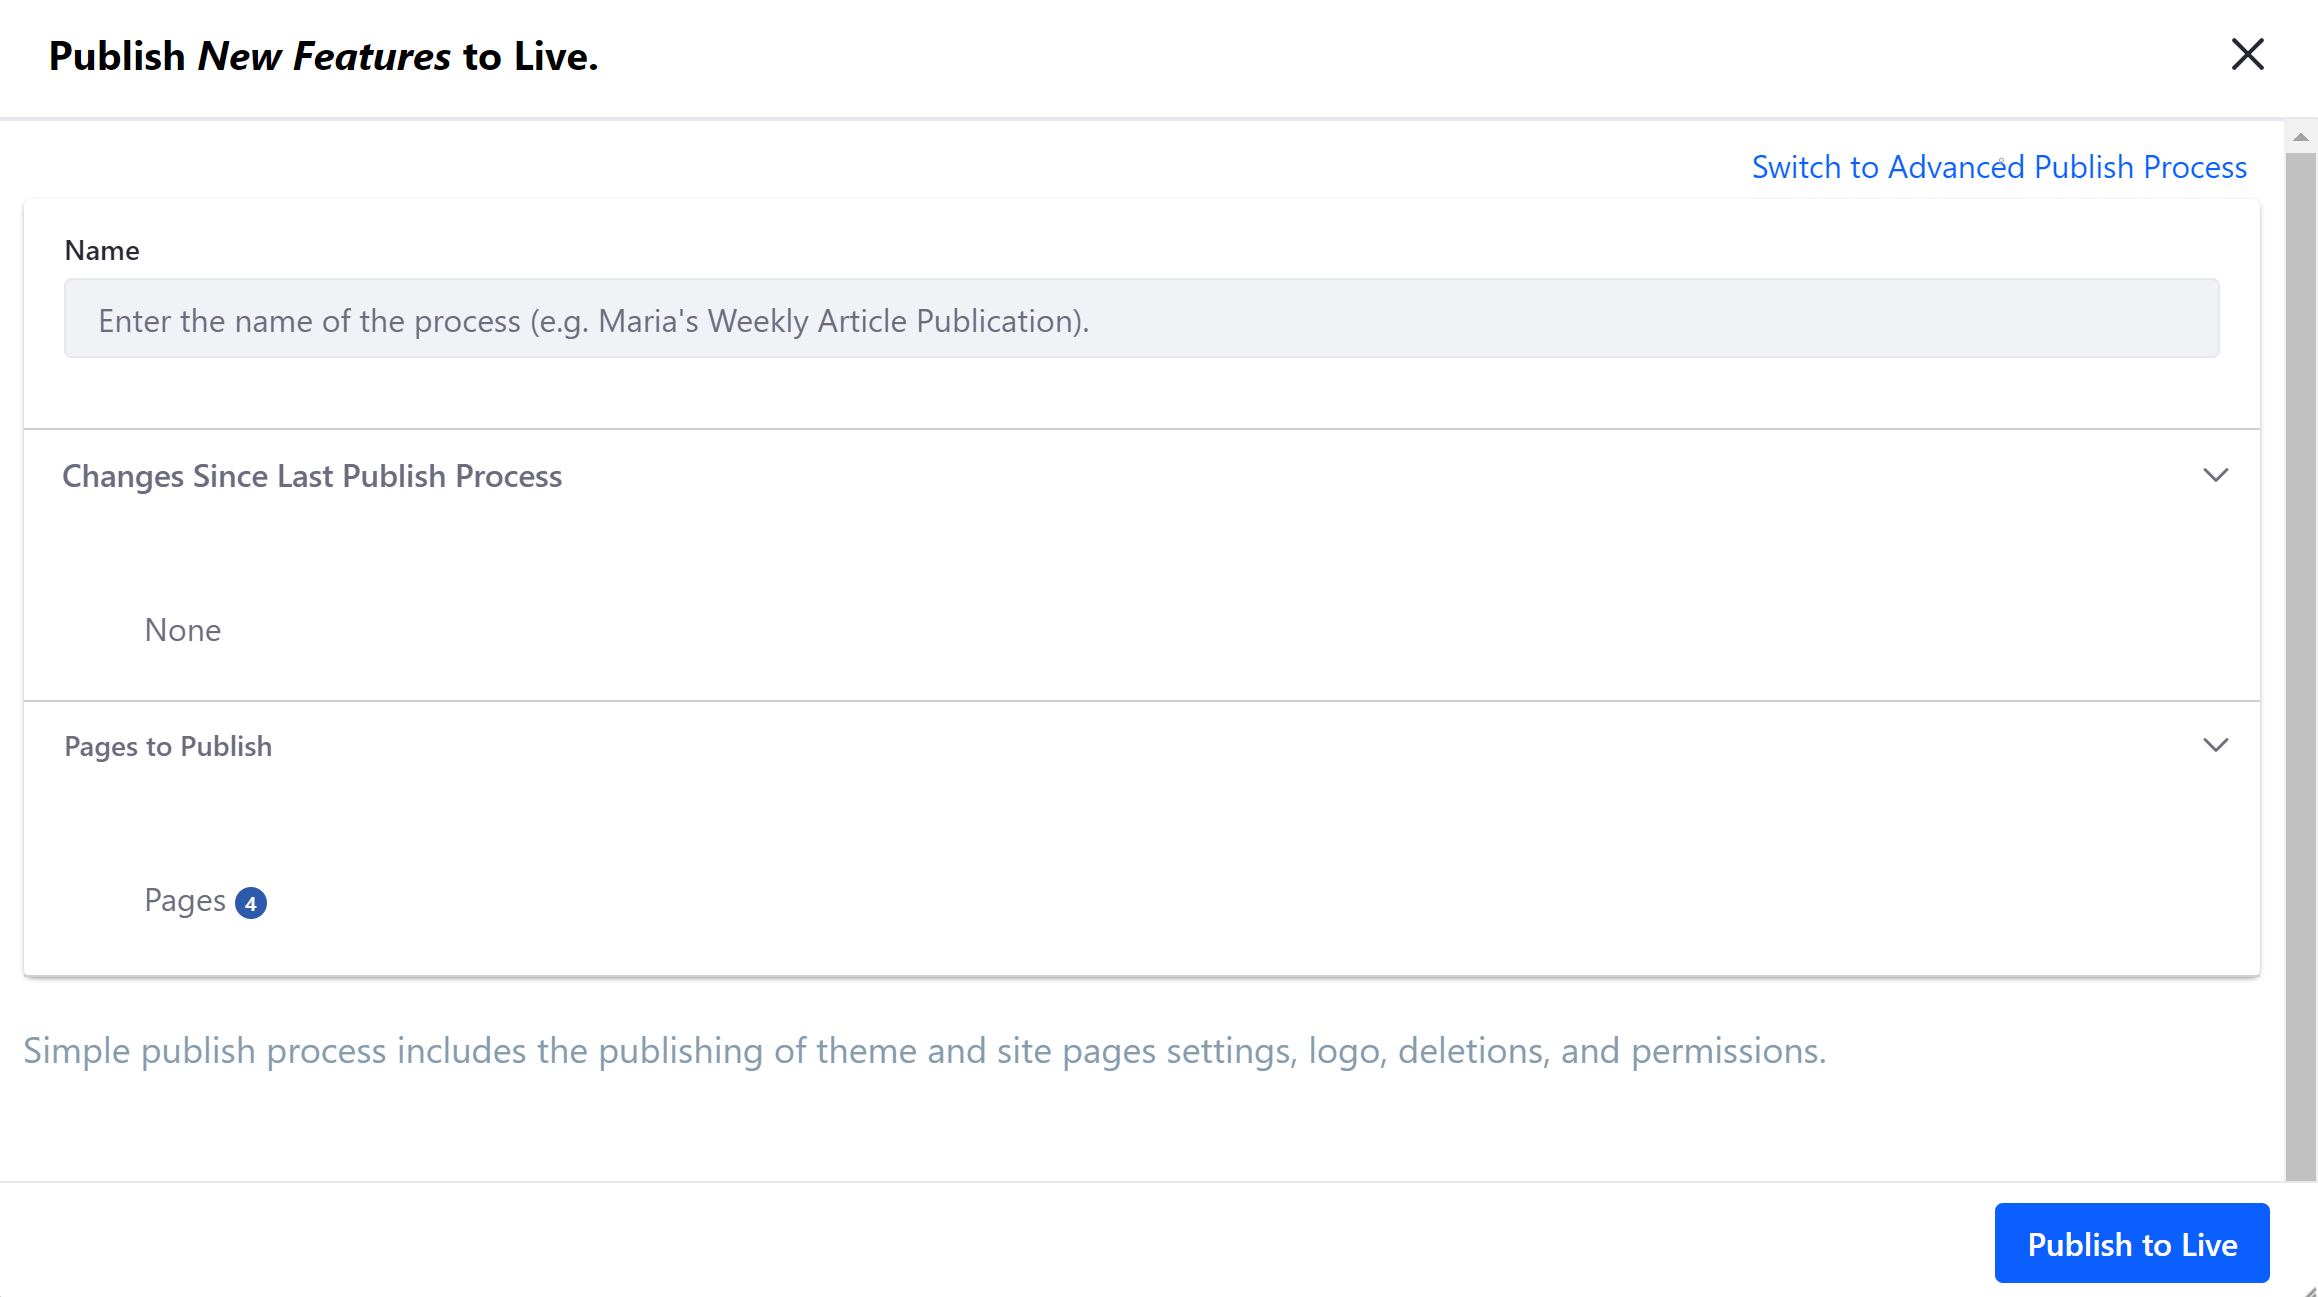
When you click on Publish to Live, a modal window appears with additional options for configuring your publish process. You can publish using Simple or Advanced settings.
It is recommended to publish small incremental changes to avoid large publishing processes that can take a long time to execute.
Simple Publishing
Name: Enter a descriptive name for your publish process into the Name field.
Changes Since Last Publish Process: View staged changes made since your last publish process.
Pages to Publish: View the number of pages included in your current publish process.
This displays the number of page deletions tracked by the Staging framework. This number counts the page deletions on the Staging site, not how many pages will be deleted on the on the Live site. There can be inconsistency between the number of page deletions to be published and the actual number of pages present on either of the Staging and Live sites.
When ready, click on Publish to Live to initiate publishing.
Advanced Publishing
With Advanced publishing, you can access information and settings that you can use to customize your publish process. In the Custom tab, you can specify content, dates, pages, and more. Alternatively, you click on the Publish Template tab to select a pre-configured template for your publish process. To access advanced settings, click on Switch to Advanced Publish Process in the modal window.

Custom advanced settings are divided into the following sections:
Name: Enter a descriptive name for your publish process into the Name field.
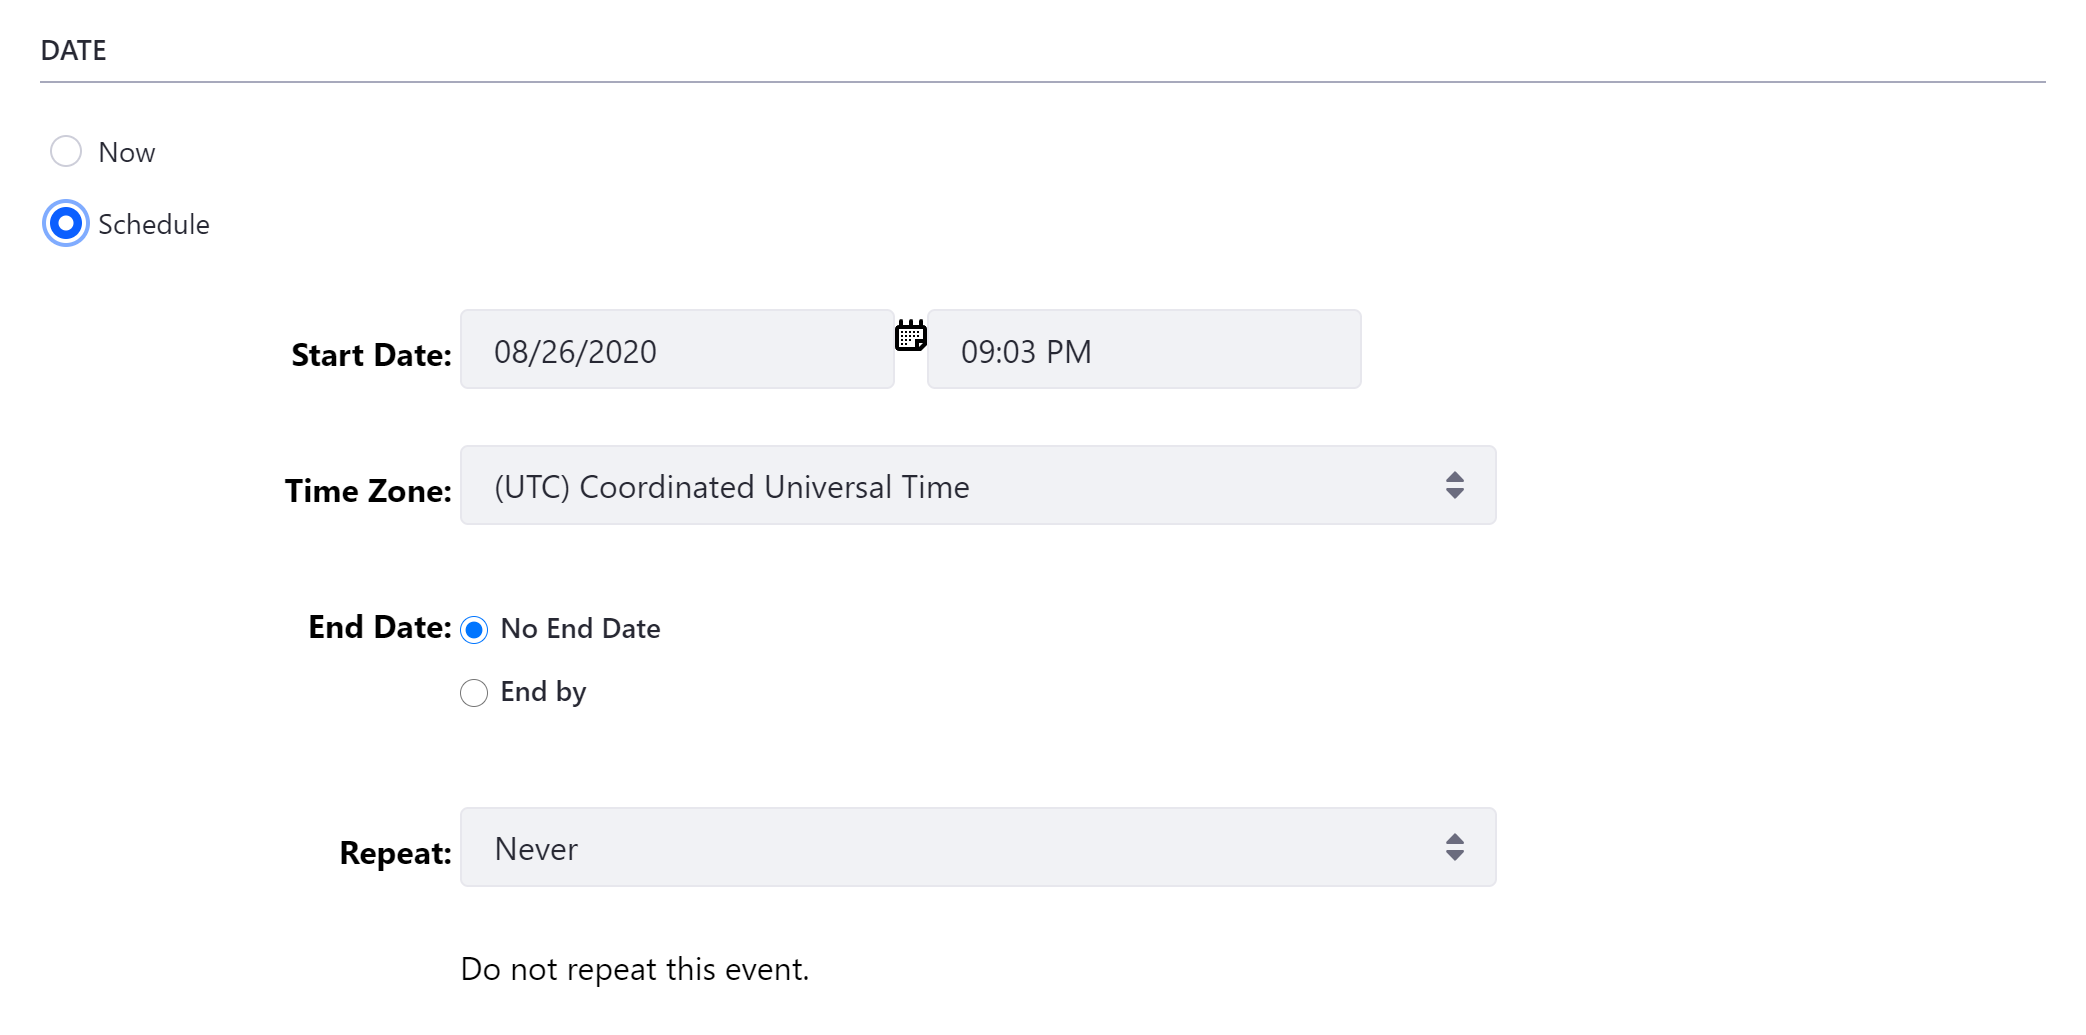
Date: Select whether to publish your changes immediately, or schedule your changes to be published at a later date and time. You can also determine whether and how frequently the publish process is repeated.
Deletions: Select whether you want to Delete Application Data Before Importing, and whether you want to Replicate Individual Deletions.

Pages: Select which page set variation and individual pages to publish, as well as the look and feel of your selected pages. You can also select Delete Missing Pages, which deletes all pages from the Live site that are not present on the Staging site. If you choose a page to be published from the pages menu, the widgets and their references are always published.
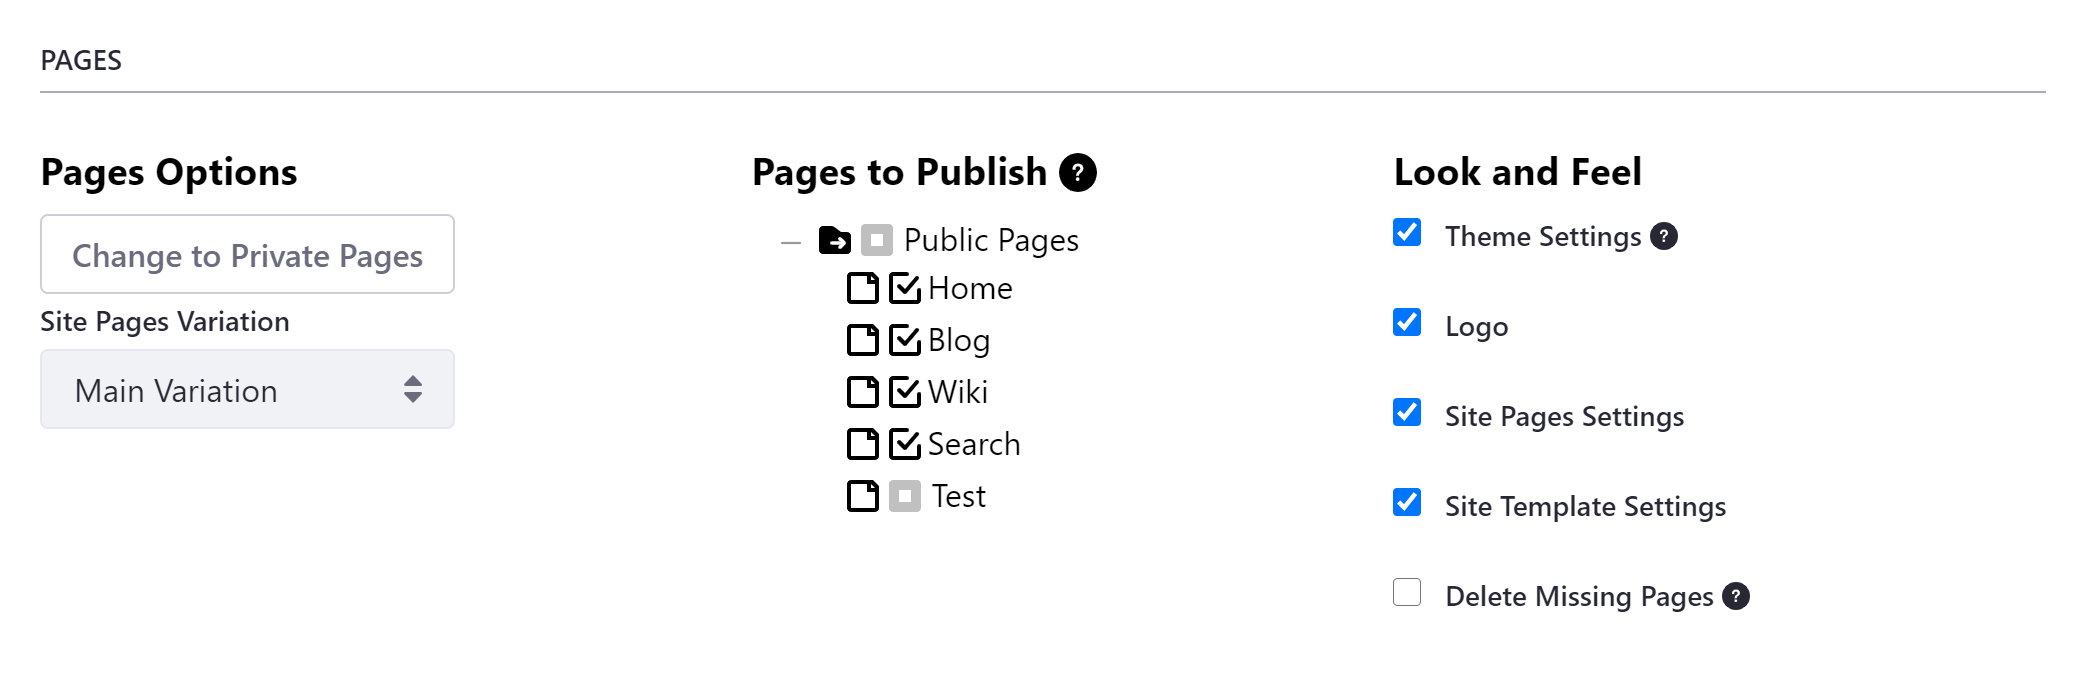
If you want to publish pages with a custom theme, you must check the Theme Settings option under the Look and Feel heading for your staging configuration. Otherwise, the default theme is applied.
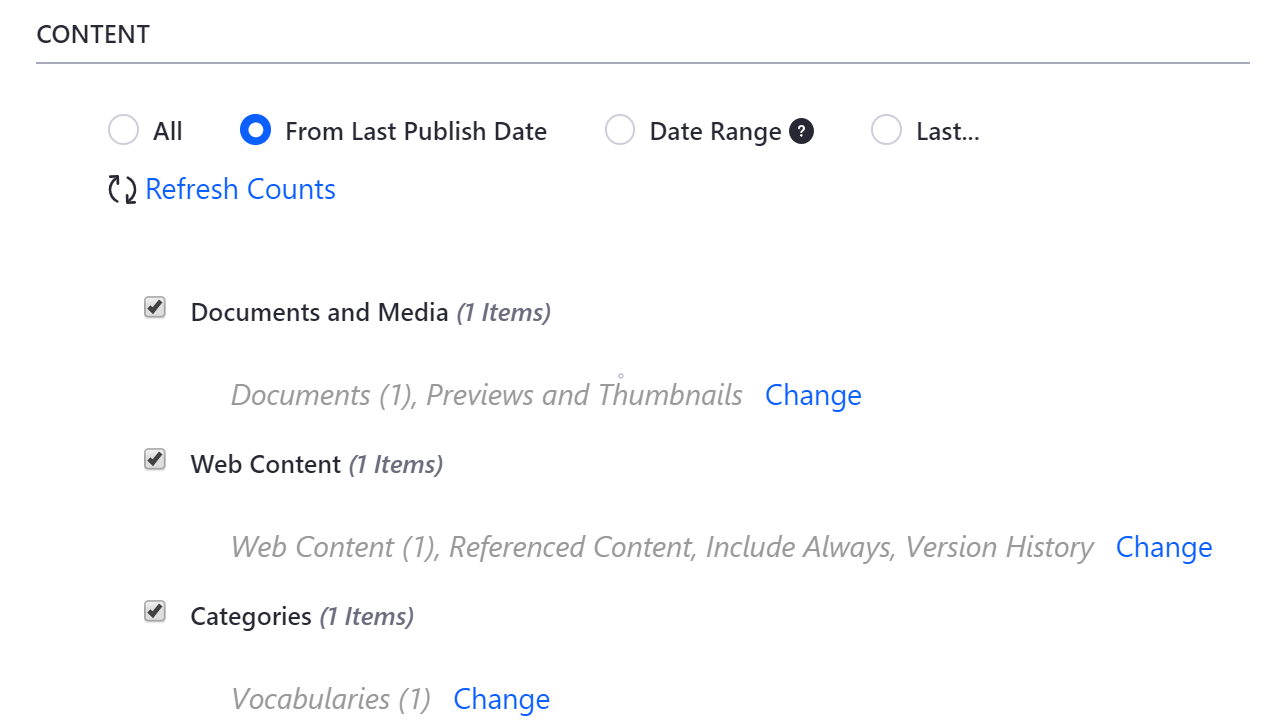
Content: Select the content you want to include in your publish process. Using the radio buttons, you can publish all content of the selected types, or specify a date and time parameter to limit the content published. You can also use this option to check the content that changed in Staging and is awaiting publication.
| Option | Description |
|---|---|
| All | Shows all the content available for publication. |
| From Last Publish Date | Only shows the content updated since the last publication. |
| Date Range | Shows the content updated during a specific period of time. |
| Last | Shows the content updated in the last hours or days. |
After selecting your Content option, click Refresh Counts to update the number of results.
You can also click on Change for each content type to manage items and other settings included in each type, such as version history, vocabularies, and previews and thumbnails. See Managing Data and Content Types in Staging for more information.
By default, content displayed using the following widgets is always included in publishing processes: Dynamic Data Lists Display, Form, Web Content Display, and Wiki Display. For Liferay DXP/Portal 7.4+, you can disable this behavior so that displayed content is only published when explicitly included in the publishing process’s configuration. See Configuring Automatic Publishing of Displayed Content for more information.
Permissions: Select whether to include permissions for the pages and widgets when your changes are published.

Instead of configuring advanced options manually every time you publish a page or content, you can save your staging configuration as a publish template for future use. To view and select a saved template for your publish process, click on the Publish Templates tab.
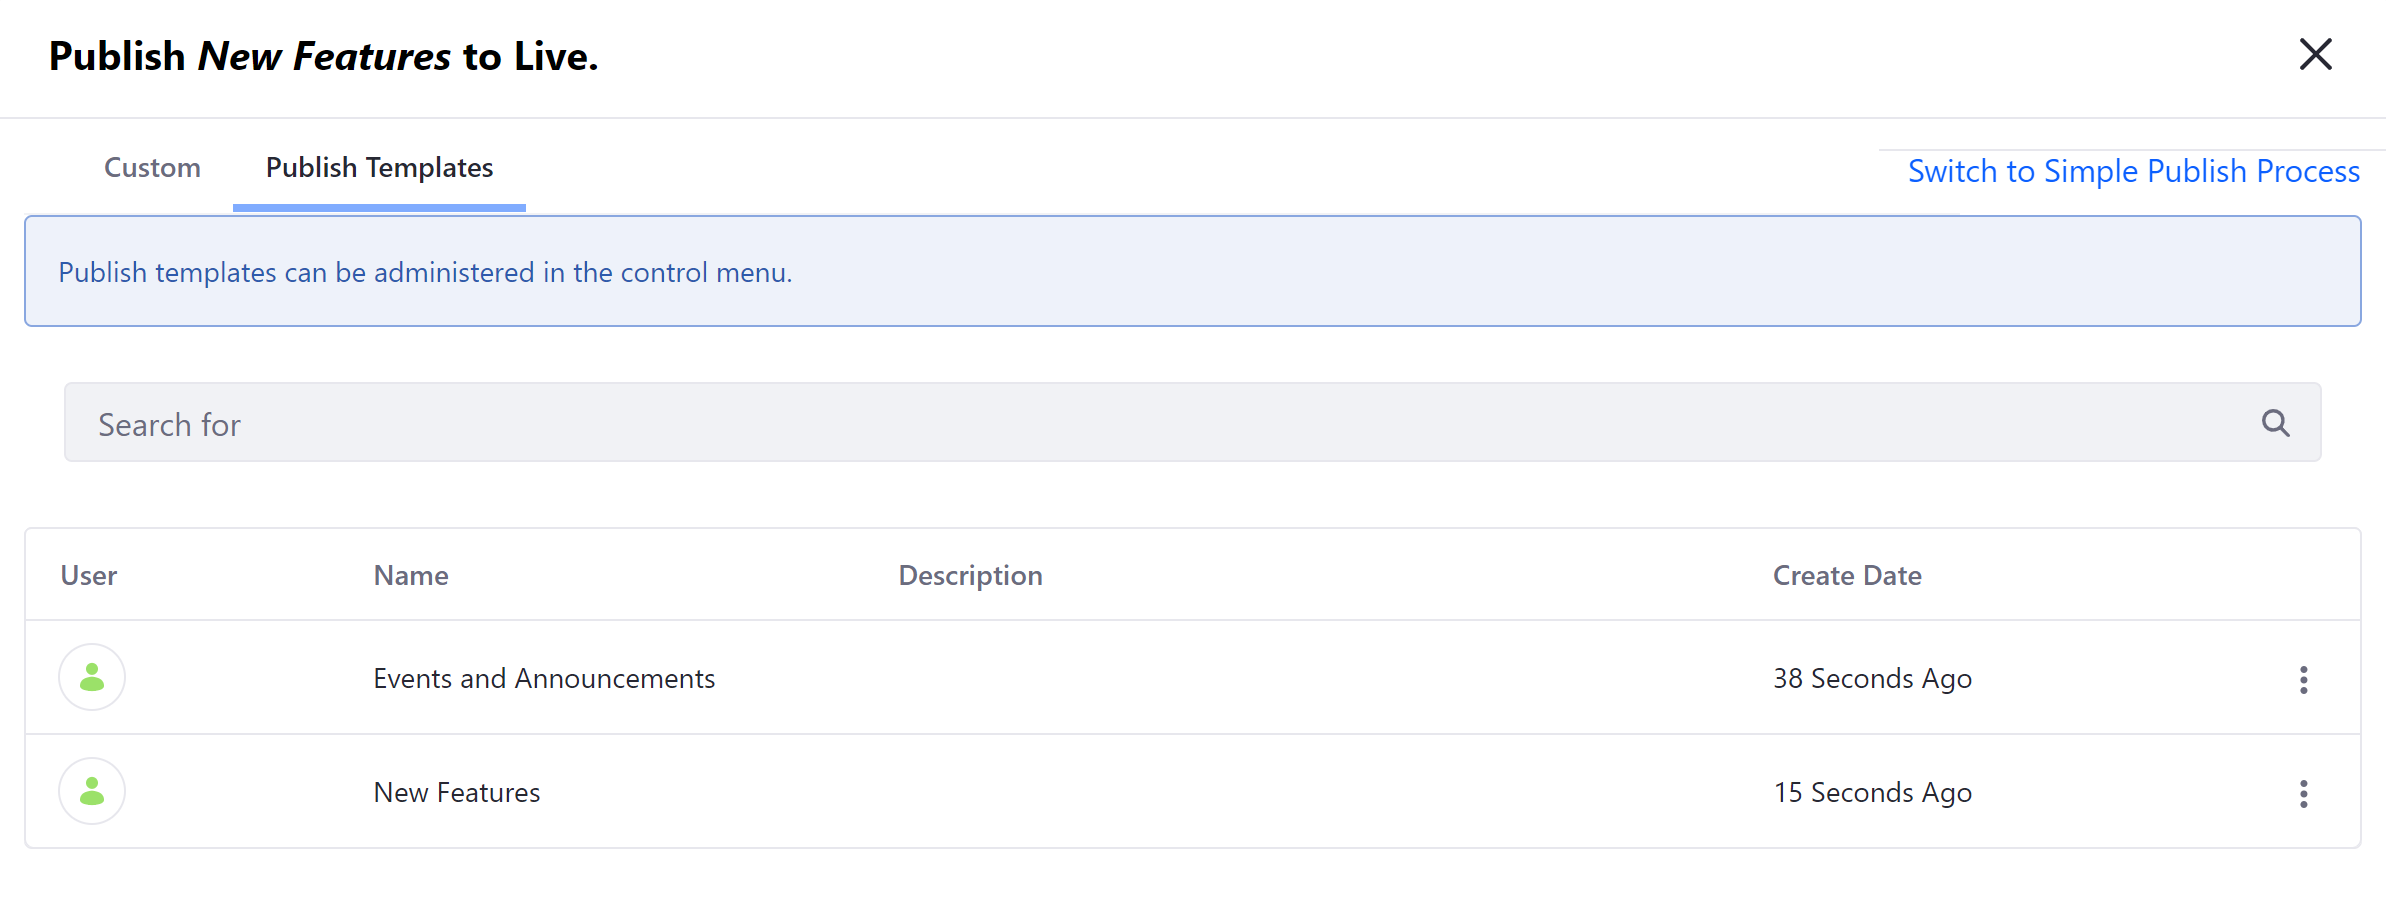
When ready, click on Publish to Live to initiate publishing.
Staging Page
Once you’ve enabled Staging, the options available from the Publishing tab are modified. When in the Live environment, you can only access the Export feature. When in the Staging environment, you can only access the Import and Staging features.
You can also access new options in the Staging page: view publishing processes, create and manage publish templates, and modify or disable Staging for your site.
Previous and Future Publishing Processes
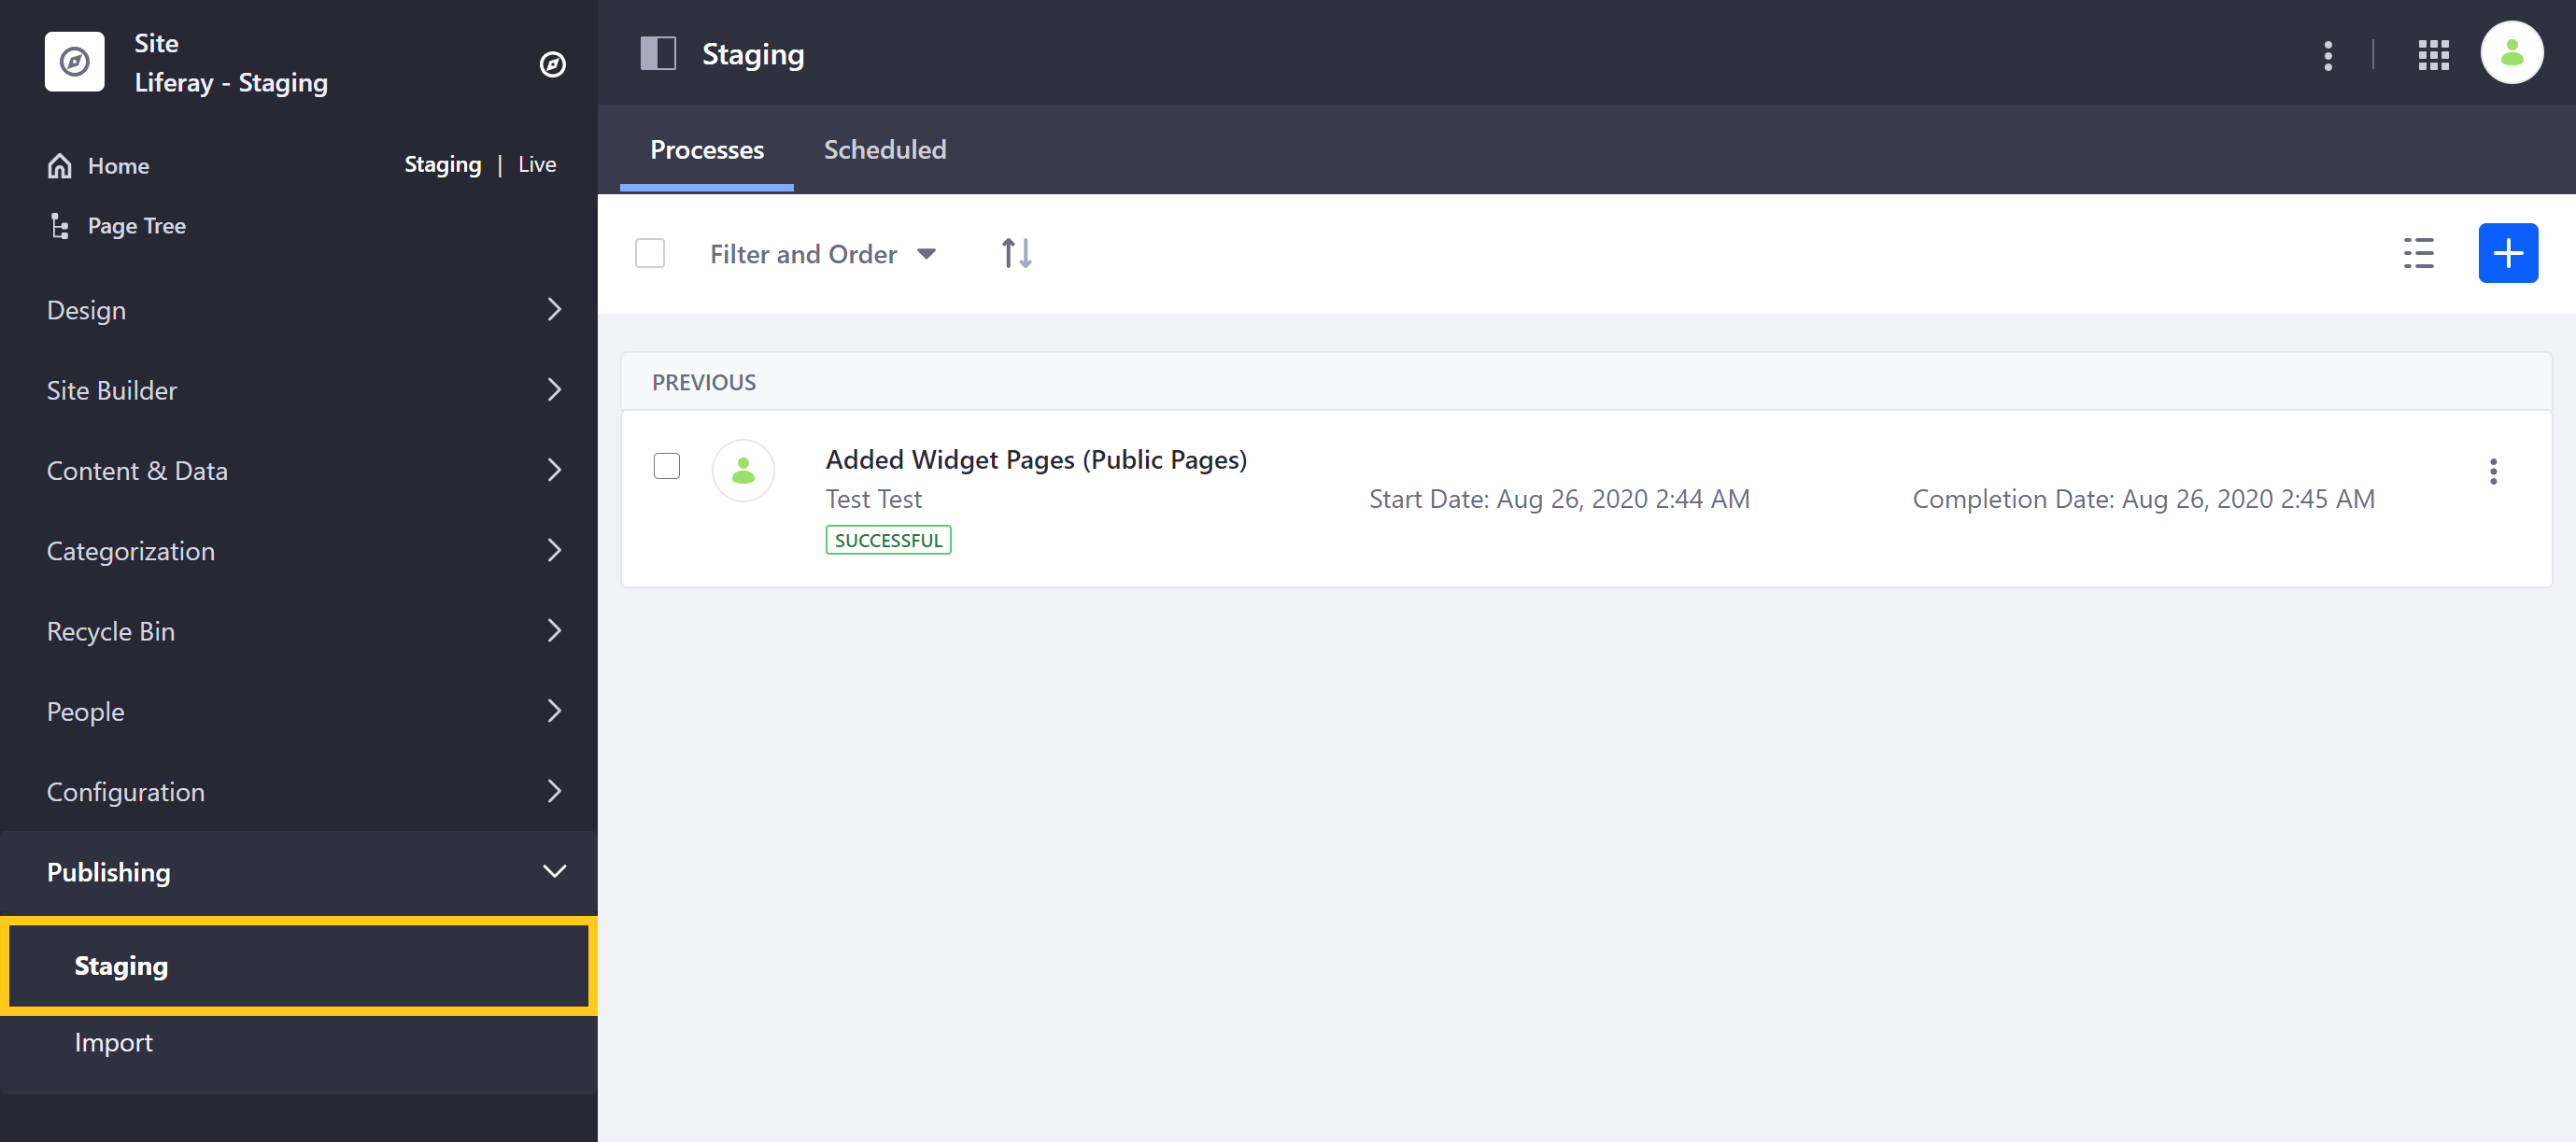
When you publish with Staging, it’s captured as a process and stored for future reference. To view and manage these processes, go to Site Menu → Publishing → Staging.
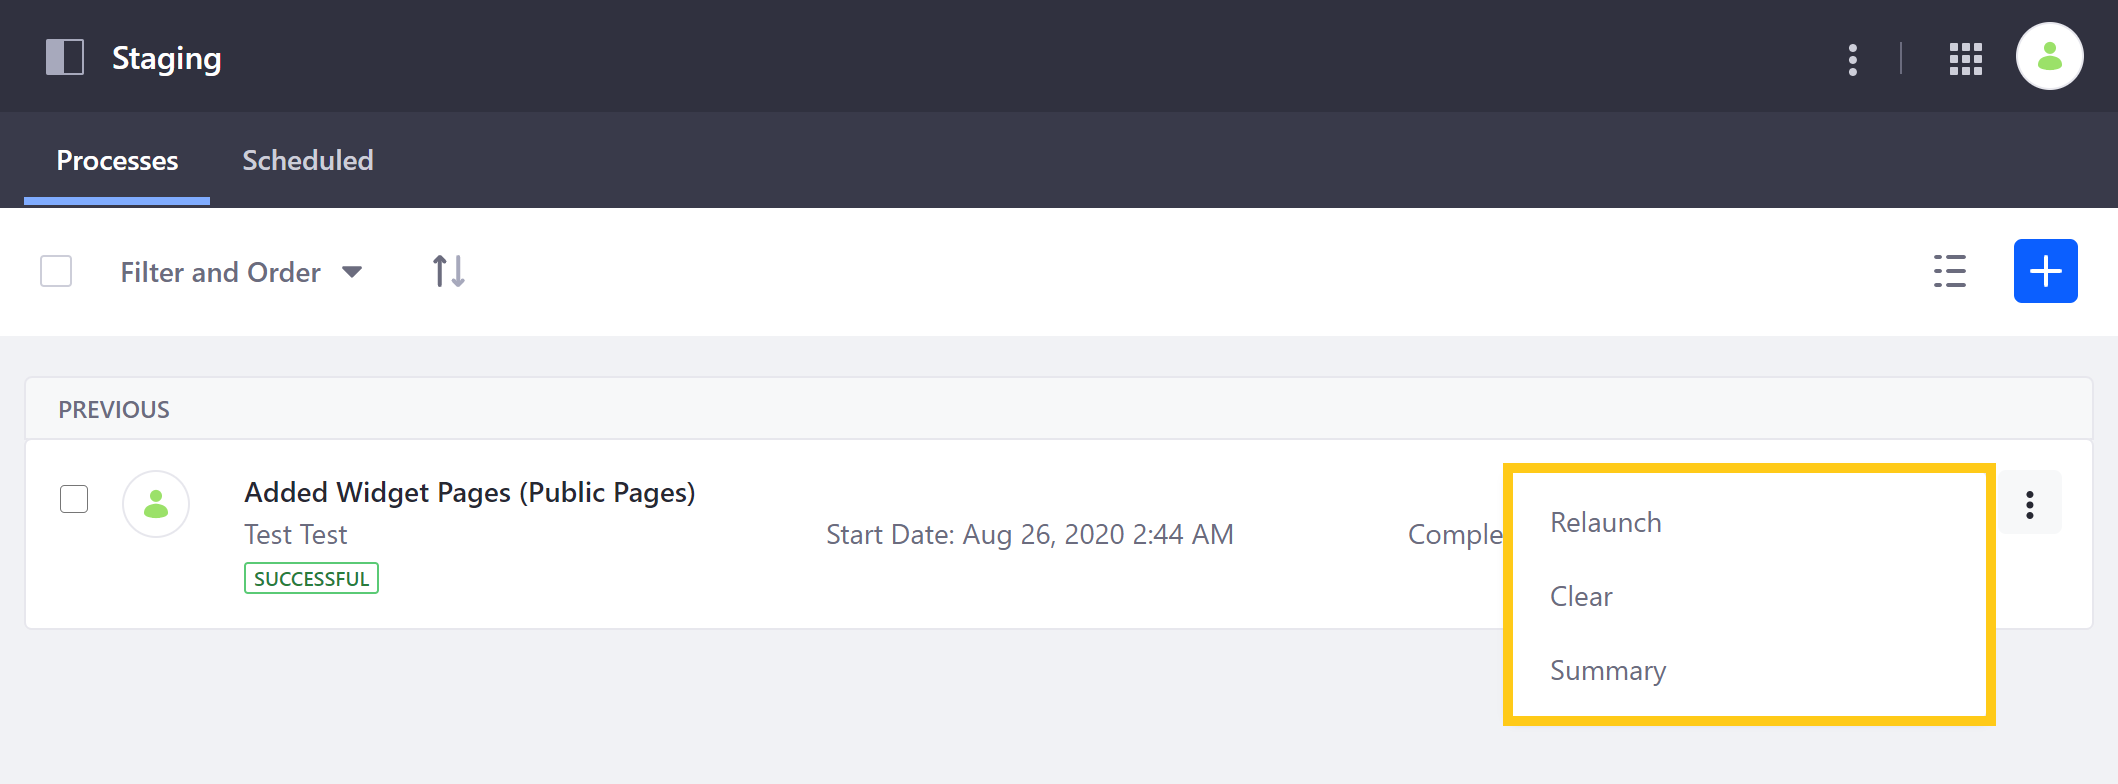
In the Processes tab is a list of staging processes that have been completed. From here, you can relaunch, clear or view a summary of any previous publications by clicking on a process’s Actions button ( ![]() ).
).
You can also click on the Add (![]() ) button to create a new publish process using a custom configuration or pre-defined publishing template.
) button to create a new publish process using a custom configuration or pre-defined publishing template.
In the Scheduled tab, you can view all scheduled publishing processes.
Publish Templates
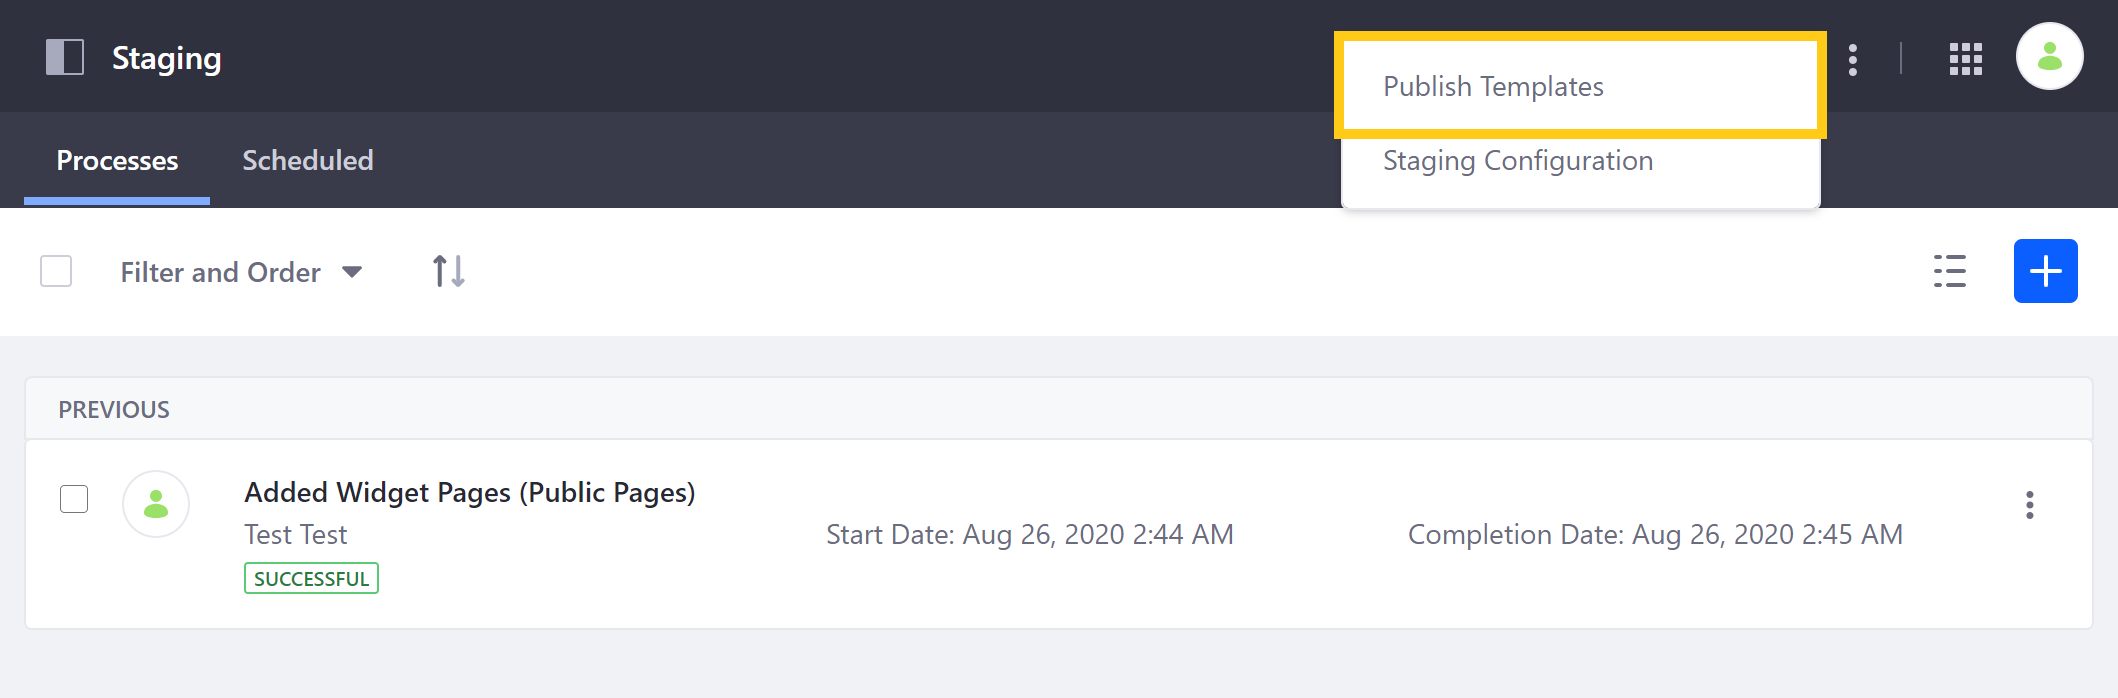
If you regularly create similar staging configurations, you can create your own publish templates to save time. To create a template, click Actions ( ![]() ) in the Application bar of the Staging page. Then select Publish Templates.
) in the Application bar of the Staging page. Then select Publish Templates.
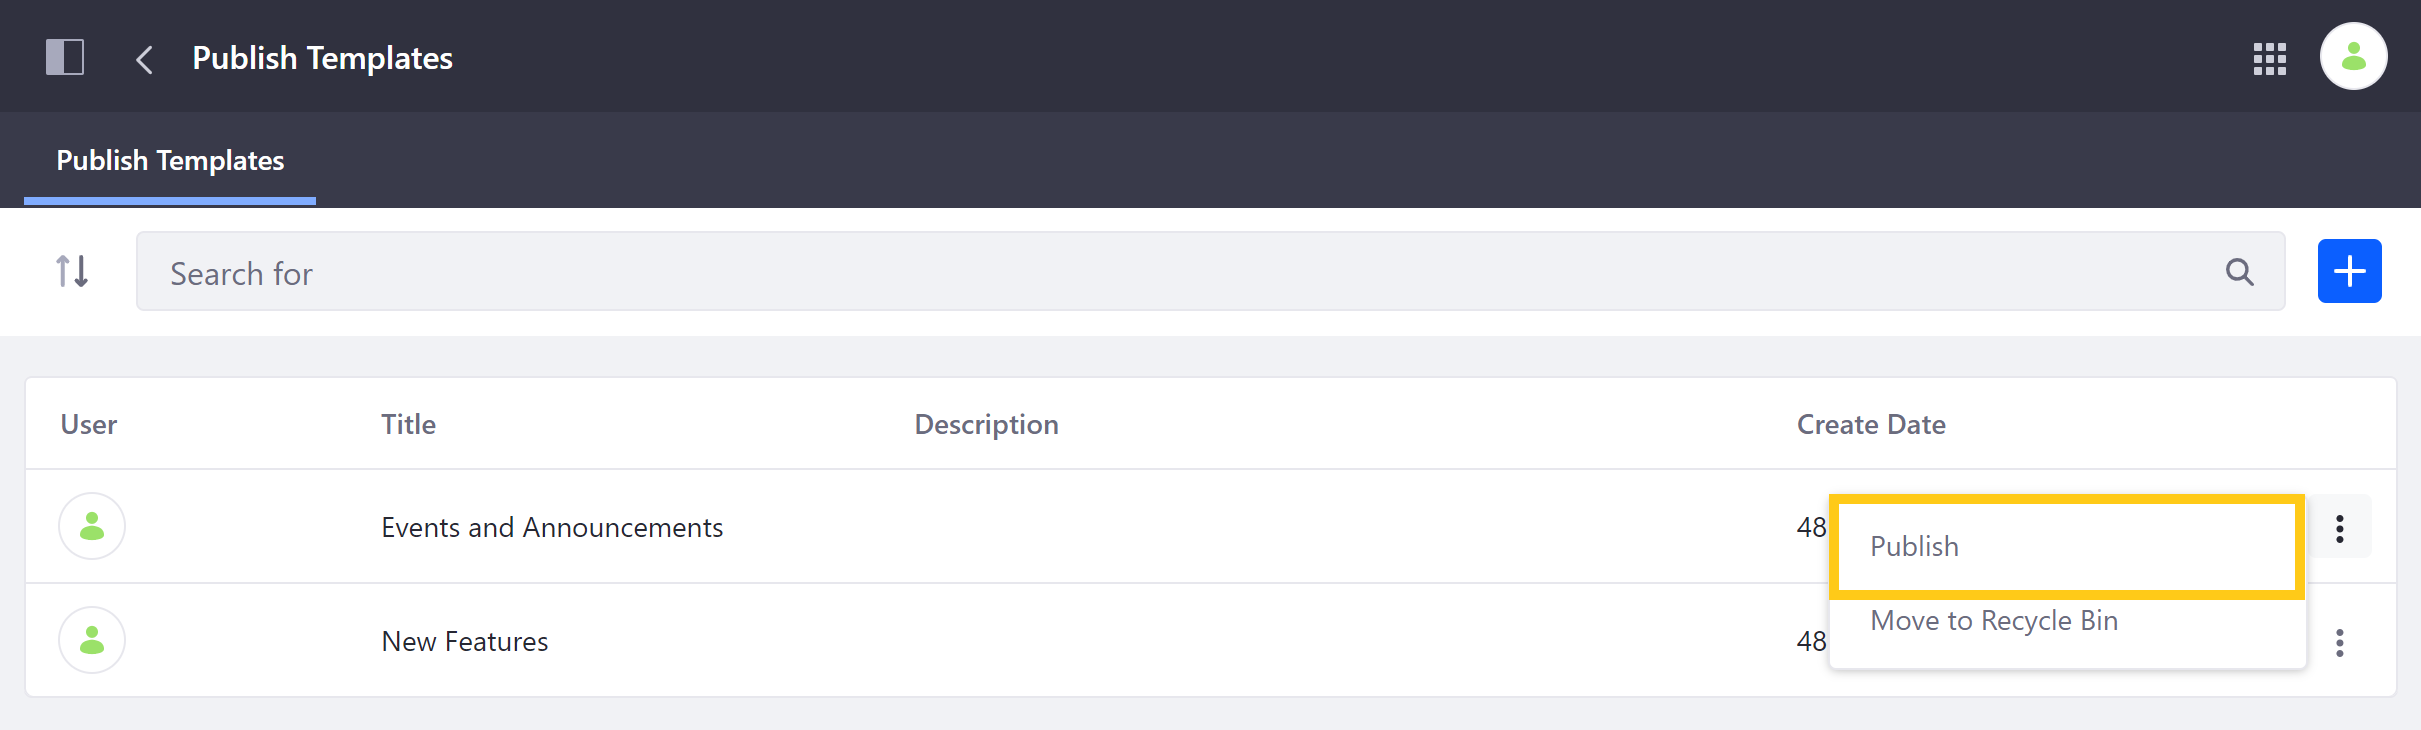
From here, you can create and manage templates for frequent publishing configurations. You can then use a template by clicking on its Actions button ( ![]() ) and selecting Publish.
) and selecting Publish.
You can use a template when publishing a page or content using the Publish to Live button in the Staging Bar. See Advanced Publishing for more information.
Staging Configuration
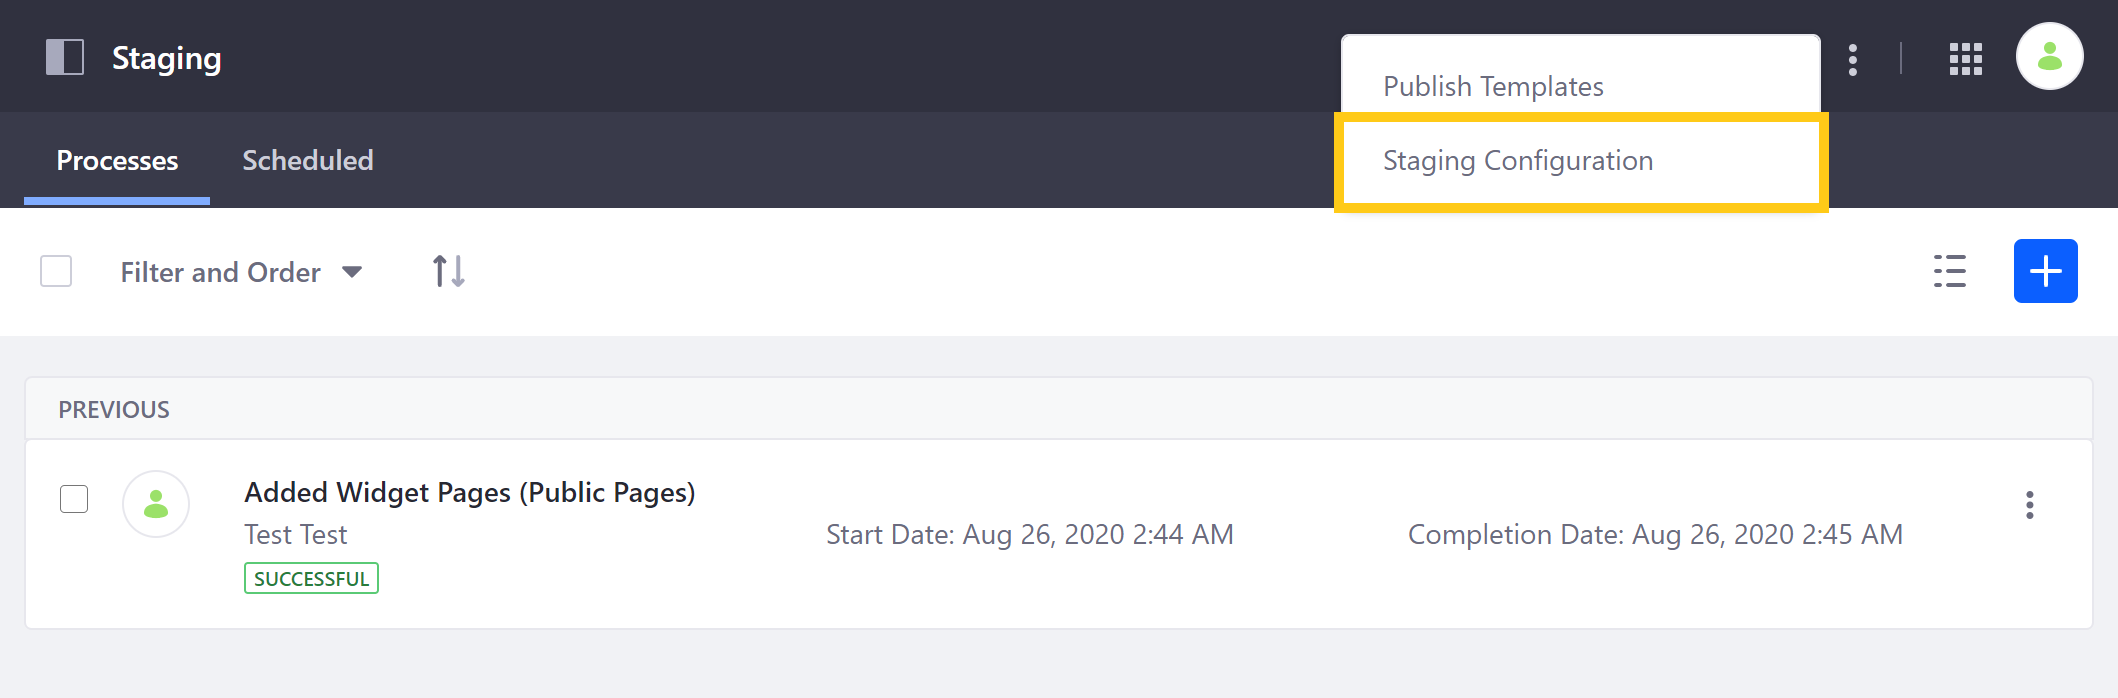
After setting up Staging, you can access the Staging Configuration page by clicking Actions ( ![]() ) in the Application bar of the Staging page. Then, select Staging Configuration.
) in the Application bar of the Staging page. Then, select Staging Configuration.
From here, you can disable Staging for your site, or modify your page versioning settings. However, Staged Content options cannot be modified after the initial setup.
Related Topics
- Staging Overview
- Understanding the Publishing Process
- Page Versioning
- Managing Data and Content Types in Staging