Adding A Language
Liferay currently supports about 50 languages out-of-the-box. Translation is complete for many of these languages, and some are still in the translation process. Each language has its own language properties file containing its language keys.
Adding A New Language
By default, the portal.properties file specifies all languages available in Liferay. To add a new language that is not specified,
Take note of the ISO 639-1 standard code for your language (e.g. the ISO code for Amharic would be
am).Take note of the ISO 3166-1 alpha-2 two-letter country code for your language. (e.g. the ISO code for Ethiopia would be
ET).Modify and replace the
web.xmlfile found in your Liferay installation:[LIFERAY_HOME]/tomcat<version>/webapps/ROOT/WEB-INF/. Add your new language under the<web-resource-name> section. For example,<url-pattern>/am/c/portal/protected</url-pattern> <url-pattern>/am-ET/c/portal/protected</url-pattern> <url-pattern>/am_ET/c/portal/protected</url-pattern>Modify and replace the
shielded-container-web.xmlfile found in your Liferay installation:[LIFERAY_HOME]/tomcat<version>/webapps/ROOT/WEB-INF/. Add your new language under the<servlet-mapping> section. For example,<servlet-mapping> <servlet-name>I18n Servlet</servlet-name> <url-pattern>/am/*</url-pattern> </servlet-mapping> <servlet-mapping> <servlet-name>I18n Servlet</servlet-name> <url-pattern>/am-ET/*</url-pattern> </servlet-mapping> <servlet-mapping> <servlet-name>I18n Servlet</servlet-name> <url-pattern>/am_ET/*</url-pattern> </servlet-mapping>Create your
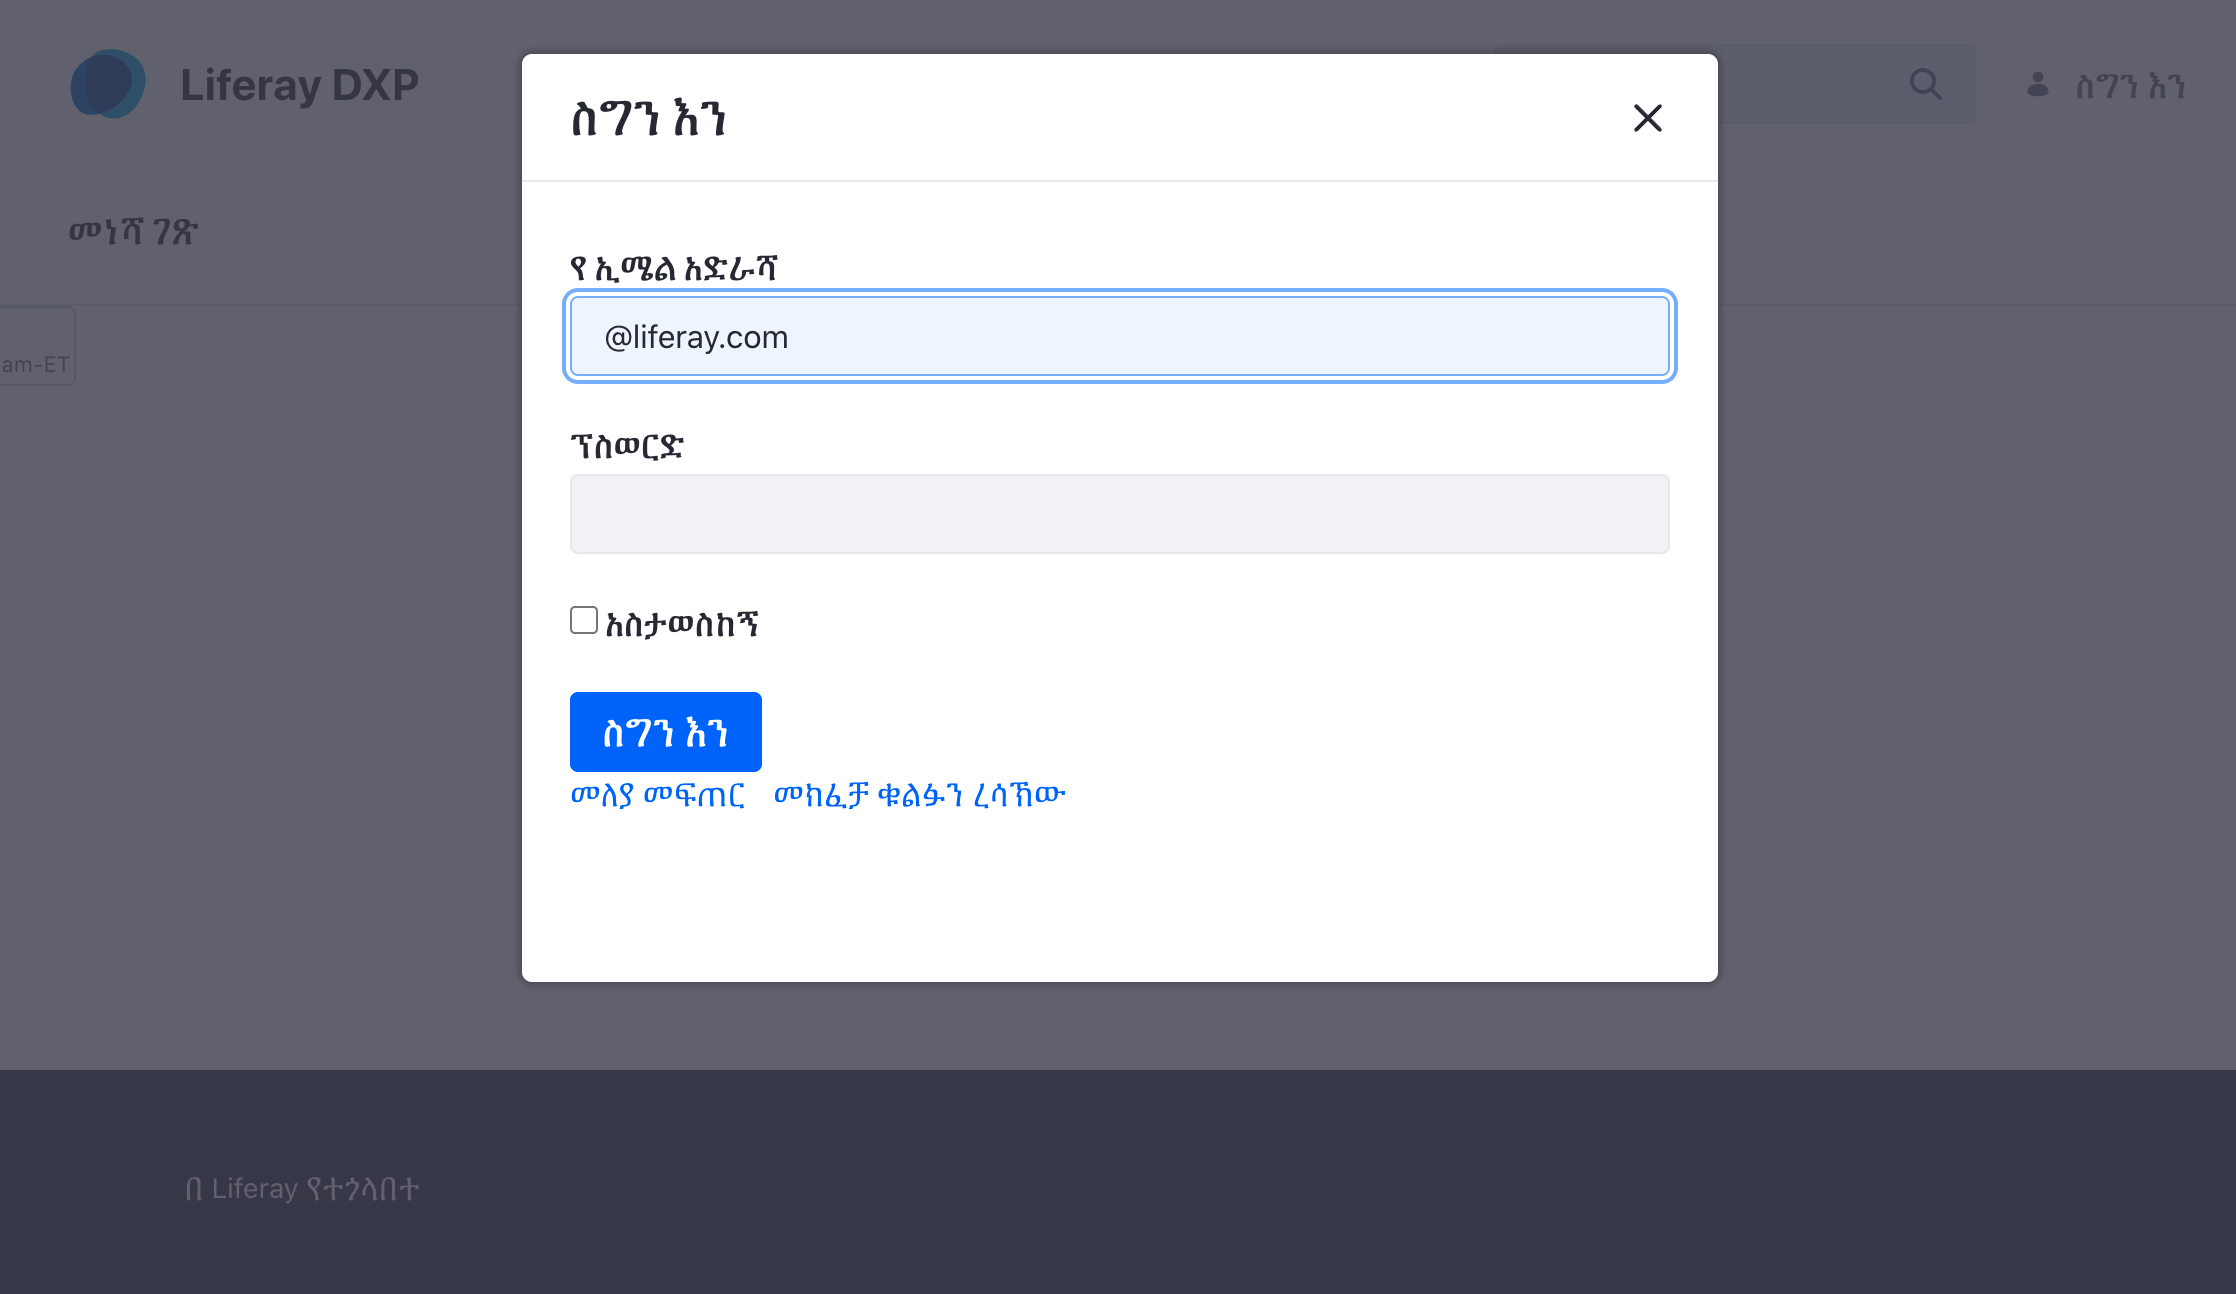
language.propertiesfile for your language and use the ISO code in your file name. For exampleLanguage_am.propertiesfor Amharic:create-account=መለያ መፍጠር email-address=የ ኢሜል አድራሻ forgot-password=መክፈቻ ቁልፉን ረሳኽው home=መነሻ ገጽ password=ፕስወርድ powered-by-x=በ {0} የተጎላበተ remember-me=አስታወስከኝ search=የፍለጋ አሞሌ sign-in=ስግን እንCreate a language module with the
language.propertiesfile you created and deploy the module to your Liferay installation. See Overriding Global Language Translations to see a sample project and specific instructions on creating this module.Create or modify your
portal-ext.propertiesfile in your installation’s Liferay Home folder. Note, this file overrides the enabled default locales defined in theportal.propertiesfile. Therefore list all the languages you plan to use in theportal-ext.propertiesfile. Define bothlocalesandlocales.enabled. For example:locales=am_ET,ar_SA,fa_IR,en_US,zh_CN,ja_JP locales.enabled=am_ET,ar_SA,fa_IR,en_US,zh_CN,ja_JPOnce the module is deployed, navigate to Control Panel → Instance Settings → Localization. Verify and move the new language to the current languages. Click Save.
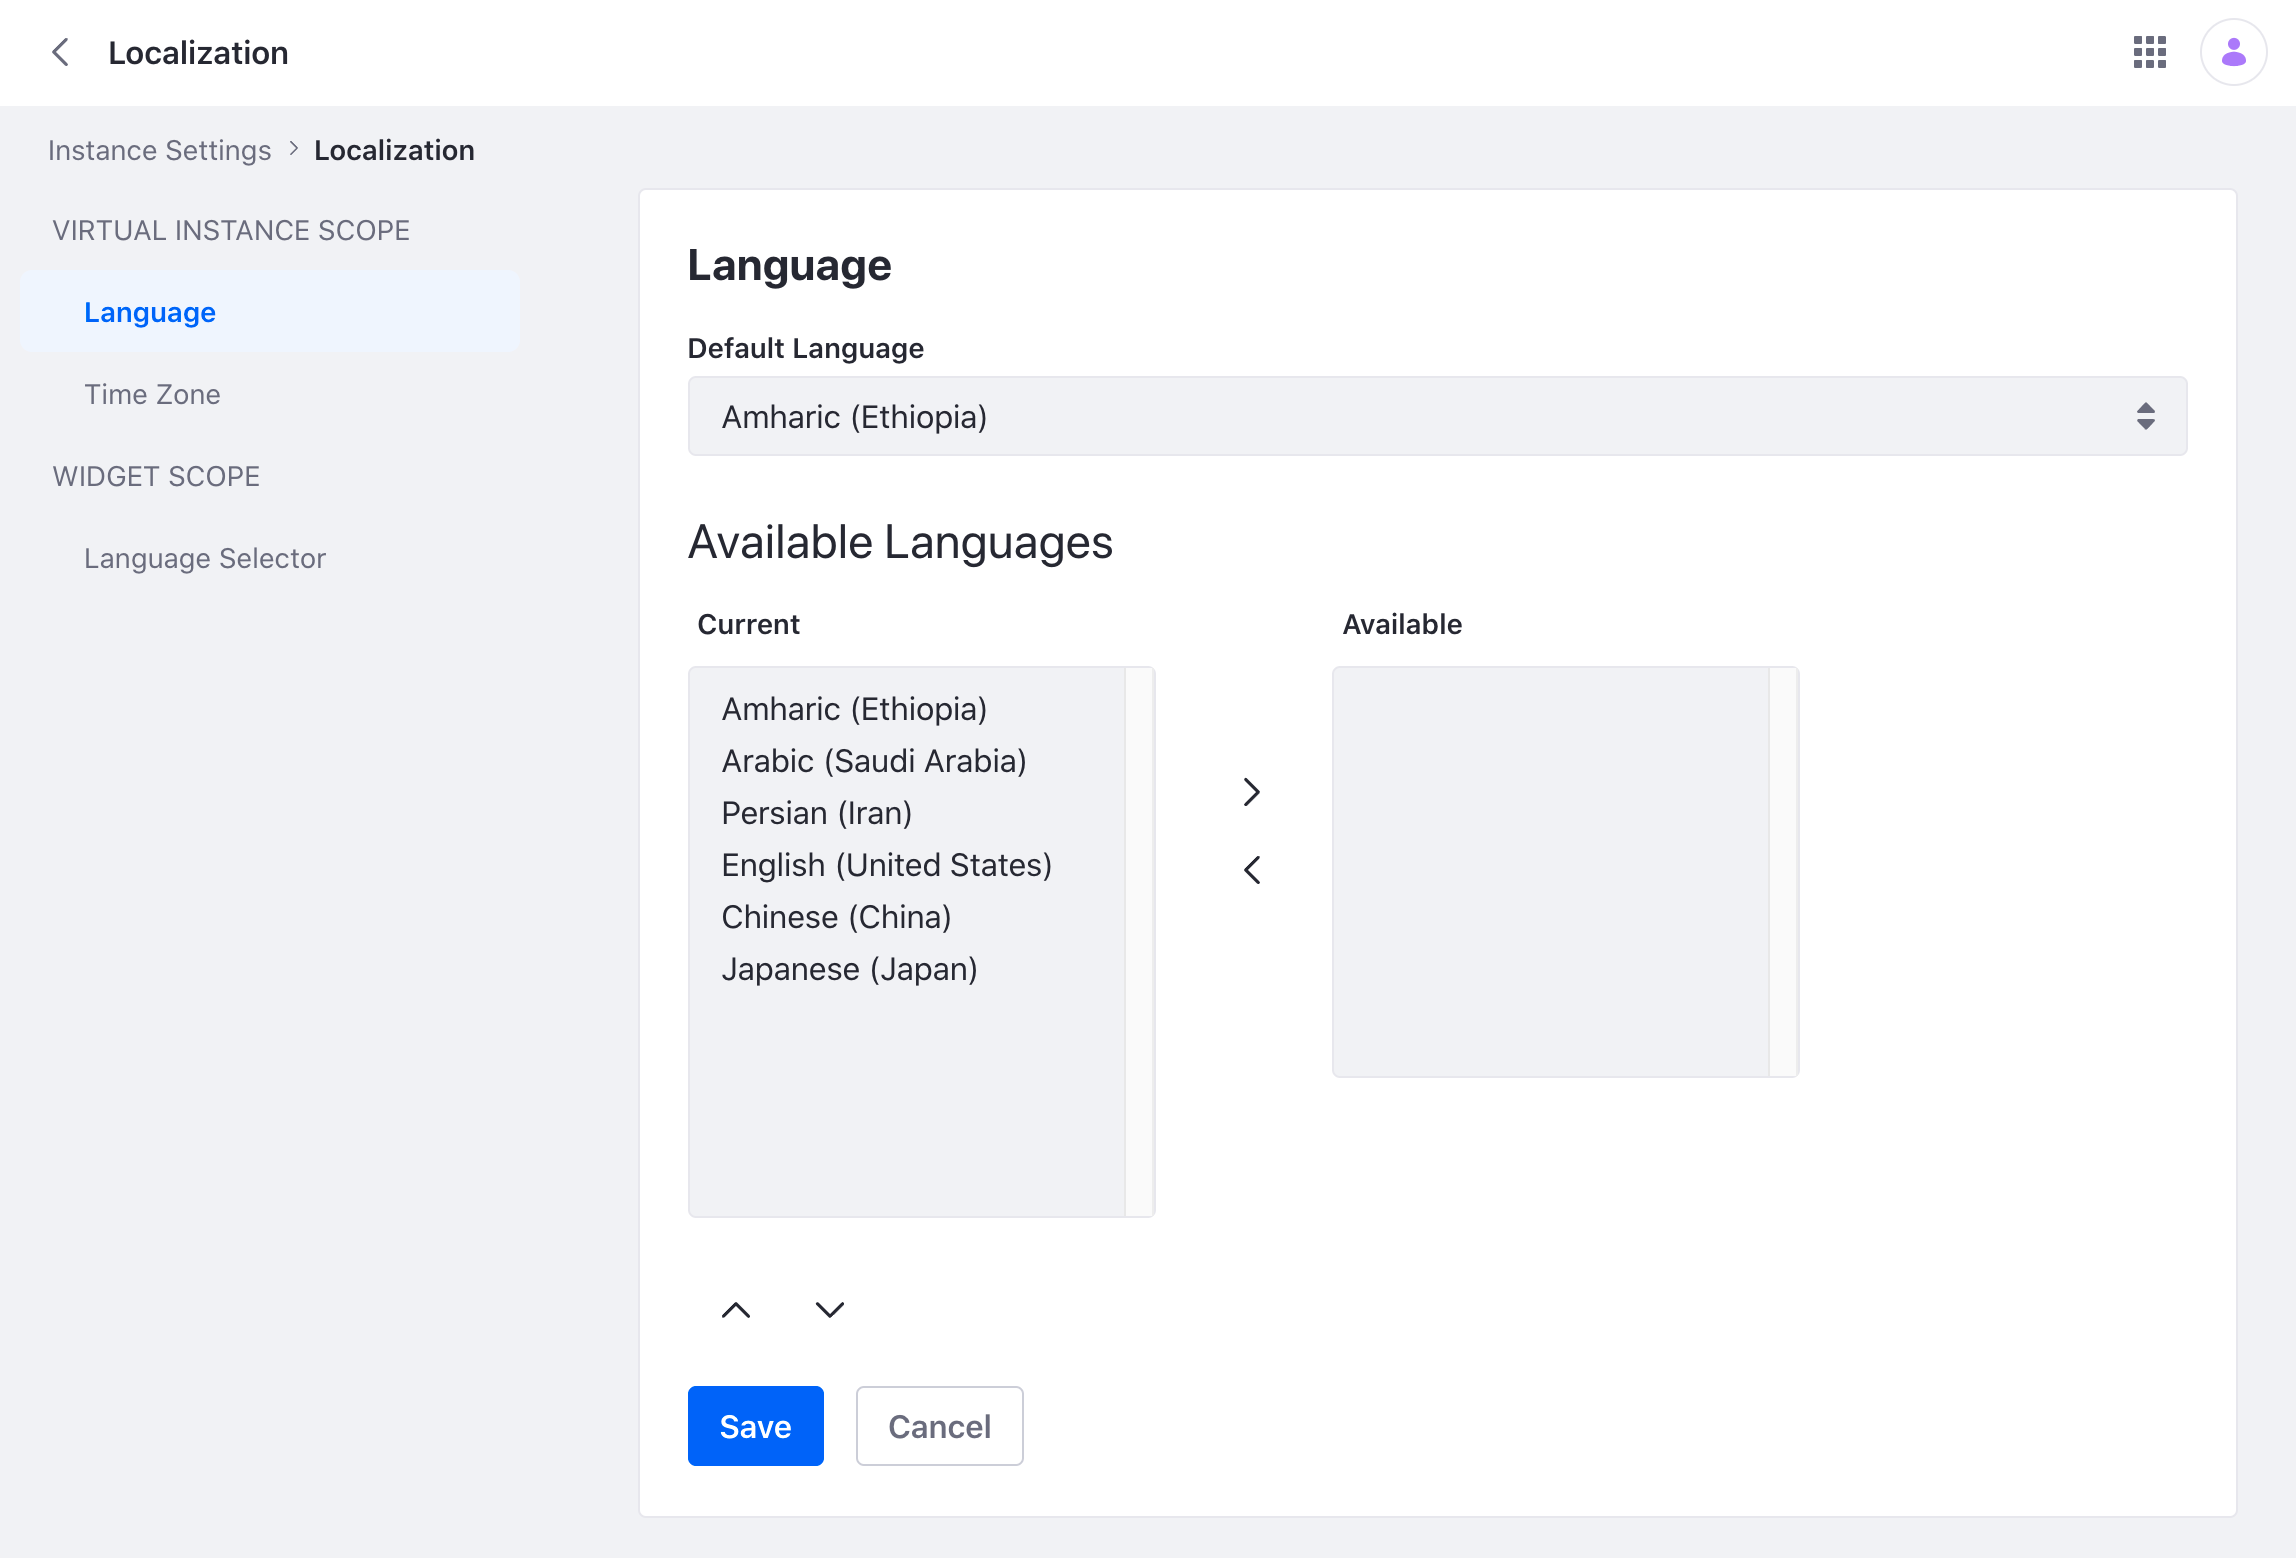
Change your default language to the new language and click Save. The new language is now used by the Liferay instance.
Adding a Flag Icon
Liferay’s out-of-the-box languages have flag icons that appear on the language selector.
There are two ways to add a flag icon for your new language:
Use a theme sprite map client extension for user pages and an admin theme for admin pages.
Use a classic theme for user pages and an admin theme for admin pages.
The example below adds the Ethiopian flag to represent the Amharic language.
<symbol id="am-et" viewBox="0 0 1200 600">
    <path fill="#da121a" d="M0 0H1200V600H0z"/>
    <path fill="#fcdd09" d="M0 0H1200V400H0z"/>
    <path fill="#078930" d="M0 0H1200V200H0z"/>
    <g transform="matrix(1.6666667,0,0,1.6666667,600,300)">
        <circle r="120" fill="#0f47af"/>
        <g id="a">
            <path d="m 0,-96 -4.205849,12.944272 17.347494,53.390097 H -9.987258 l -2.599358,8 h 74.162668 l 11.011056,-8 H 21.553343 Z" fill="#fcdd09"/>
            <path d="M 0,44 V 96" transform="rotate(-144)" stroke="#fcdd09" stroke-width="4"/>
        </g>
        <use xlink:href="#a" transform="rotate(72)" width="100%" height="100%"/>
        <use xlink:href="#a" transform="rotate(144)" width="100%" height="100%"/>
        <use xlink:href="#a" transform="rotate(-144)" width="100%" height="100%"/>
        <use xlink:href="#a" transform="rotate(-72)" width="100%" height="100%"/>
    </g>
</symbol>
Adding a Flag Icon to User Pages Using a Theme Sprite Map Client Extension
Liferay 7.4
Create a theme sprite map client extension.
In your
spritemap.svg, add your flag’s SVG inside a<symbol>tag. Theidshould be your language code.Deploy your client extension to Liferay.
Create a new Blank Page and add a Language Selector fragment. Your language has no flag icon.

Add your client extension and publish the page. Your flag now appears on the Language Selector.

Use this client extension on every page or page template where you want your flag visible. For more information on Theme Sprite Map Client Extensions, see Using a Theme Sprite Map Client Extension.
Adding a Flag Icon to User Pages Using a Classic Theme
Create a theme using Liferay’s theme generator.
Modify
src/images/clay/icons.svgand add your flag’s svg inside a<symbol>tag. Theidshould be your language code.Update
package.jsonto use the appropriate version of each dependency.Modify
src/WEB-INF/liferay-look-and-feel.xml, following the example in the liferay-portal repository.Run
gulp deployon your root module directory.Add your theme to all pages or page templates where you want your flag icon. For more information on themes, see Themes.
Adding a Flag Icon to Admin Pages Using an Admin Theme
Create a theme using Liferay’s theme generator.
Modify
src/images/clay/icons.svgand add your flag’s svg inside a<symbol>tag. Theidshould be your language code.Update
package.jsonto use the appropriate version of each dependency.Modify
src/WEB-INF/liferay-look-and-feel.xmlto make this an admin theme. Follow the example in the liferay-portal repository.Run
gulp deployon your root module directory. Admin themes are applied automatically.Refresh your page to apply the new changes.
For more information on themes, see Themes.
Related Topics
- Site Localization
- Using a Theme Sprite Map Client Extension
- Setting Up an Environment and Creating a Theme