Creating Collections
This information applies to Liferay DXP 7.3+. For previous Liferay DXP versions, see Creating Collections for Liferay 7.2 and Earlier Versions.
You can create Manual or Dynamic Collections. For information about the different types of collections, see Collections and Collection Pages.
Creating a Manual Collection
-
Open the Site Menu (
 ), expand Site Builder, and go to Collections.
 -
Click New and select Manual Collection.
-
Add a Title for your manual collection and click Save.
-
In the Item Type drop-down menu, select the item type you want to include in the collection.
-
If you want to include only one item type
-
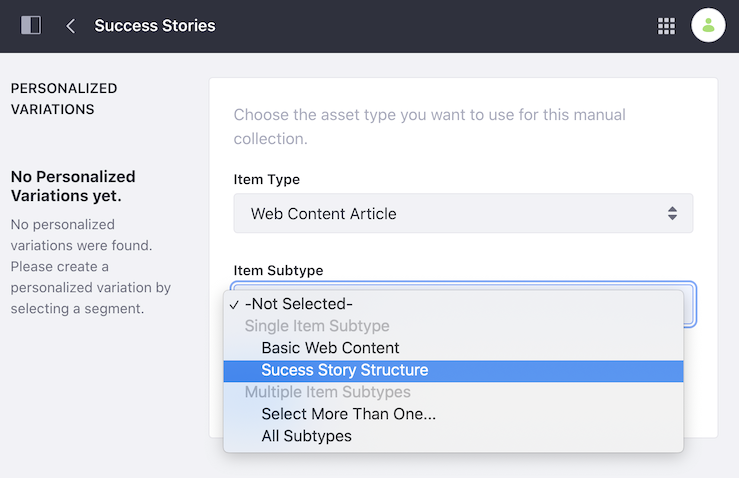
Select the type under Single Item Type.
-
Optionally, if your Item Type includes a subtype, select this in the Item Subtype drop-down menu.
-
Click Save.
-
-
If you want to include more than one item type
-
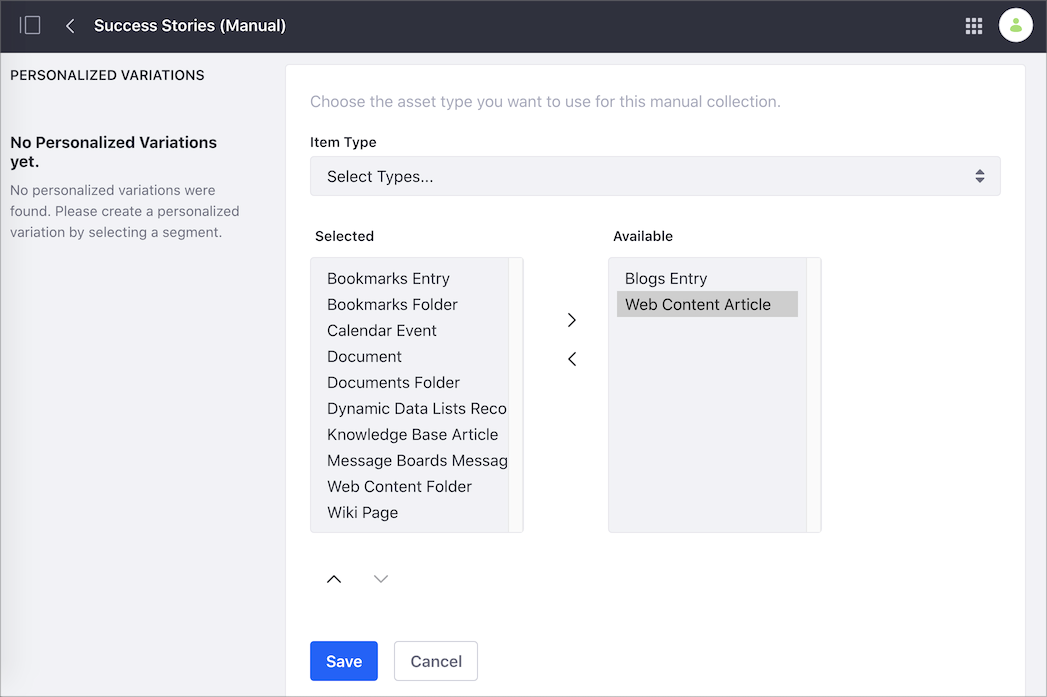
Select Select More Than One under Multiple Item Types.
-
In the dual list box, add or remove the item types you want to include in your collection.
-
-
-
Click Save.
-
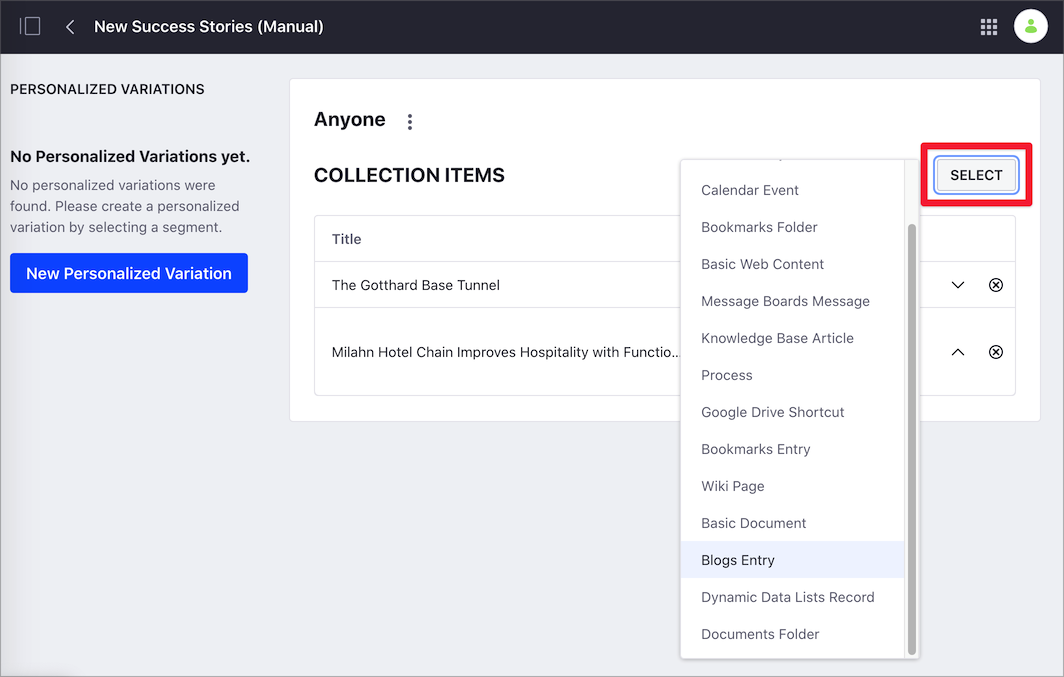
Click Select next to Collection Items and select one of your item types.
-
In the selection dialog, check the items you want to include.
-
Click Add.
-
If your manual collection includes more than one item type, repeat steps 6 to 8 for the other types.
Documents and media folders and web content folders can be added to a collection. However, the content is not displayed when the folder is published on a collections page or in an Asset Publisher widget. Even if these assets are added to a collection, they can only be viewed separately.
Creating a Dynamic Collection
-
Open the Site Menu (
), expand Site Builder, and go to Collections. -
Click New and select Dynamic Collection.
-
Add a Title for your dynamic collection and click Save.
-
In the Item Type drop-down menu, select the item type you want to include in the collection.
-
If you want to include only one item type,
-
Select the type under Single Item Type.
-
Optionally, if your Item Type includes a subtype, select this in the Item Subtype drop-down menu.
-
To filter you Item Subtype by a specific field, enable the Filter by Field switch, click Select, choose the field, and click Apply.
-
Click Save.
-
-
If you want to include more than one item type,
-
Select Select Types under Multiple Item Types
-
In the dual list box, add or remove the item types you want to include in your collection.
-
-
-
Configure the criteria for your dynamic collection, based on Scope, Filter, Content Recommendation, or Ordering.
Scope: Define the source of items in your dynamic collection. By default, the source is the current site.
Filter: Configure the rules for the items in the dynamic collection. For example, you may want to include only items with the “promotion” tag.
 Tip
TipYou can add multiple rules to your filter by clicking the Add button. The final content in the dynamic collection is the result of adding all the rules.
Ordering: Items in the collection appear using the order criteria you define here.
-
Click Save.
Creating a Collection from an Asset Publisher
You can create a new collection from an Asset Publisher widget. This is useful when you have an Asset Publisher customization that you want to use as a collection in other pages.
-
Open the Site Menu (
), expand Site Builder, and go to Pages. -
Click Actions (
 ) for the page that contains the Asset Publisher and select Edit.
 -
Click Options (
 ) in the widget header → Configuration.Note
Before Liferay DXP 2025.Q1/Portal GA132, the Configuration option appeared in the widget’s top-right corner.
-
In the Asset Publisher - Configuration dialog, click the Setup tab → Asset Selection.
-
Scroll down and click Create a Collection from this Configuration.

-
Enter the Title for your Collection and click Save.
-
Close the Asset Publisher - Configuration dialog.
-
Find your new collection in Site Menu → Site Builder → Collections.