Using Localized Messages in an MVC Portlet
Liferay’s localization framework is for creating localized messages in your MVC portlet.
Deploy the Sample Code
Start a new Liferay instance by running
docker run -it -m 8g -p 8080:8080 liferay/portal:7.4.3.132-ga132
Sign in to Liferay at http://localhost:8080. Use the email address test@liferay.com and the password test. When prompted, change the password to learn.
Then, follow these steps:
-
Download and unzip the example.
curl https://resources.learn.liferay.com/examples/liferay-b6f5.zip -Ounzip liferay-b6f5.zip -
From the module root, build and deploy.
./gradlew deploy -Ddeploy.docker.container.id=$(docker ps -lq)NoteThis command is the same as copying the deployed jars to /opt/liferay/osgi/modules on the Docker container.
-
Confirm the deployment in the Liferay Docker container console.
STARTED com.acme.b6f5.web.0.0 [1009] -
Verify that the example module is working. Open your browser to
https://localhost:8080 -
Add the B6F5 Portlet to a page. You can find the example portlet under Sample Widgets.

You should see the welcome message header from the example.
-
The example project also includes locales for Portuguese and Japanese. For example, use the language selector to select Brazilian Portuguese or Japanese to see the welcome message.
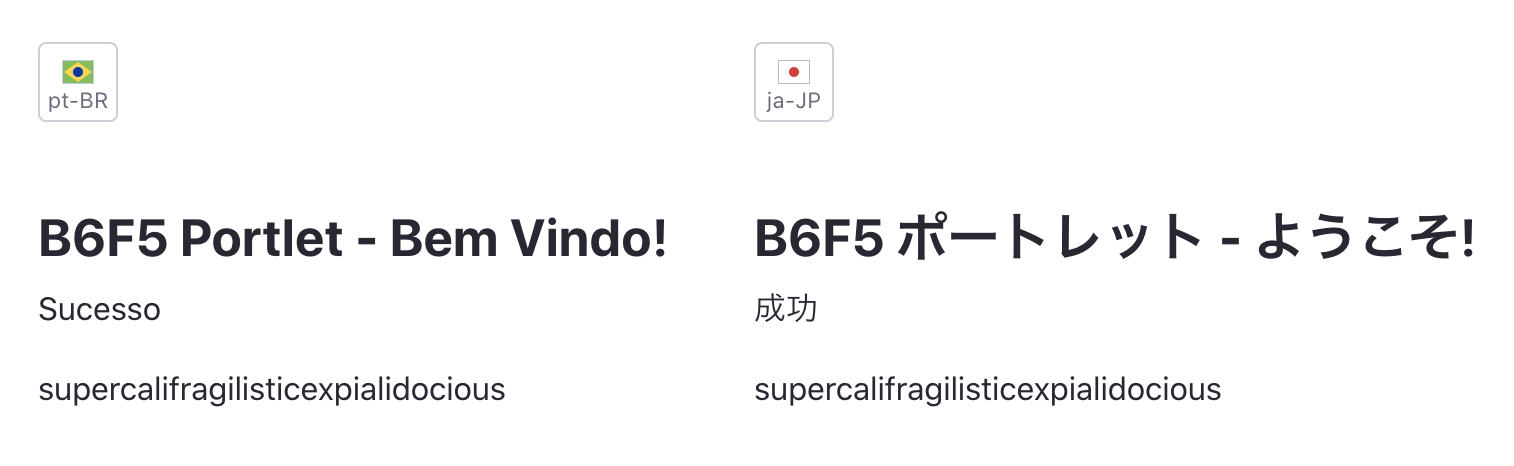
Now you can see how it works.
Create the Language Properties File
Create a Language.properties file and add it to your module’s src/main/resources/content folder. In the file define the keys to use in your MVC portlet.
Language property files for other locales can also be included in the folder. For example, to include language keys for Japanese, add a Language_ja.properties file to the folder.
Create the JSP File
Create your JSP file and add it to your module’s /src/main/resources/META-INF/resources folder.
The example project includes a view.jsp file with a simple welcome message that uses the liferay-ui tag library.
<%@ taglib uri="http://liferay.com/tld/ui" prefix="liferay-ui" %>

<h4>B6F5 Portlet</h4>

<h5><liferay-ui:message key="b6f5-portlet-welcome" /></h5>
Note that there is an extra liferay-ui:message included in the example jsp file:
<liferay-ui:message key="supercalifragilisticexpialidocious" />
This demonstrates that if no such key is found in the Language.properties file, the label appears instead.
Learn more about tag libraries in Liferay Tag Library Reference. Each tag library has a list of attributes that can be passed to the tag.
Add the Component Definition
As you create your custom MVC portlet, make sure to include the language resource bundle property in the class’s @Component definition.
@Component(
    property = {
        ...
        "javax.portlet.resource-bundle=content.Language",
        "javax.portlet.supported-locale=en_US,ja,pt_BR"
    },
    service = Portlet.class
)
The example project includes this property to use the language resource bundle:
"javax.portlet.resource-bundle=content.Language"
The different locales are also defined for every language the portlet supports:
"javax.portlet.supported-locale=en_US,ja,pt_BR"