Adding and Managing Users
Core user management activities include adding, editing, and deleting users. These activities are typically restricted to Administrative users.
Adding Users
Open the Global Menu (
 ) and go to Control Panel → Users and Organizations.
In the Users tab, click the New button.
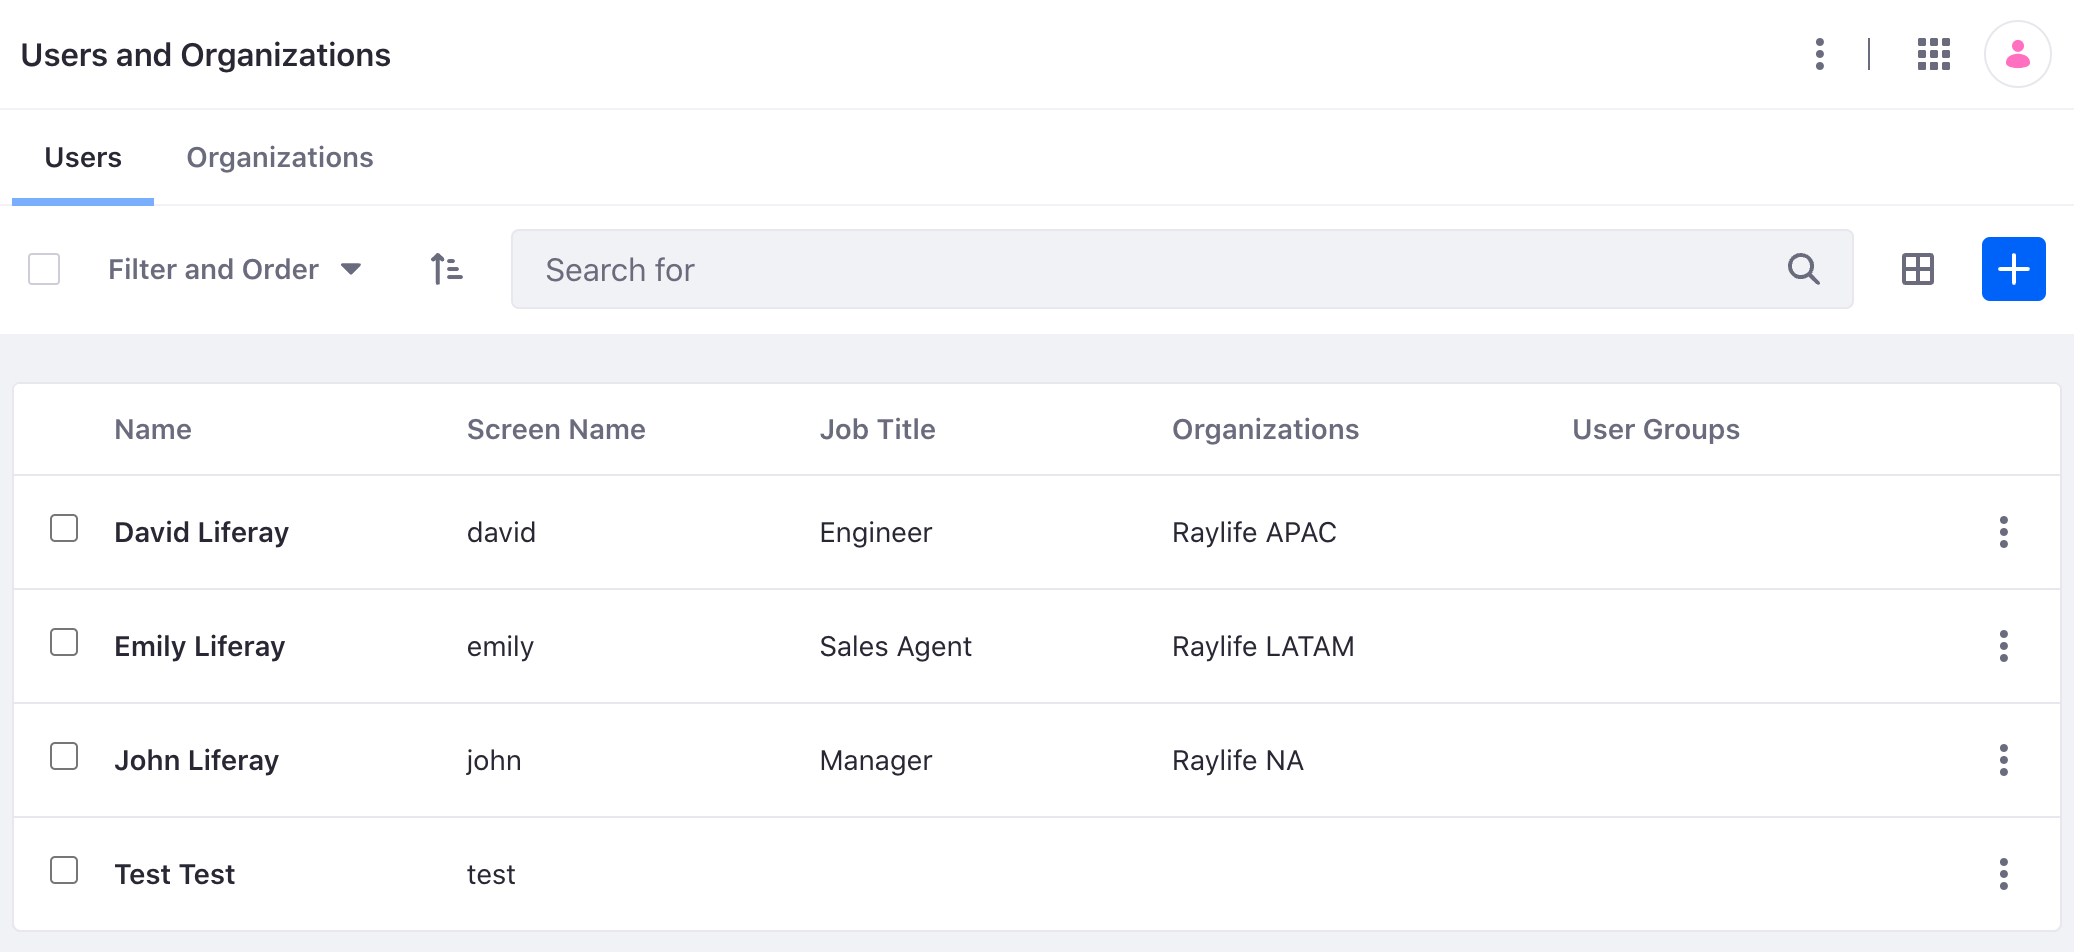
Fill out the Add User form and click Save. At a minimum, provide a screen name, first name, last name, and email address for the user.
NoteScreen names and email addresses are not interchangeable. A screen name cannot contain an
@symbol because it is used in the URL to a user’s pages.The add user functionality is split over several independent forms. Save the first form to create the user, and then you’ll see a success message saying
Success. Your request completed successfully.
You can add additional information after creating the user.
Setting Passwords for New Users
When you create users, Liferay generates their passwords. If a mail server was set up, Liferay sends an email message with the users’ new passwords.
If you haven’t set up a mail server, click the Password item from the general menu and manually set a password for your new user. Enter the new password twice.

Editing Users
Open the Global Menu (
) and go to Control Panel → Users and Organizations.Click Actions (
 ) next to a user.
The following options are available:
Option Description Edit Modify any aspect of the User account. Permissions Define which Roles have permissions to edit the User. Manage Pages Configure the personal pages of a User. Impersonate User Browse the Site in another window as though you were that User. Deactivate Disable the user’s account. Erase Personal Data Delete the User’s personal data. Export Personal Data Download the User’s personal data.
Deactivating and Deleting Users
Removing users is a two-step process for several reasons:
- You or the user may decide you really wanted that account.
- Users are often tied to content with possible legal ramifications in your country.
- You may need time to review a user’s account activity before removing all evidence of that user’s existence.
For these and more reasons, you must first deactivate a user before deleting them.
A user with the Delete permission can activate, deactivate, and delete users. Starting from Liferay DXP 2023.Q4+/Portal 7.4 GA98+, two new permissions, Activate and Deactivate, have been added to give more granular control over who can activate and deactivate other users.
Deactivating Users
Deactivating a user prevents the user from logging in, but preserves the user. You can toggle between active and inactive users in the users view. If all the users are active, this filtering option doesn’t appear.
To deactivate a user,
Open the Global Menu (
) and go to Control Panel → Users and Organizations.Locate the user to deactivate and click the Actions (
) button next to the user.Select Deactivate.
The user is now deactivated and can no longer log in. Users can be reactivated by finding them in the users table (be sure you’re filtering the table results by deactivated users), clicking Actions (![]() ), and selecting Activate. There’s no confirmation window for activation: users are automatically restored to their former status after activation.
), and selecting Activate. There’s no confirmation window for activation: users are automatically restored to their former status after activation.
Deleting Users
To guard against accidental deletion of users, users must be deactivated first, and then can be deleted.
Follow the steps above to deactivate the user.
Click Filter and order at the top of the table to display a selector. Click Inactive to view the user you just deactivated.
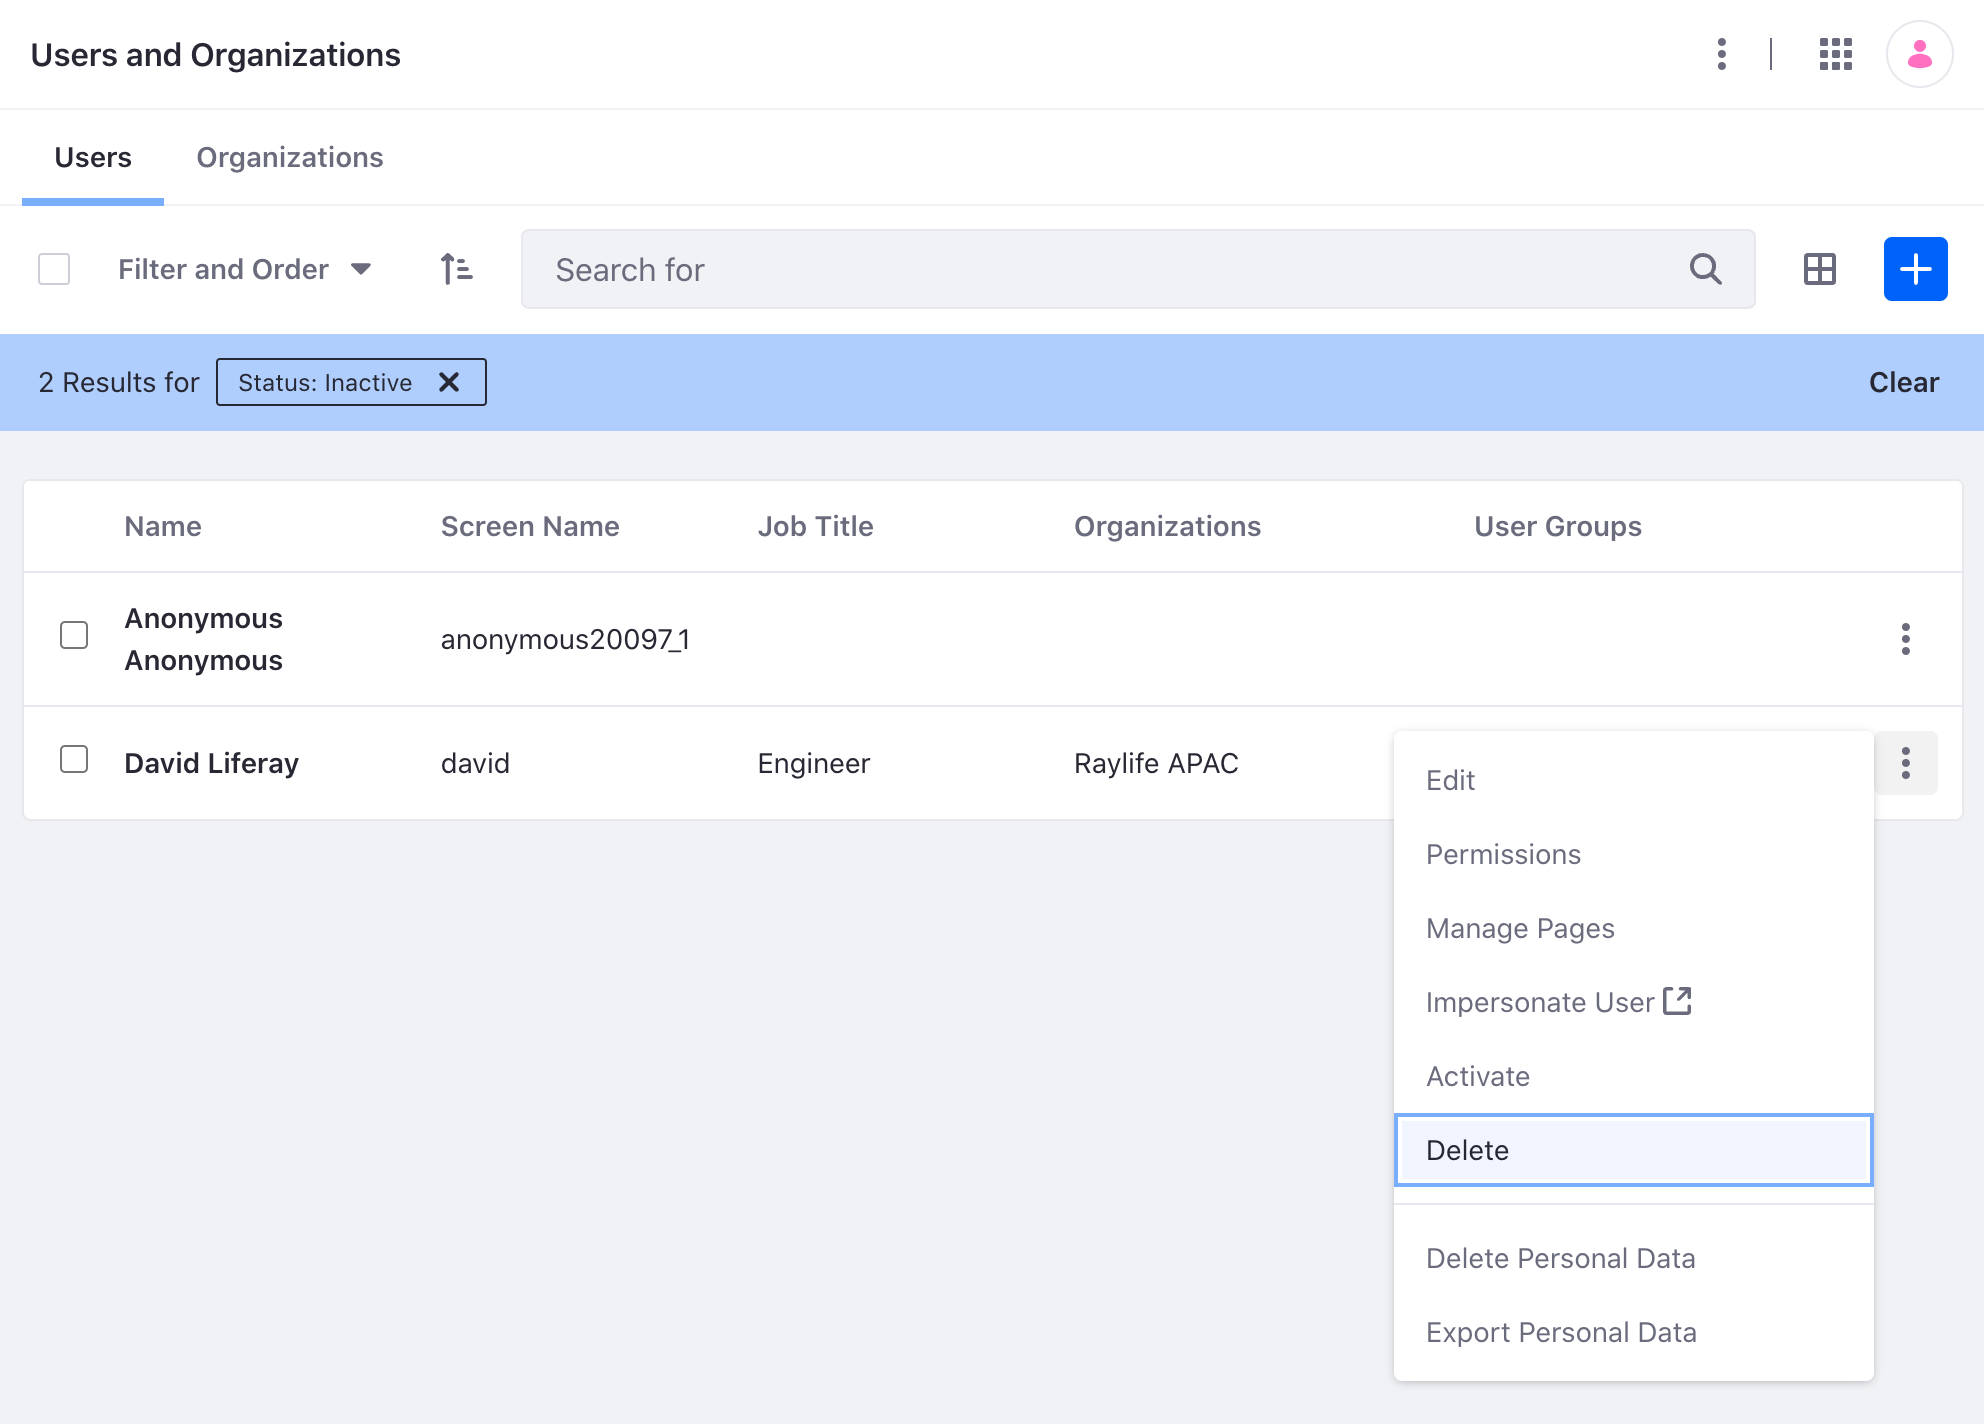
Click the Actions (
) button, and click Delete to delete the user.
The user is now deleted. There is no way to recover the user once deleted besides restoring from a prior backup.
Impersonating Users
You can impersonate users to view the system as the user would see it. This helps to diagnose permission issues an administrator can’t see, such as making sure a user doesn’t have access to sensitive data. Only users with the administrator role can impersonate.
Open the Global Menu (
) and go to Control Panel → Users and Organizations.Locate the user to impersonate and click Actions (
) next to the user.Click Impersonate User.
This opens another browser window logged in as that user.
Resetting a User Password
The Add User functionality includes a Require Password Reset check box at the bottom of the password form. The default password policy prevents administrators from de-selecting this option. You can, however, modify the default password policy to make this box usable.
Open the Global Menu (
) and go to Control Panel → Password Policies.Click on the Default Password Policy.
De-select the Change Required switcher in the Password Changes section. Now you can decide whether users you add must reset their passwords.
See Password Policies for more information on editing the default policy or creating your own.