Auto-Deploying Fragments
Liferay Portal 7.3 GA1+ or Liferay DXP 7.3+
If you’re developing page fragments with your own tooling, you can deploy them by packaging them in ZIP files for importing via the Liferay UI. But you’re not limited to using the UI. You can deploy fragment ZIP files from the command line too. Here you’ll learn how to work with fragment projects and import the fragments to the sites you want from the command line using Liferay’s auto-deployment mechanism.
For Liferay DXP 7.4+, fragment collections are called fragment sets in the Liferay UI.
Deploy an Auto-deployable Fragment Set
Start a new Liferay instance by running
docker run -it -m 8g -p 8080:8080 liferay/portal:7.4.3.112-ga112
Sign in to Liferay at http://localhost:8080. Use the email address test@liferay.com and the password test. When prompted, change the password to learn.
Then, follow these steps to auto-deploy an example fragment set:
Download and unzip the example auto-deployable fragment set:
curl https://resources.learn.liferay.com/dxp/latest/en/site-building/developer-guide/developing-page-fragments/liferay-a2f8.zip -Ounzip liferay-a2f8.zipCompress the fragment project’s set and its deployment descriptor into a ZIP file:
cd liferay-a2f8zip -r a2f8-fragments.zip a2f8-set/ liferay-deploy-fragments.jsonImport the fragment set to the descriptor-specified site by copying the new
.zipfile to the auto-deploy folder in Liferay’s Docker container:docker cp a2f8-fragments.zip $(docker ps -lq):/opt/liferay/deployCheck the Docker console for this log message:
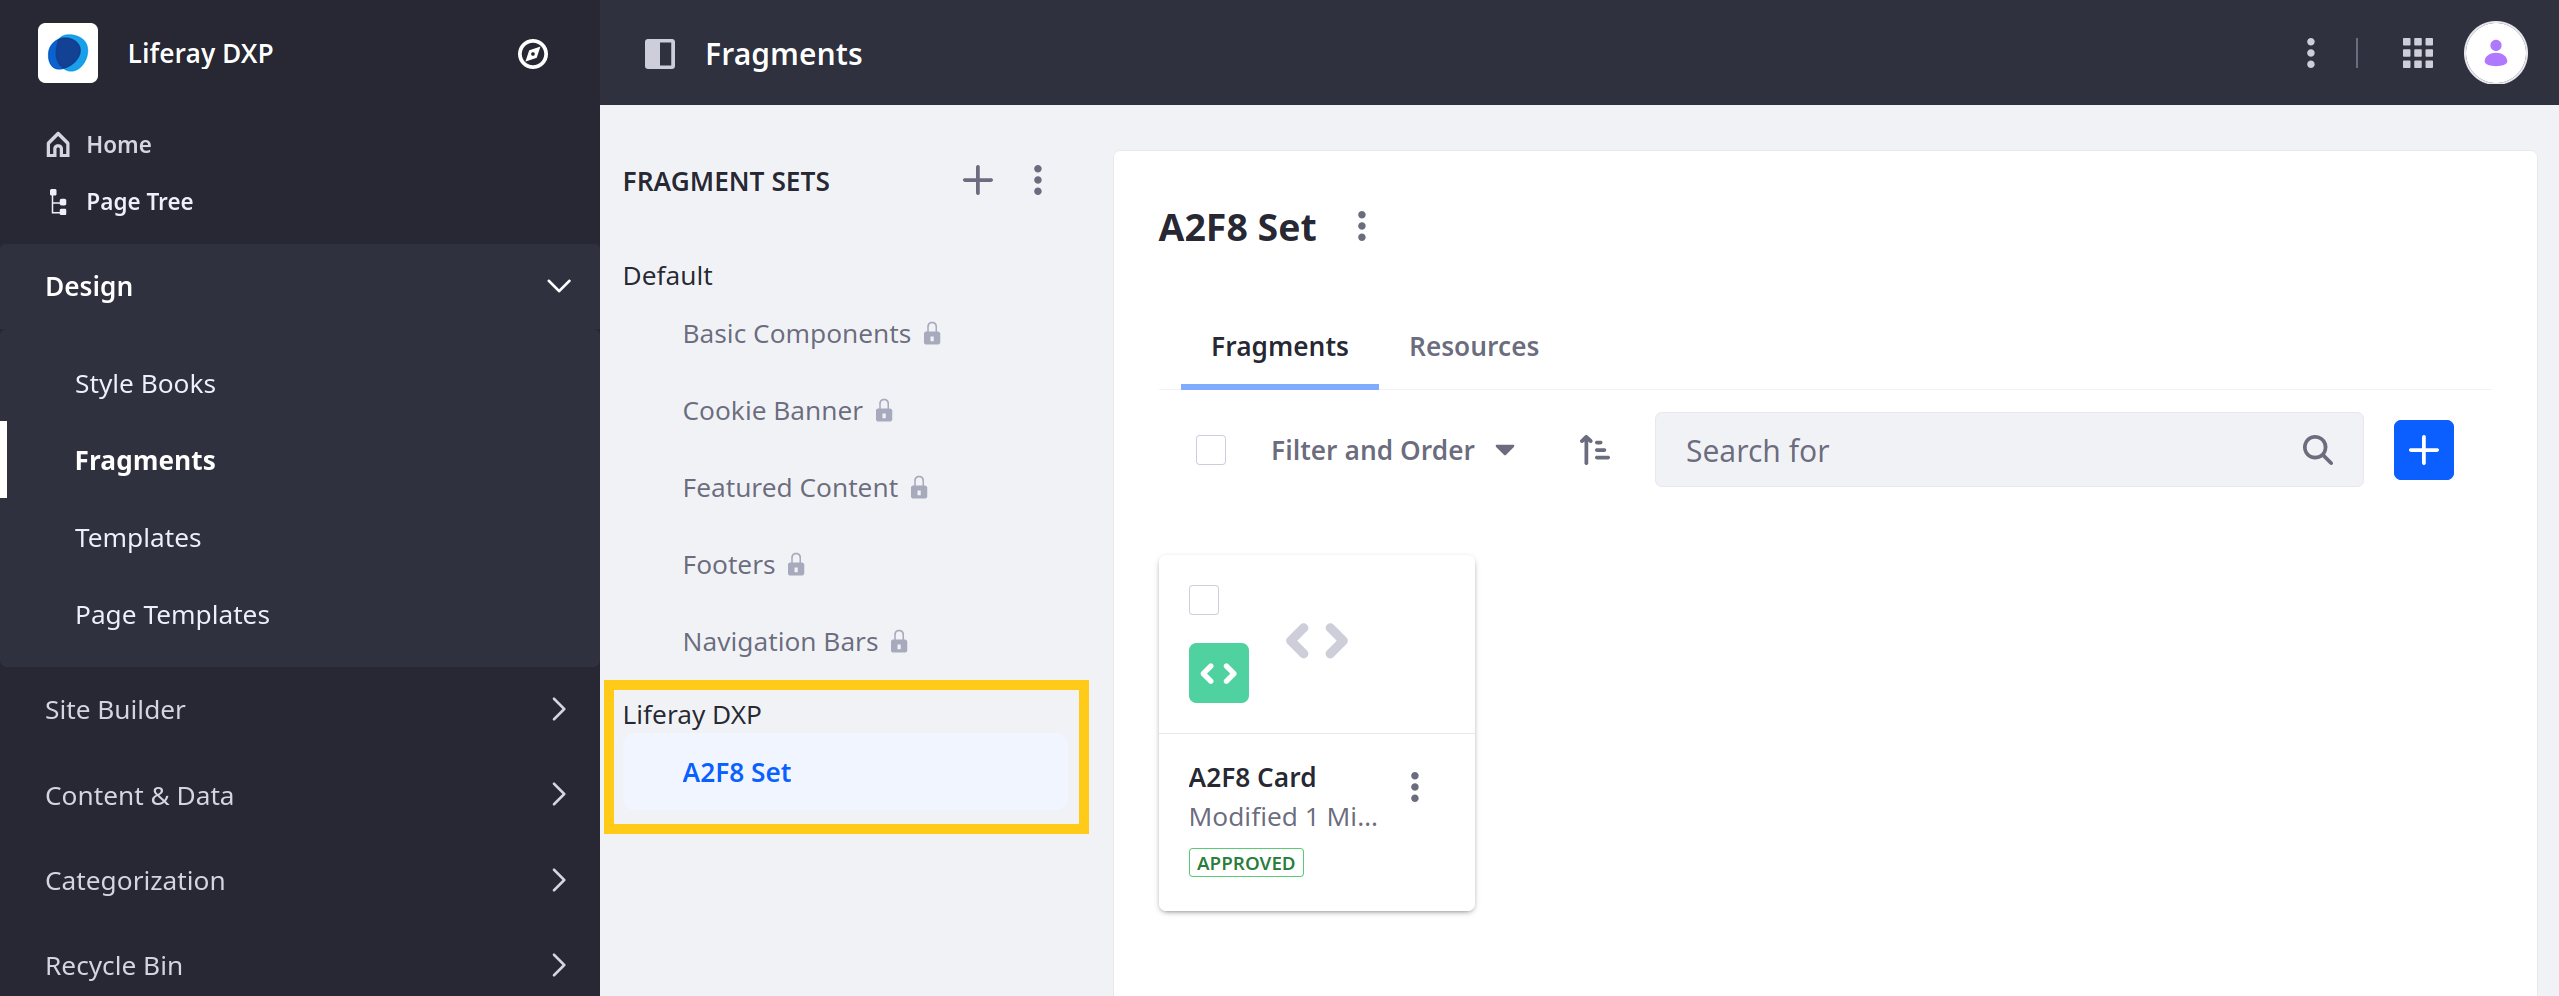
INFO [com.liferay.portal.kernel.deploy.auto.AutoDeployScanner][AutoDeployDir:263] Processing a2f8-fragments.zipVerify the fragment set is available. Open the Site Menu (
 ) and go to Design → Fragments. The set should appear in the list.
If an imported fragment has invalid rules, it is saved automatically as a draft.
Fragment Project Structure
The auto-deployable fragment project has this structure:
[project ZIP]
├── [fragment-set]
│   ├── collection.json
│   └── [fragment]
│       └── fragment files ...
└── liferay-deploy-fragments.json
The liferay-deploy-fragments.json file specifies the scope where you want to deploy the fragments:
- System-wide (all instances)
- A virtual instance (company)
- A site (group).
The example’s configuration below specifies deploying to a site (group) called “Guest” within a virtual instance (liferay.com):
{
    "companyWebId": "liferay.com",
    "groupKey": "Guest"
}
Both keys in this JSON file are optional. In your liferay-deploy-fragments.json file, you can make fragments available system-wide (to all instances) by specifying an empty JSON element or by adding this configuration:
{
    "companyWebId": "*"
}
Importing fragments with resources is not supported if you are making them available at the system level.
The fragments toolkit’s npm run compress command facilitates creating fragment ZIP files and their deployment descriptors.
Modify the Fragment Set and Redeploy
Follow these steps to modify the fragment set and redeploy it:
Add a new fragment to the example set by moving the project’s
a2f8-jumbotronfragment folder into thea2f8-set/folder.Compress the fragment set into a ZIP file as you did above:
zip -r a2f8-fragments.zip a2f8-set/ liferay-deploy-fragments.jsonImport the modified fragment set by copying the ZIP file to the Docker container as you did previously:
docker cp a2f8-fragments.zip $(docker ps -lq):/opt/liferay/deployCheck for the new fragment. Open the Site Menu (
), go to Design → Fragments, and click on A2F8 Set. It should include the A2F8 Jumbotron fragment.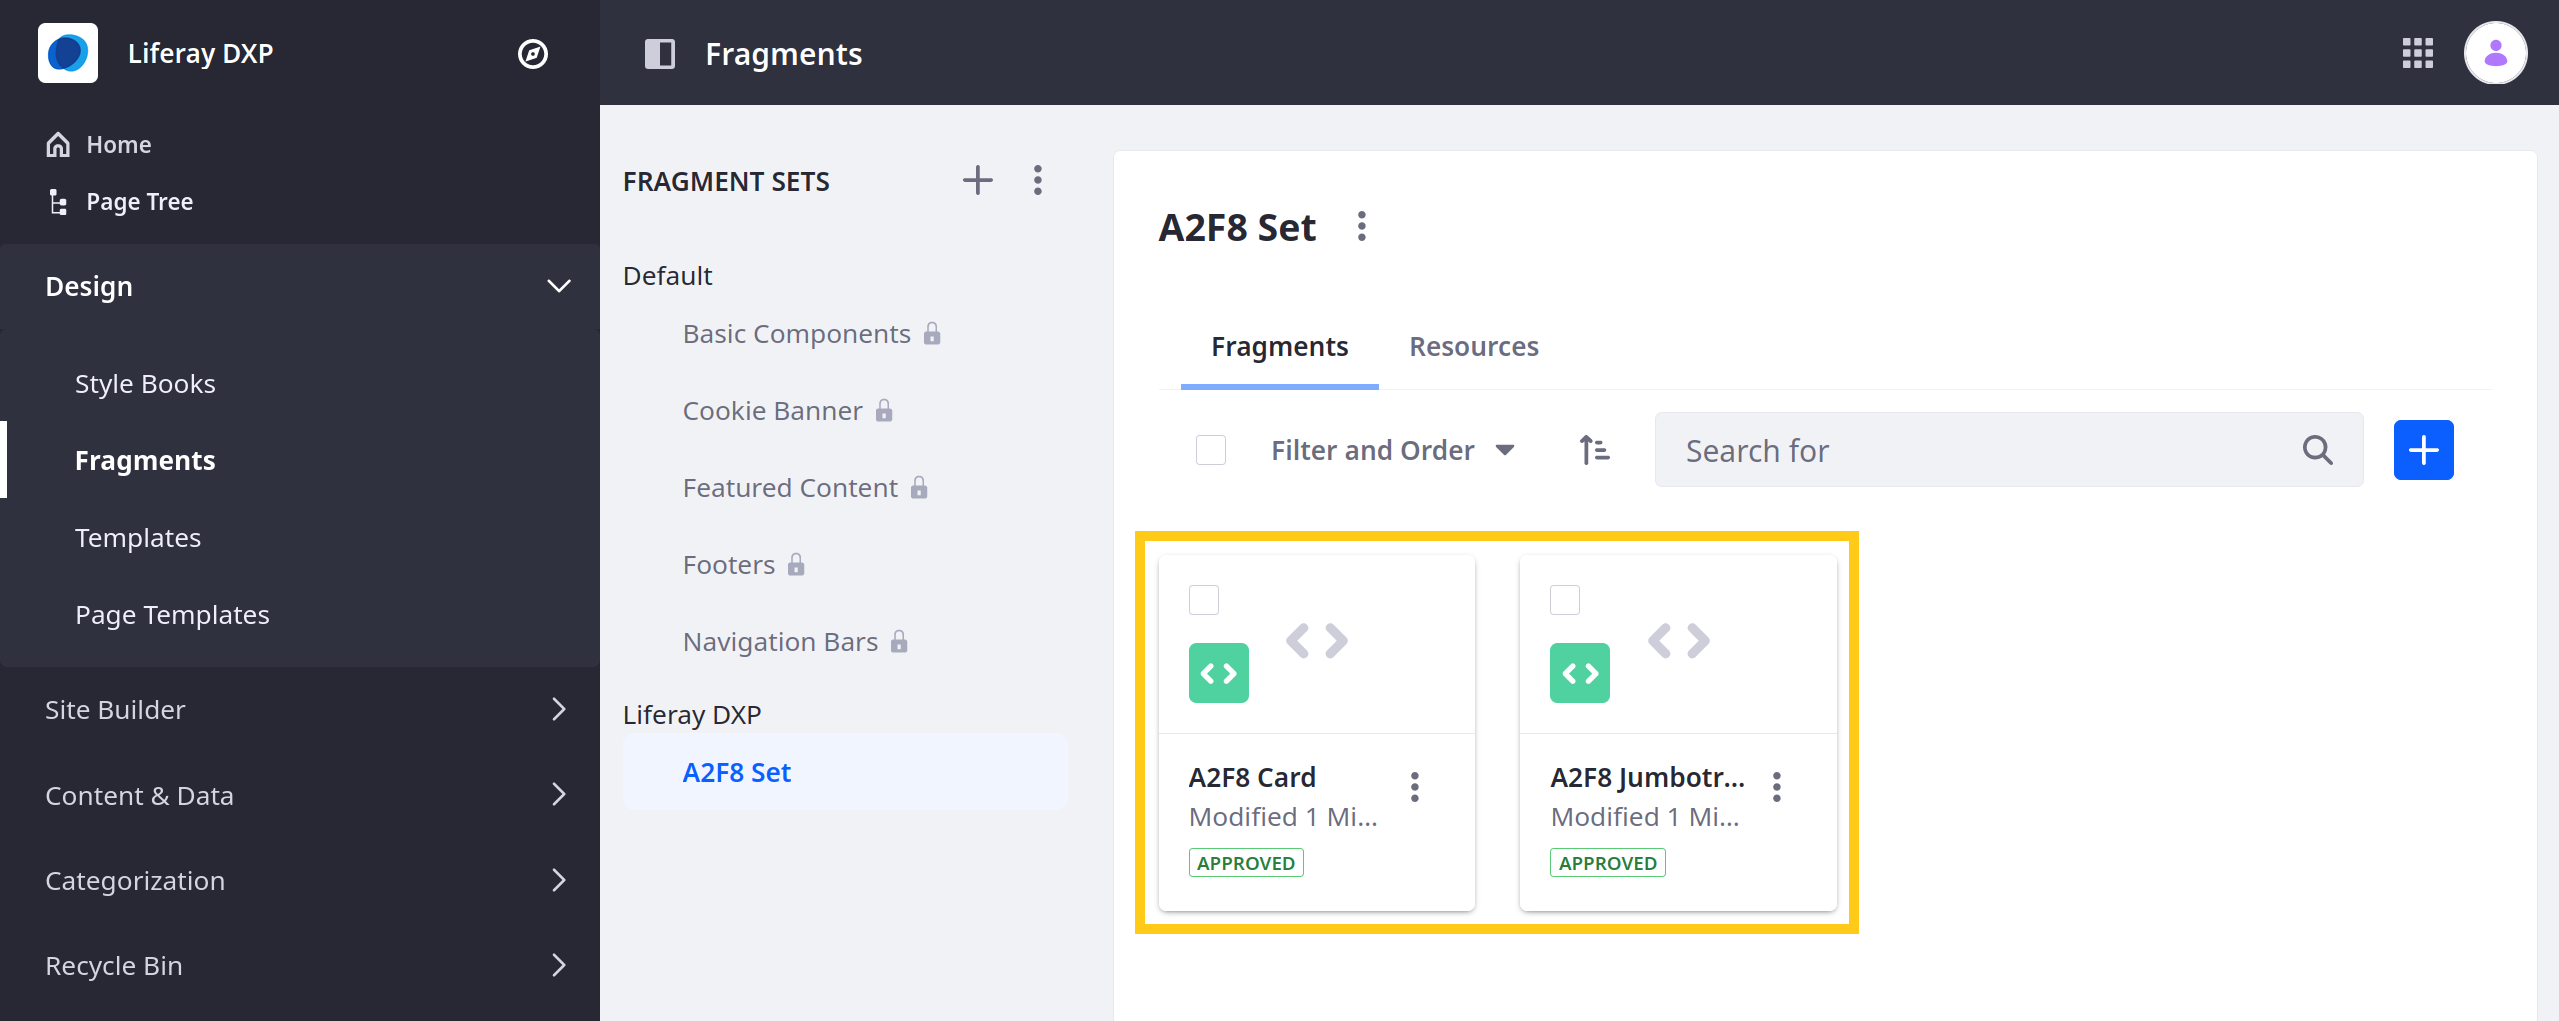
Great! Now you know how to work with a fragment set locally, specify a site for it, and import it using auto-deployment.