Geolocating Assets
Geolocation adds the geographic coordinates where an asset was created as metadata to an asset. This feature is provided as an optional field which can be included in a Web Content structure, Dynamic Data List field, or a Documents and Media Document Type or a Metadata Set.
Geolocating Web Content
To use geolocation in your web content, you must create a structure and template that includes a Geolocation field.
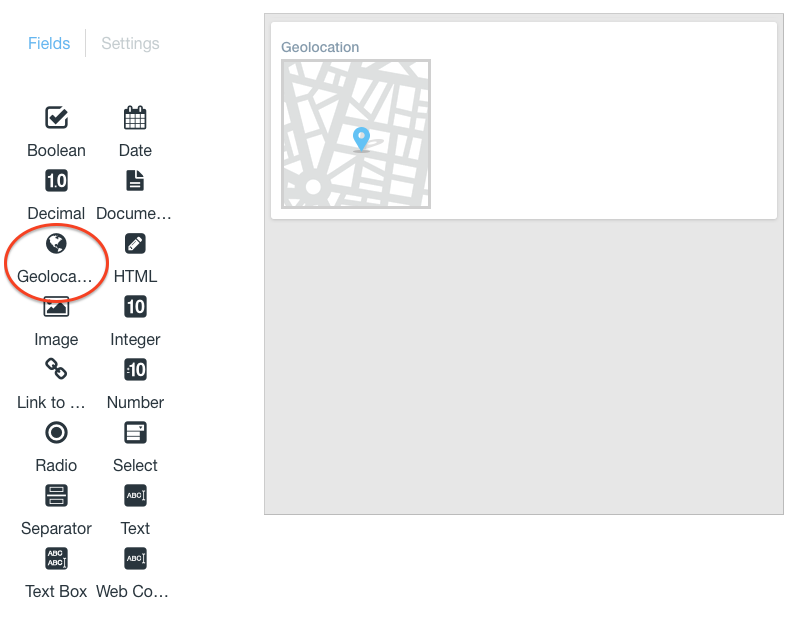
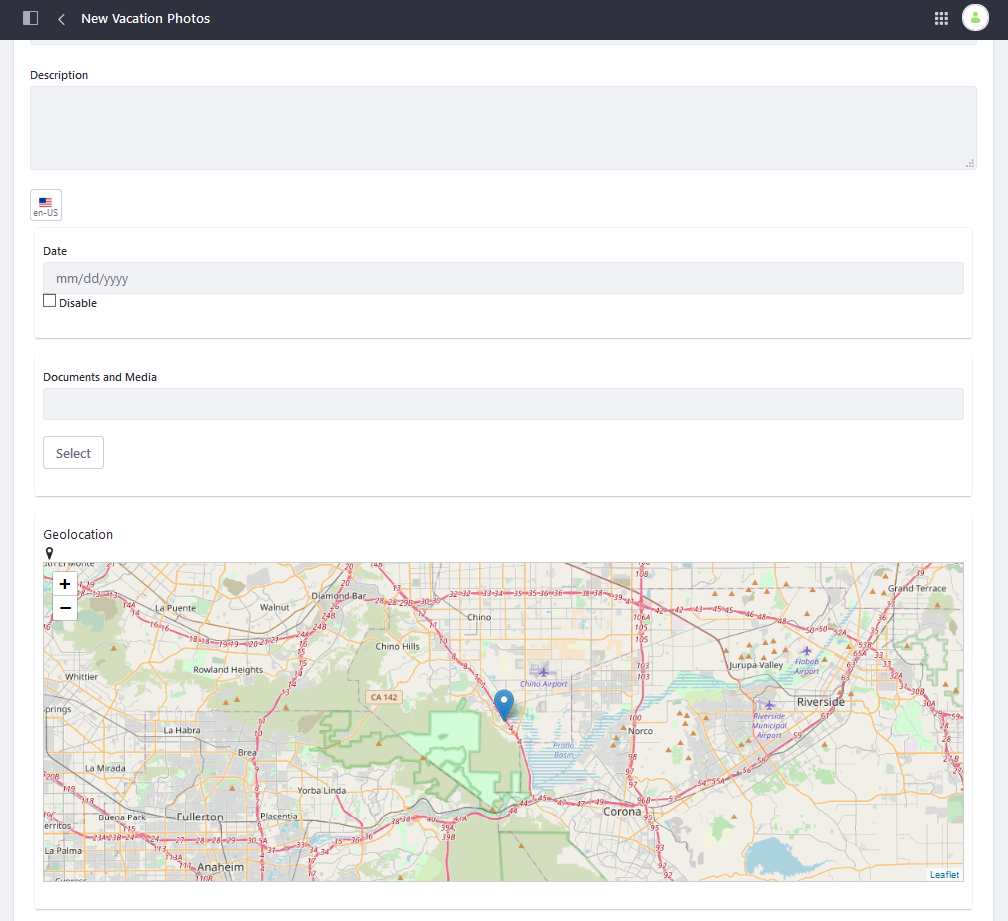
Create a structure with a Geolocation field like in the image above.
Create a new template and select the structure you just created with the geolocation field.
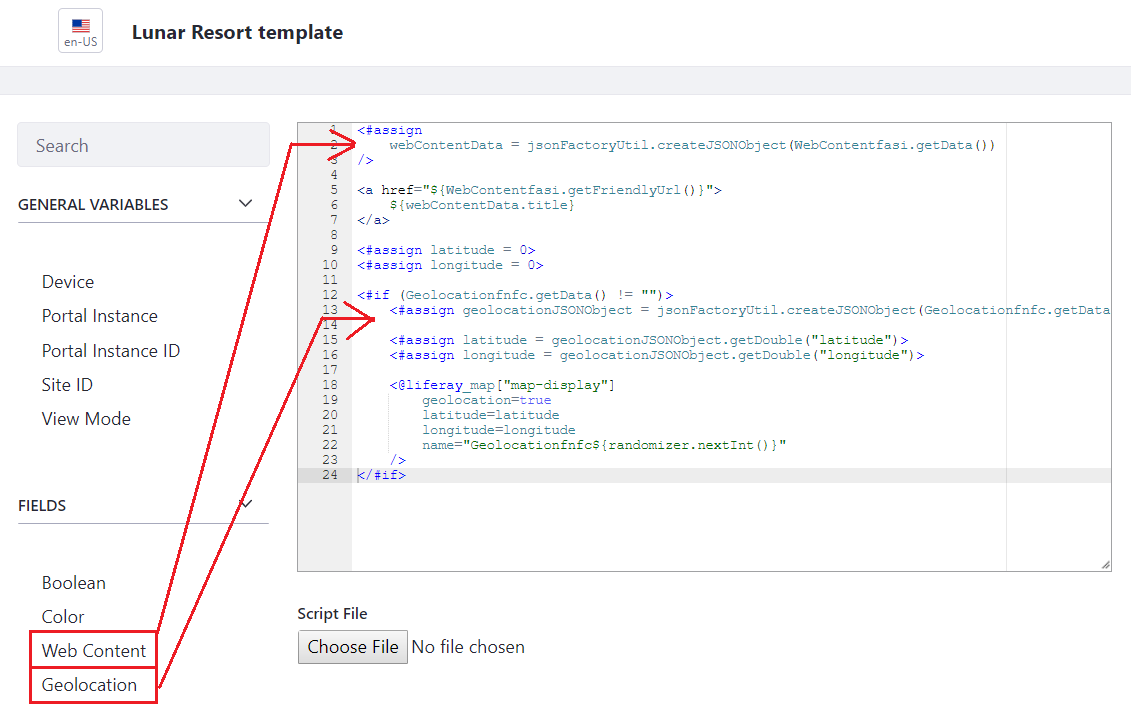
Scroll down to the Script heading and locate the Fields section. Here are Content and Geolocation snippets.
Click on the snippets to add them to the template.
Click Save when finished.
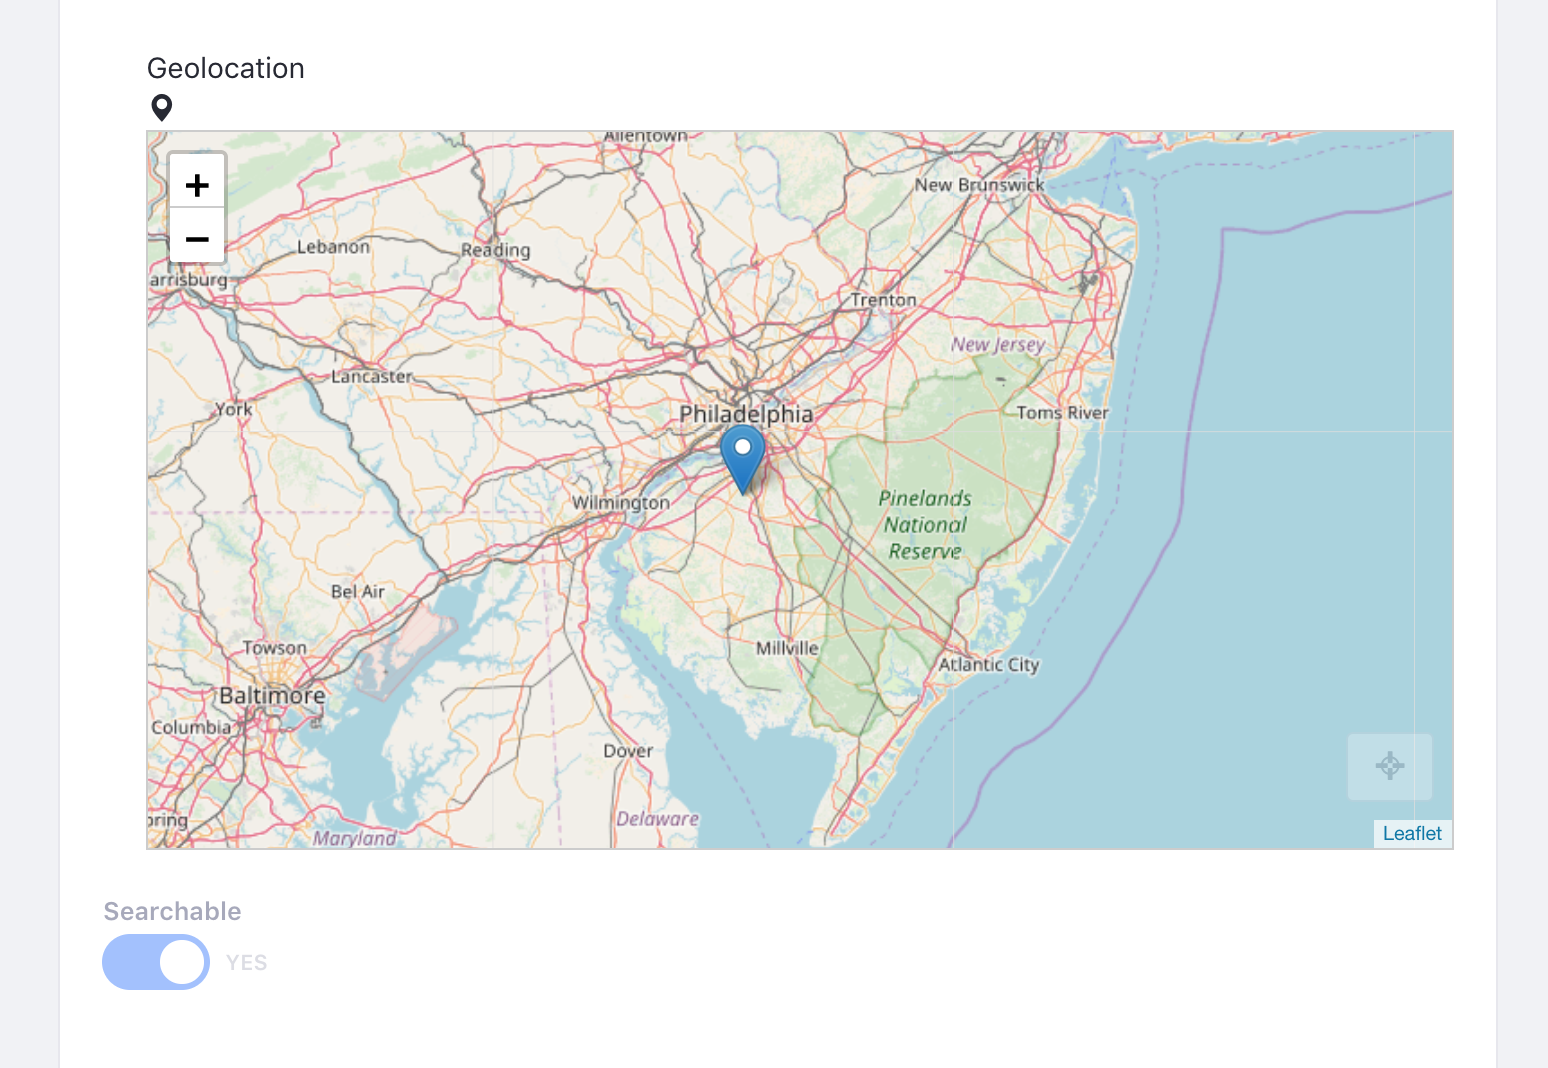
To set your location for the web content, you can share your location with the browser, type a specific address into the address bar on the map, or even drag the indicator and drop it in any point in the map and the address is automatically updated to reflect the new point. Once the web content is saved, the location is added as metadata to the web content.
Depending on your browser settings, you may need to configure it to share your location.
Geolocating Data Lists
To use geolocation in your Dynamic Data Lists, you must first create a data definition that includes a geolocation field.
Creating a New Data List Definition
Open the Product Menu and navigate to your site.
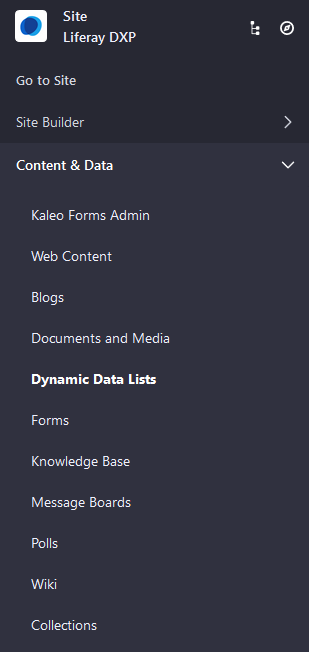
Click Content & Data → Dynamic Data Lists.
Click the Options (
 ) menu and select Manage Data Definitions.
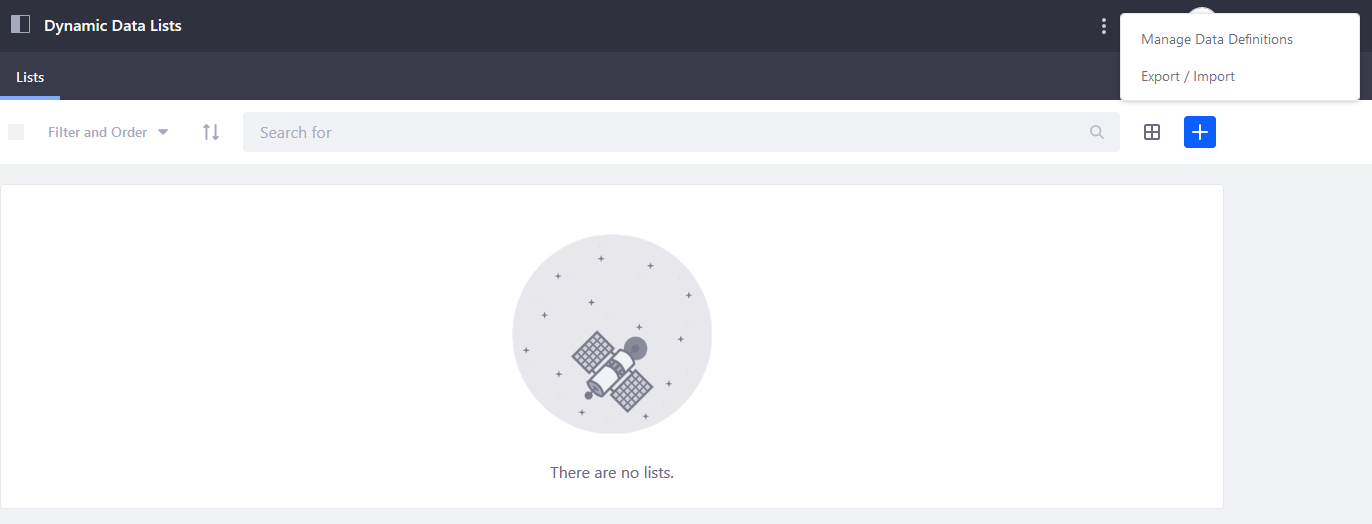
Click the Add (
 ) button to create a new data definition.
Enter a name, optional description, and parent data definition if you have one.
Scroll down and add a Geolocation field to the data definition, along with any other fields you wish to add.

Click Save when finished.
Now that the Data Definition has been created, create a new Data List using this definition.
Creating a New Data List
To create a data list that uses the new data definition:
Navigate back to the Dynamic Data Lists screen and click the Add button (
) to create a new list.Enter a name and optional description.
Click the Select button and choose the newly created data definition.
Select whether this form has a Workflow.
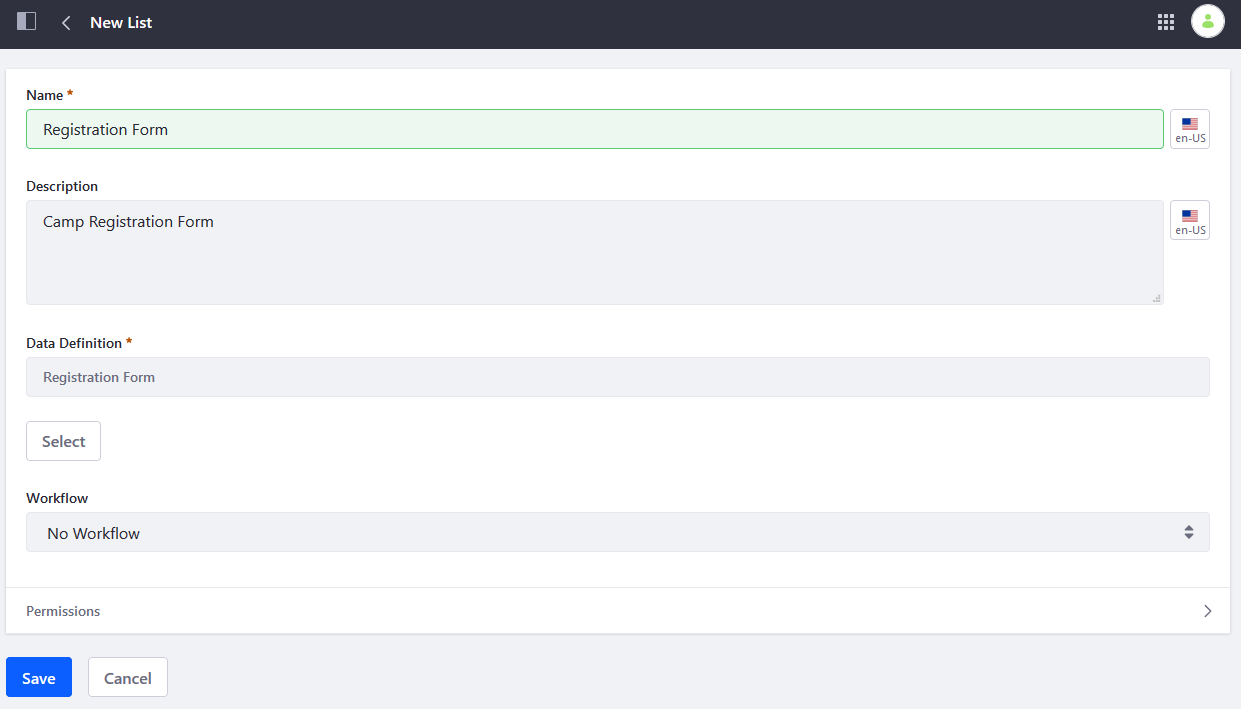
Click Save when finished.
Now that your data list is complete, you can use the Data List Display portlet to display it.
Geolocating Documents and Media
To enable geolocation in Documents and Media, you must first create a Document Type that includes geolocation metadata. Alternately, you can add geolocation metadata as part of a Metadata Set. Once you have created that Metadata Set, it can be included as part of a Document Type.
Adding Geolocation in a Metadata Set
Follow the steps below:
Open the Product Menu and navigate to your site.
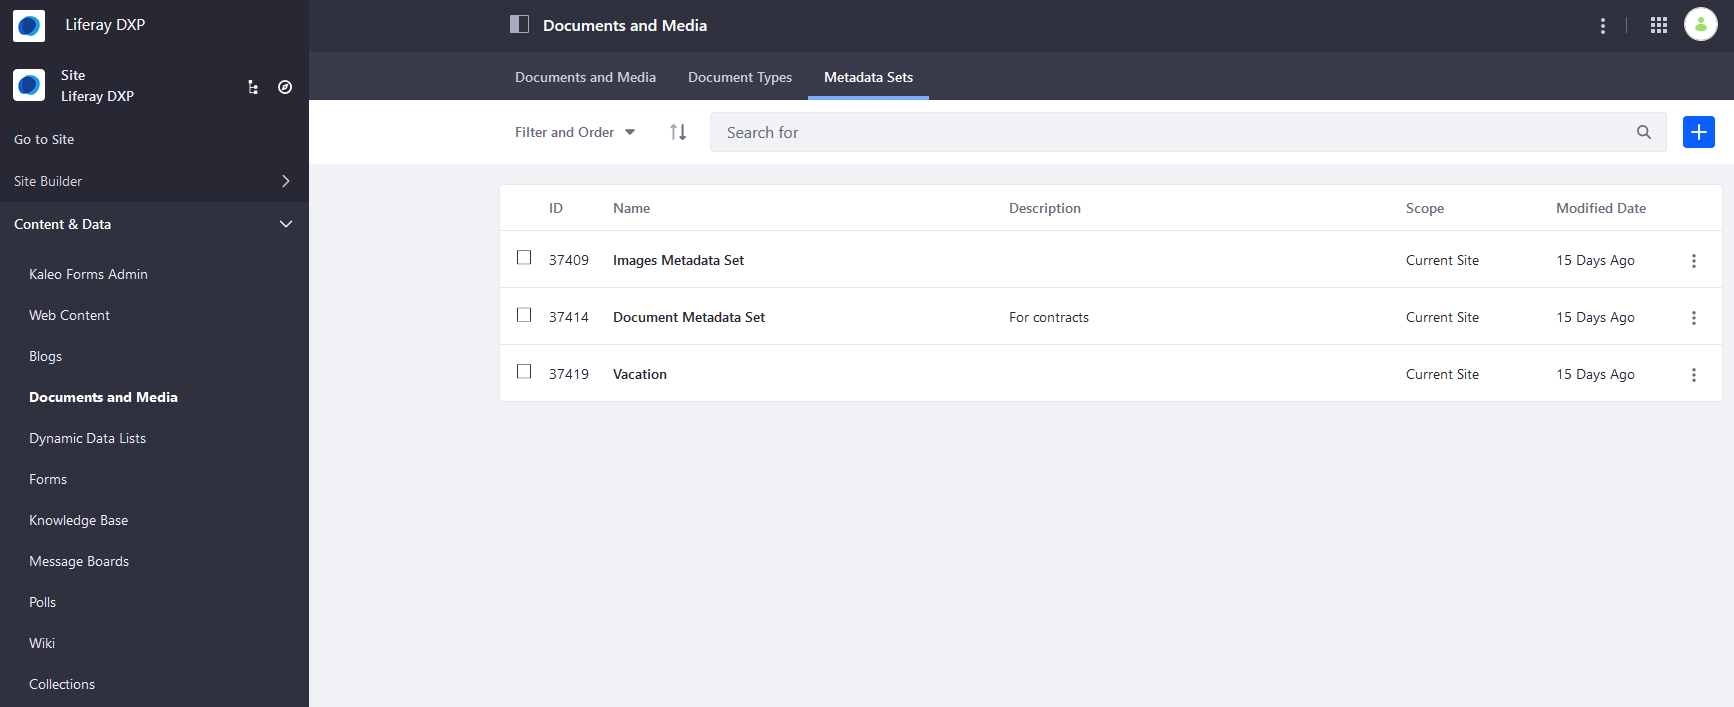
Click Content & Data → Documents and Media.
Click the Metadata Sets tab.
Click the Add (
) button and enter a name, optional description, and Parent Metadata Set if you have one.Scroll down and add a Geolocation field, along with any additional fields you wish to have.
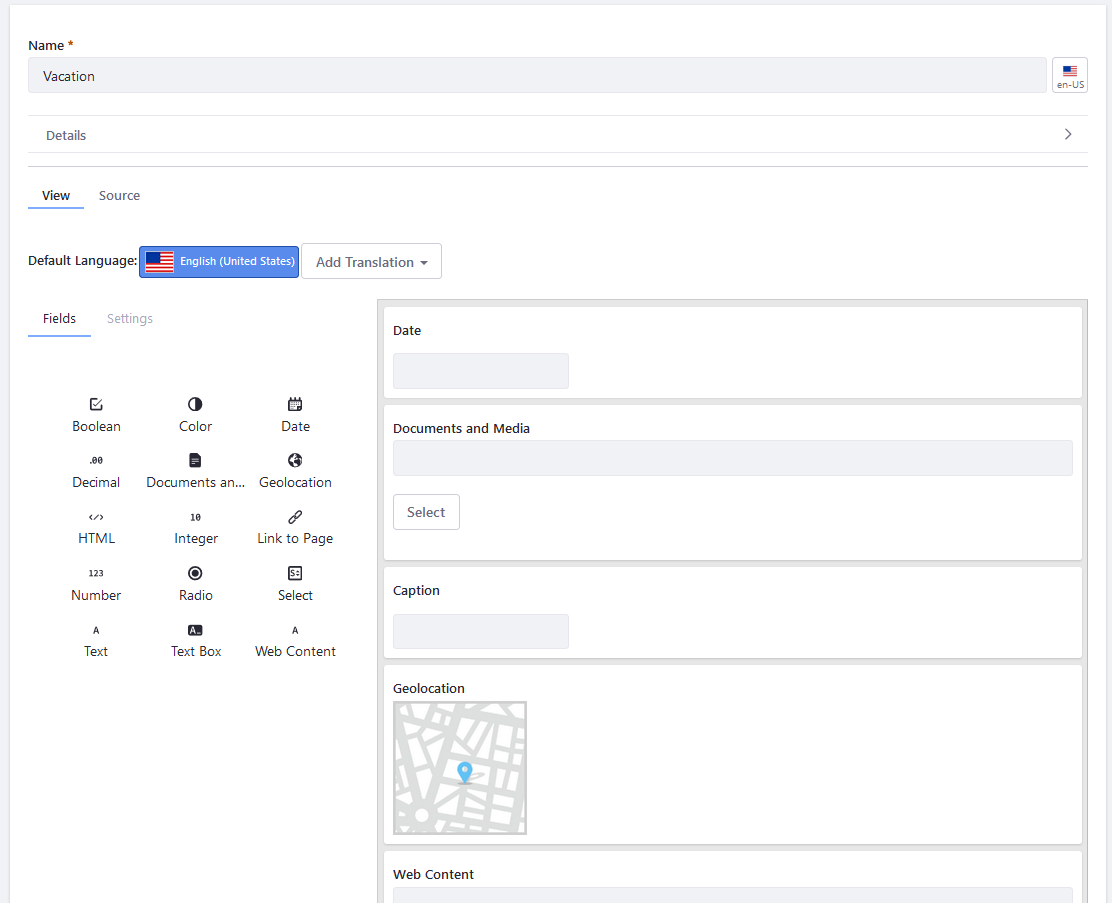
Click Save when finished.
Adding a Geolocation Field in a Document Type
Follow the steps below:
Open the Product Menu and navigate to your site.
Click Content & Data → Documents and Media.
Click the Document Types tab.
Click the Add button (
) and enter a name and optional description.Scroll down to the Main Metadata Fields heading and add a Geolocation field along with any other fields you wish to have for the document type.
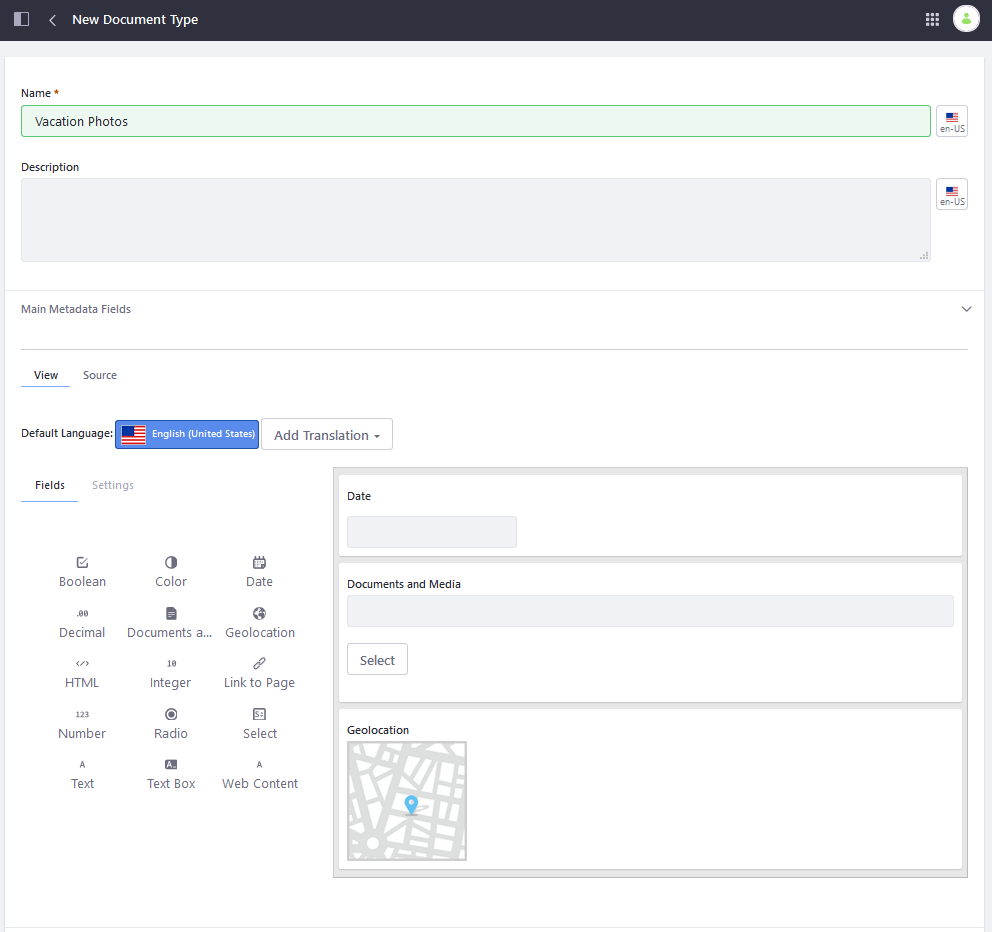
If you are using a Metadata Set, scroll down to the Additional Metadata Fields heading, click the Select Metadata Set button.
Choose your Metadata Set with the geolocation metadata.
Click Save.
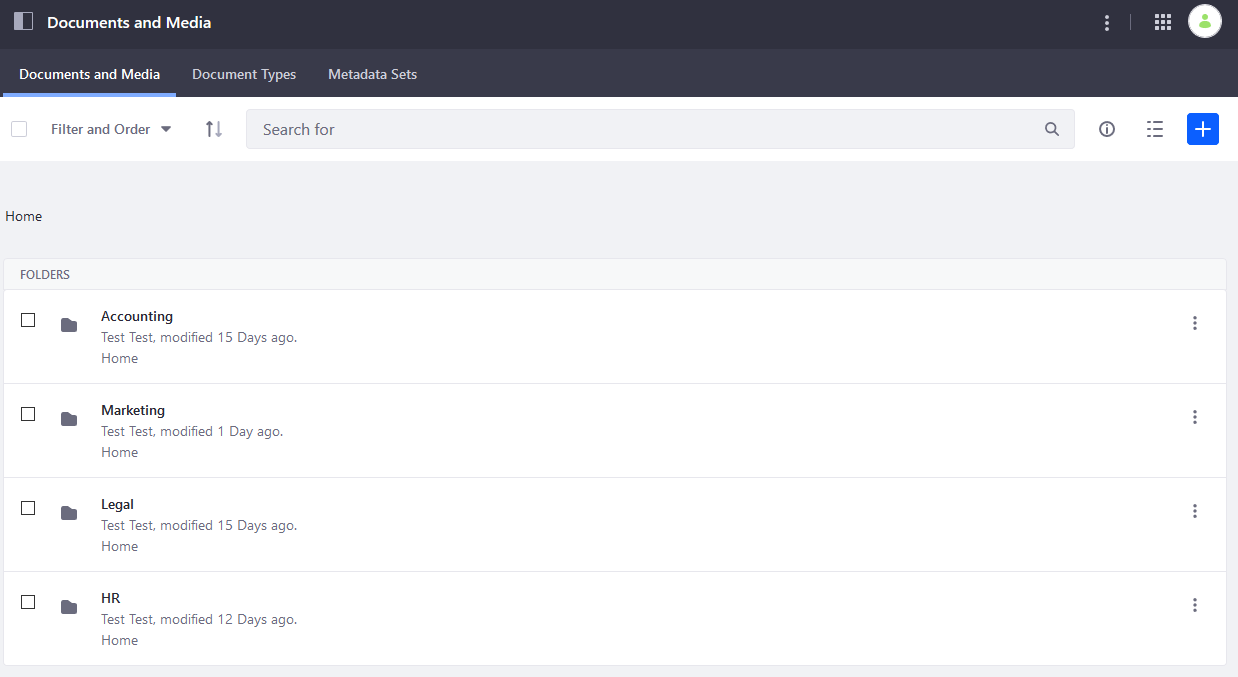
Adding Geolocation to a Document
Follow the steps below:
Navigate to the Documents and Media tab.
Click the Add button (
) and select your newly created document type.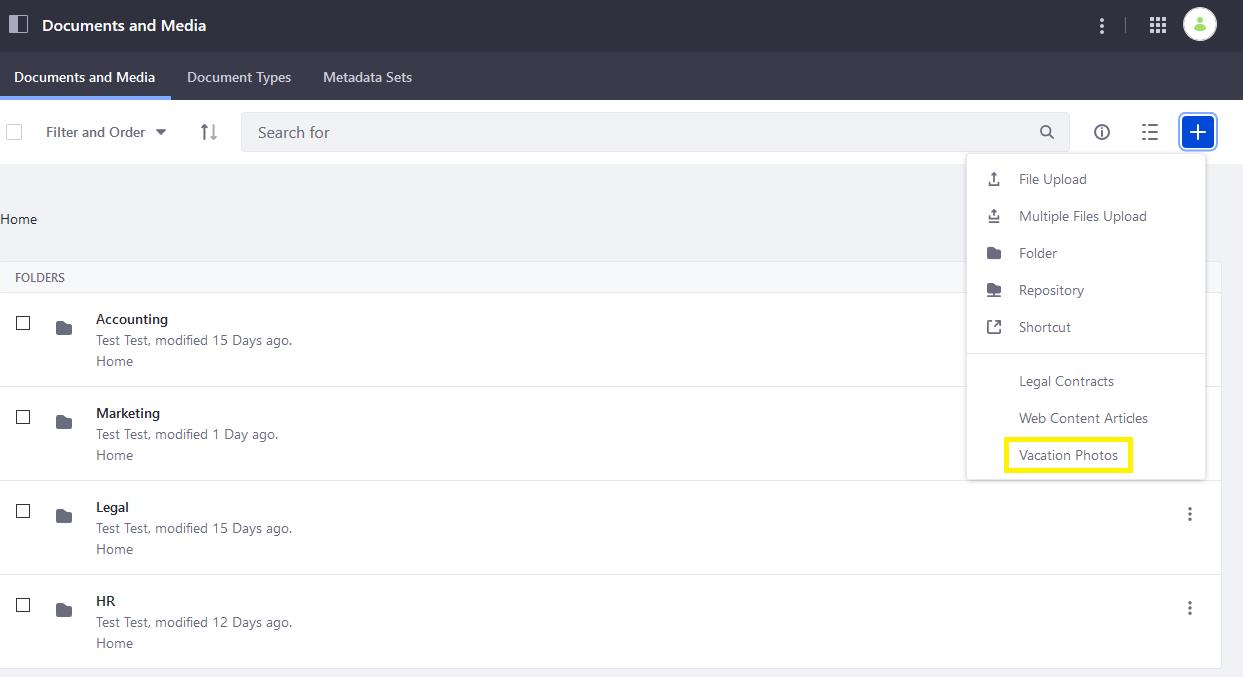
Fill out the information for the document and your location is automatically obtained from the browser and added to your document.
Click Publish when finished.
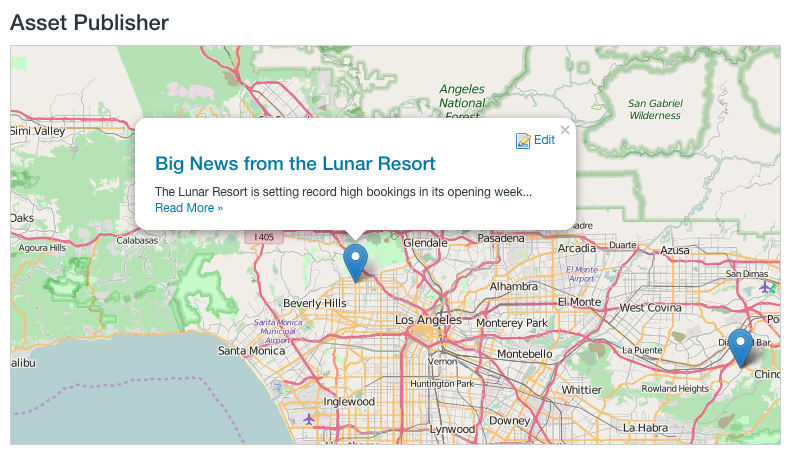
Once your assets are geolocation-enabled, the Asset Publisher can display the location of the assets on a map, using the map display template. Check out Configuring the Asset Publisher Display Settings to learn more.
Related Topics
- Configuring Asset Auto Tagging
- Tagging Content and Managing Tags
- Defining Document Types
- Defining Metadata Sets