Configuration Form Renderer
When you create a configuration interface, a configuration UI is automatically generated. But in some cases you want customize the look and feel of the UI. For example, you want to modify the UI to match the design aesthetics of your company. Here’s how to do it with a ConfigurationFormRenderer implementation.
See the Example Project
Start a new Liferay DXP instance by running
docker run -it -m 8g -p 8080:8080 liferay/dxp:2024.q1.1
Sign in to Liferay at http://localhost:8080 using the email address test@liferay.com and the password test. When prompted, change the password to learn.
Then, follow these steps:
Download and unzip Configuration Form Renderer.
curl https://resources.learn.liferay.com/dxp/latest/en/building-applications/core-frameworks/configuration-framework/liferay-b7r2.zip -Ounzip liferay-b7r2.zipFrom the module root, build and deploy.
./gradlew deploy -Ddeploy.docker.container.id=$(docker ps -lq)noteThis command is the same as copying the deployed jars to /opt/liferay/osgi/modules on the Docker container.
Confirm the deployment in the Liferay Docker container console.
STARTED com.acme.b7r2.web_1.0.0 [1034]Verify that the example module is working. Open your browser to
https://localhost:8080.Navigate to Control Panel → Configuration → System Settings → Third Party. Click B7R2 Configuration.
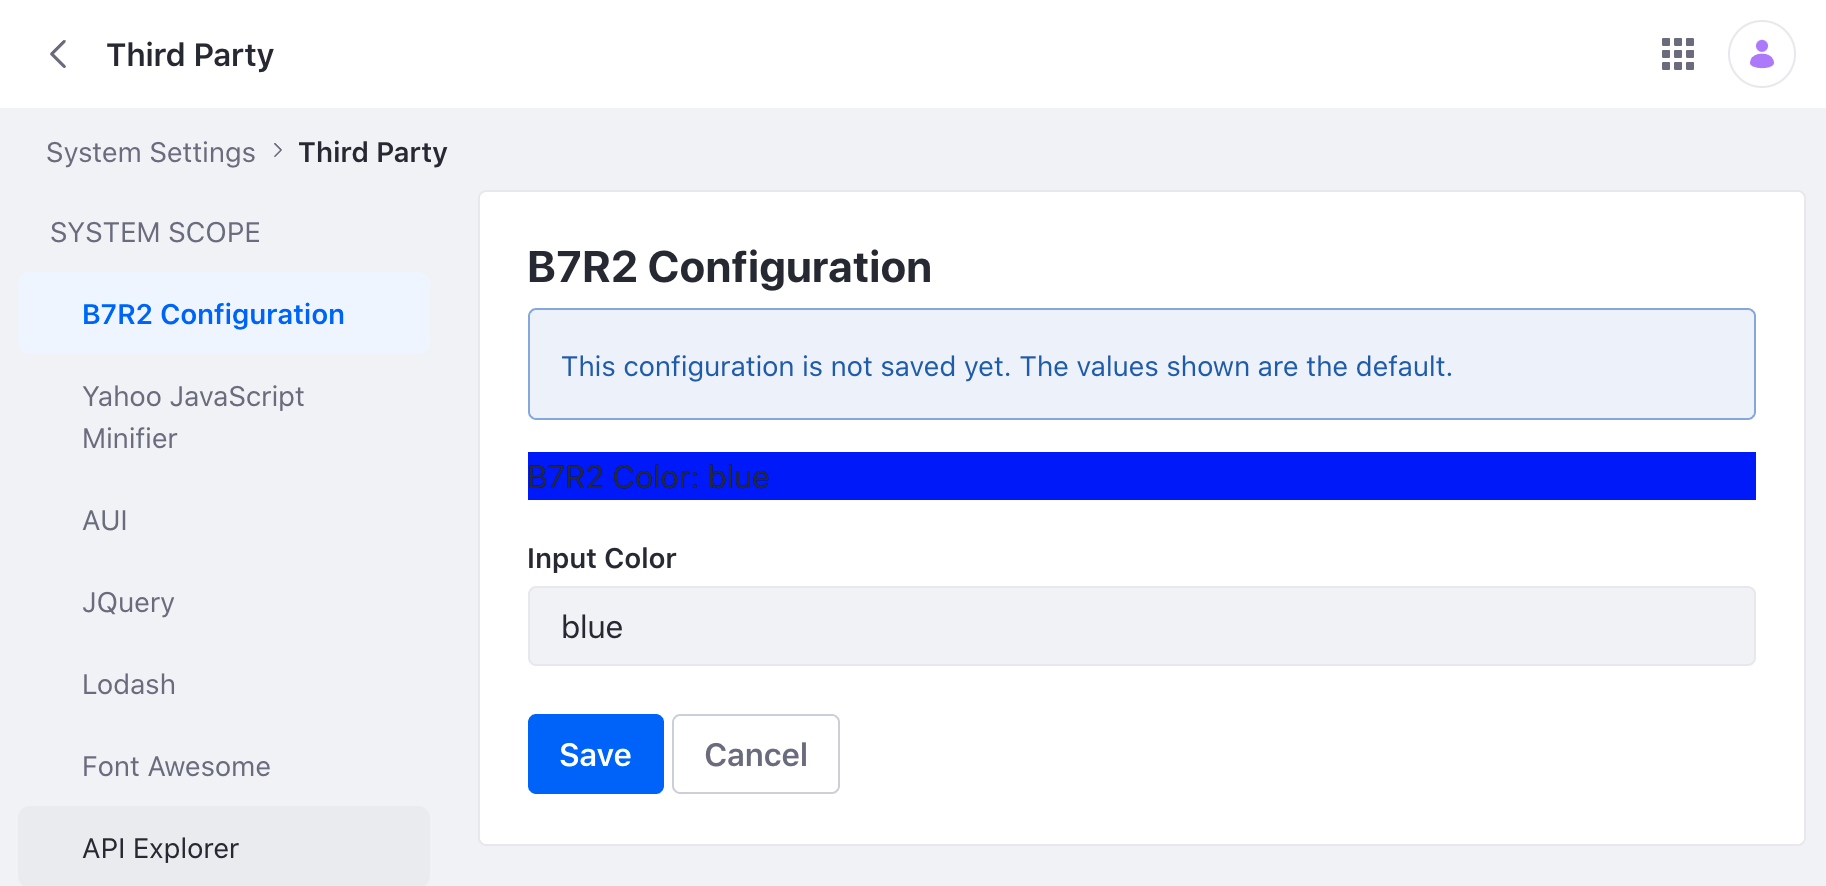
Note that this view is delivered by a custom JSP file.
Create the Configuration Interface
Define the configurable attributes in the configuration interface. The sample project has one configurable attribute: b7r2Color.
public interface B7R2WebConfiguration {

	@Meta.AD(deflt = "blue", name = "b7r2-color", required = false)
	public String b7r2Color();

}
Note that when using ConfigurationFormRenderer, the generateUI annotation is not necessary to hide the generated UI.
A ConfigurationBeanDeclaration is required for Liferay versions before DXP 7.4 U51 or Portal 7.4 GA51. See ConfigurationBeanDeclaration with Previous Versions of Liferay.
Implement the Configuration Form Renderer
Create an implementation of
ConfigurationFormRenderer. In the@Componentannotation, declare the service as aConfigurationScreen.class.@Component(service = ConfigurationScreen.class)Override the
getPid()method. Make sure to return the full configuration ID as specified in the configuration class’s@Meta.OCDannotation.
@Override
public String getPid() {
	return "com.acme.b7r2.web.internal.configuration.B7R2WebConfiguration";
}
- Override the
getRequestParameters()method. In the method, read the parameters sent by the custom UI and put them in a map where the keys match the fields found in the configuration interface.
@Override
public Map<String, Object> getRequestParameters(
	HttpServletRequest httpServletRequest) {

	String b7r2Color = ParamUtil.getString(httpServletRequest, "b7r2Color");

	return new HashMap<String, Object>() {
		{
			put("b7r2Color", b7r2Color);
		}
	};
}
Override the
render()method. In the example,ConfigurationProvideraccesses the configuration object. The servlet context provides access to the request dispatcher, which allows the custom JSP to read the configuration.Make sure to use the
@Referenceannotation to define the module’s symbolic name.@Reference( target = "(osgi.web.symbolicname=com.acme.b7r2.web)" )
Add the Web-ContextPath
Specify your bundle’s Web-ContextPath in the bnd.bnd file. For example, the sample project has Web-ContextPath: /b7r2-web in the Bnd file. This is what registers the ServletContext object in the configuration form renderer file. Note that a servlet context is created automatically for portlets, but since this sample doesn’t have a portlet, you must add a servlet context to the bnd.bnd file.
Create a Custom JSP
Import the configuration interface to the JSP.
<%@ page import="com.acme.u2g5.web.internal.configuration.B7R2WebConfiguration" %>Access the configuration values from the request object.
<%
B7R2WebConfiguration b7r2WebConfiguration = (B7R2WebConfiguration)request.getAttribute(B7R2WebConfiguration.class.getName());
%>
Use an
<aui:input>tag to read any new configuration inputs a user submits on the JSP file.<aui:input name="b7r2Color" value="<%= b7r2WebConfiguration.b7r2Color() %>" />
This sample project demonstrates a basic customized configuration UI with the use of ConfigurationFormRenderer. In your application, write your own code to further customize the look and feel of your configuration UI.