Enabling Assets
Many of Liferay’s applications (e.g. Blogs, Documents and Media, Message Boards, etc.) are asset-enabled out of the box. You can publish assets with the Asset Publisher widget or even create Asset Libraries. With the help of Service Builder, you can asset-enable your custom application. See the sample project below to learn how.
Get the Sample Code
Start a new Liferay DXP instance by running
docker run -it -m 8g -p 8080:8080 liferay/dxp:2024.q1.1
Sign in to Liferay at http://localhost:8080 using the email address test@liferay.com and the password test. When prompted, change the password to learn.
Then, follow these steps:
Download and unzip Enabling Assets.
curl https://resources.learn.liferay.com/dxp/latest/en/building-applications/data-frameworks/asset-framework/liferay-s5e6.zip -Ounzip liferay-s5e6.zipFrom the module root, build and deploy.
./gradlew deploy -Ddeploy.docker.container.id=$(docker ps -lq)NoteThis command is the same as copying the deployed jars to
/opt/liferay/osgi/moduleson the Docker container.Confirm the deployment in the Liferay Docker container console.
STARTED com.acme.s5e6.api_1.0.0 [1433]
STARTED com.acme.s5e6.service_1.0.0 [1434]
STARTED com.acme.s5e6.web_1.0.0 [1435]
Open your browser to
https://localhost:8080.Add the S5E6 Portlet to a page. You can find the example portlet under Sample Widgets.
Also add an Asset Publisher widget to the same page. You can find the widget under Content Management.
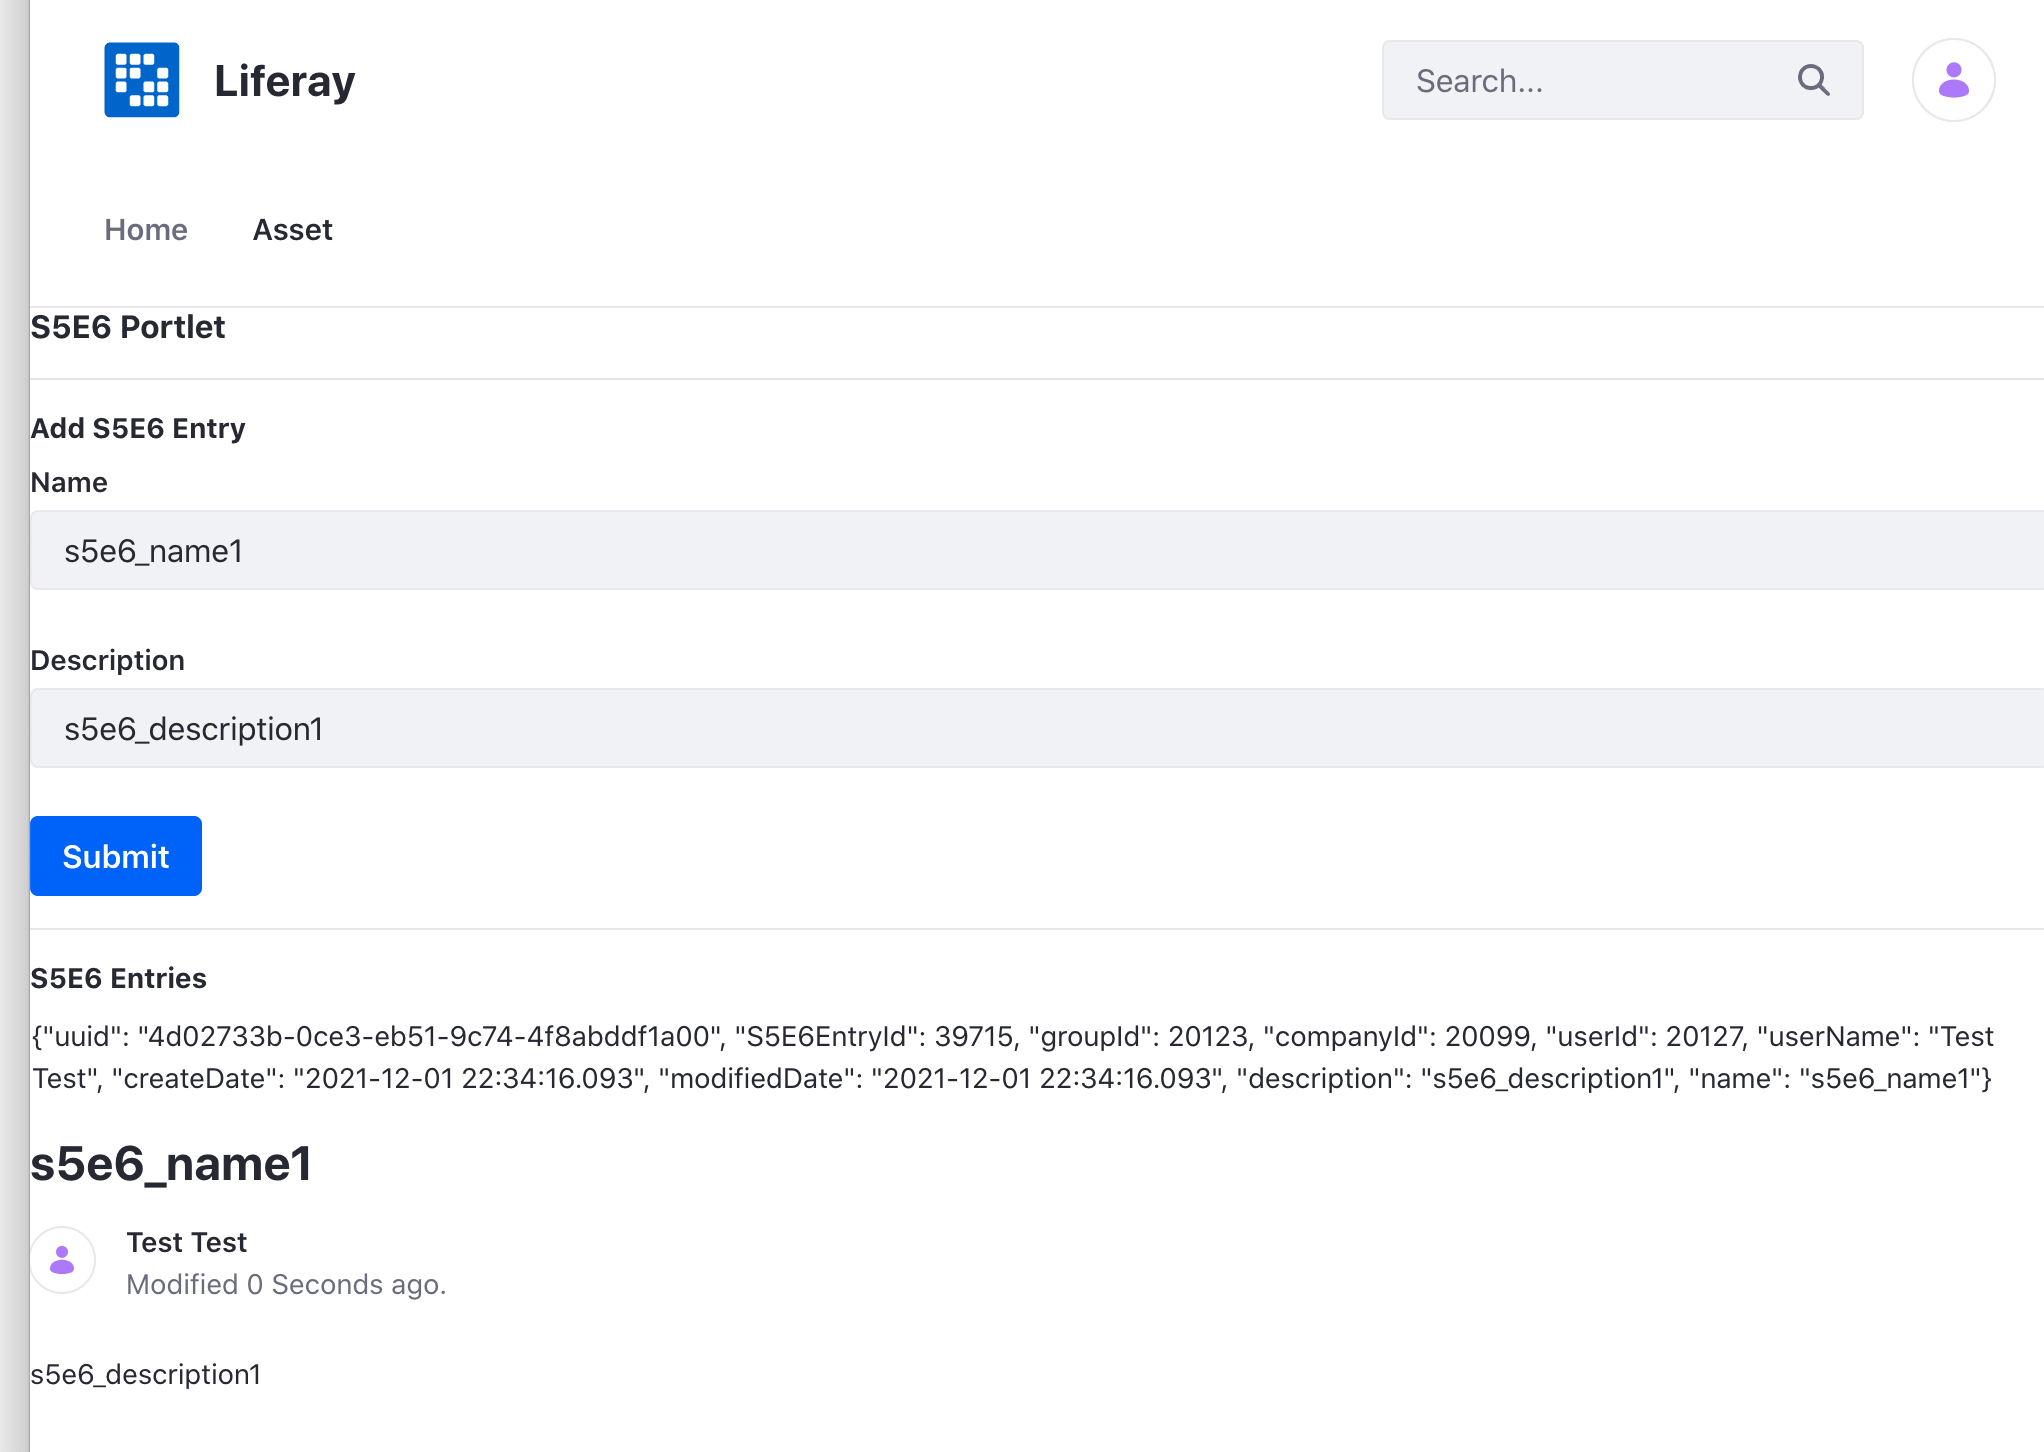
Add an entry with the S5E6 Portlet (e.g.
s5e6_name1ands5e6_description1) and clickSubmit.The S5E6 Portlet is asset-enabled and therefore the added entry appears automatically in the Asset Publisher widget.
Search Enabled Prerequisite
This tutorial assumes that you have a Service Builder application that is already search enabled. At minimum, your application needs:
*ModelSearchConfigurator.java - registers the search services to the search framework for the application’s entities (e.g., the com.acme.s5e6.search.S5E6EntryModelSearchConfigurator.java class).
The ModelSearchConfigurator pattern applies to Liferay 2023.Q4+ and GA/Update 100+. Earlier versions used a SearchRegistrar. See the Liferay 7.2 documentation to implement a SearchRegistrar.
*ModelIndexerWriterContributor.java - configures the reindexing and batch reindexing behavior of entries (e.g., the com.acme.s5e6.search.S5E6EntryModelIndexerWriterContributor.java class).
*ModelSummaryContributor.java - constructs the result summary for entries (e.g., the com.acme.s5e6.search.S5E6EntryModelSummaryContributor.java class).
See the Developer Guide in Using Search to learn more about enabling search.
Modify the Service Model Definition
To enable assets, make the following changes to your entity:
Add the following data fields if you don’t already have them defined:
<!-- Group instance -->

<column name="groupId" type="long" />

<!-- Audit fields -->

<column name="companyId" type="long" />
<column name="userId" type="long" />
<column name="userName" type="String" />
<column name="createDate" type="Date" />
<column name="modifiedDate" type="Date" />
The Asset Framework requires these fields to keep track of your application’s data.
Add an asset entry entity reference right before the closing
</entity>tag. Later, you’ll make a change so that when a new application entry is added, a corresponding entry is added to Liferay’sAssetEntrytable.<reference entity="AssetEntry" package-path="com.liferay.portlet.asset" />Re-run Service Builder.
./gradlew s5e6-service:buildService
Update the Service Layer
To add your custom entity as a Liferay asset, you must invoke the assetEntryLocalService’s updateEntry() method in your project’s -LocalServiceImpl Java class. Calling assetEntryLocalService.updateEntry() adds a new row (corresponding to the application’s entry) to the AssetEntry table. The updateEntry() method both adds and updates asset entries because it checks whether the asset entry exists and then takes appropriate action.
Here’s what it looks like in the example project:
assetEntryLocalService.updateEntry(
	s5e6Entry.getUserId(), s5e6Entry.getGroupId(),
	s5e6Entry.getCreateDate(), s5e6Entry.getModifiedDate(),
	S5E6Entry.class.getName(), s5e6Entry.getS5E6EntryId(),
	s5e6Entry.getUuid(), 0, null, null, true, true, null, null, null,
	null, ContentTypes.TEXT, s5e6Entry.getName(),
	s5e6Entry.getDescription(), s5e6Entry.getDescription(), null, null,
	0, 0, 1.0);

return s5e6Entry;
If you check the Javadocs for the AssetEntryLocalServiceImpl class, you’ll see that the method is overloaded. We use the version of updateEntry() that takes a title parameter so that we can set the asset entry’s title.
Re-run Service Builder after making the change.
Create an Asset Renderer
Assets are display versions of entities, so they contain fields such as title, description, and summary. Liferay uses these fields to display assets. Asset renderers translate an entity into an asset via these fields.
In you application, create a
-AssetRenderclass that extends Liferay’sBaseJSPAssetRendererclass. For example,public class S5E6EntryAssetRenderer extends BaseJSPAssetRenderer<S5E6Entry> { }Define the asset renderer class’s constructor:
	public S5E6EntryAssetRenderer(S5E6Entry s5e6Entry) {
		_s5e6Entry = s5e6Entry;
	}
Connect your asset renderer to your asset by using the different getter methods:
@Override
public S5E6Entry getAssetObject() {
	return _s5e6Entry;
}

@Override
public String getClassName() {
	return S5E6Entry.class.getName();
}

@Override
public long getClassPK() {
	return _s5e6Entry.getS5E6EntryId();
}

@Override
public long getGroupId() {
	return _s5e6Entry.getGroupId();
}

@Override
public String getJspPath(
	HttpServletRequest httpServletRequest, String template) {

	return null;
}

@Override
public String getSummary(
	PortletRequest portletRequest, PortletResponse portletResponse) {

	return _s5e6Entry.getDescription();
}

@Override
public String getTitle(Locale locale) {
	return _s5e6Entry.getName();
}

@Override
public long getUserId() {
	return _s5e6Entry.getUserId();
}

@Override
public String getUserName() {
	return _s5e6Entry.getUserName();
}

@Override
public String getUuid() {
	return _s5e6Entry.getUuid();
}
Note that in this example the getTitle() method is set to the name attribute and getSummary() method is set to the description attribute of the application.
Create an Asset Renderer Factory
After creating an asset renderer, you need to create a factory class to generate asset renderers for each asset instance.
In the same folder as above, create an
-AssetRendererFactoryclass that extends Liferay’sBaseAssetRendererFactoryclass. For example,public class S5E6EntryAssetRendererFactory extends BaseAssetRendererFactory<S5E6Entry> { }Create an
@Componentannotation above the class declaration. This annotation registers the factory instance for the asset. Theserviceelement should point to theAssetRenderFactory.classinterface.@Component(service = AssetRendererFactory.class)Create a constructor for the factory class that presets attributes of the factory.
public S5E6EntryAssetRendererFactory() {
	setClassName(S5E6Entry.class.getName());
	setLinkable(true);
	setPortletId("com_acme_s5e6_web_internal_portlet_S5E6Portlet");
	setSearchable(true);
}
Set setLinkable to true so that other assets can select your asset as a related asset. Set setSearchable to true so that your assets can be found when searching.
- Implement the
getAssetRenderermethod, which constructs a newS5E6AssetRendererinstance.
@Override
public AssetRenderer<S5E6Entry> getAssetRenderer(long classPK, int type)
	throws PortalException {

	S5E6EntryAssetRenderer s5e6EntryAssetRenderer =
		new S5E6EntryAssetRenderer(
			_s5e6EntryLocalService.getS5E6Entry(classPK));

	s5e6EntryAssetRenderer.setAssetRendererType(type);
	s5e6EntryAssetRenderer.setServletContext(_servletContext);

	return s5e6EntryAssetRenderer;
}
Make sure to use the
@Referenceannotation to define the module’s symbolic name.@Reference( target = "(osgi.web.symbolicname=com.acme.s5e6.web)" )
Modify the Portlet
The S5E6Portlet’s addS5E6Entry method handles requests to add S5E6Entry instances.
public void addS5E6Entry(
		ActionRequest actionRequest, ActionResponse actionResponse)
	throws PortalException {

	ThemeDisplay themeDisplay = (ThemeDisplay)actionRequest.getAttribute(
		WebKeys.THEME_DISPLAY);

	ServiceContext serviceContext = ServiceContextFactory.getInstance(
		S5E6Entry.class.getName(), actionRequest);

	_s5e6EntryLocalService.addS5E6Entry(
		themeDisplay.getUserId(), themeDisplay.getSiteGroupId(),
		ParamUtil.getString(actionRequest, "description"),
		ParamUtil.getString(actionRequest, "name"), serviceContext);
}
Since addS5E6Entry is a portlet action method, it takes ActionRequest and ActionResponse parameters. To make the service call to add a new entry, the title and description must be retrieved from the request. The serviceContext must also be retrieved from the request and passed as an argument in the service call.
The portlet’s view.jsp contains a form with an actionURL that invokes the portlet’s addS5E6Entry method.
<h5>Add S5E6 Entry</h5>

<portlet:actionURL name="addS5E6Entry" var="addS5E6EntryURL" />

<aui:form action="<%= addS5E6EntryURL %>">
	<aui:input name="name" type="text" />

	<aui:input name="description" type="text" />

	<aui:button type="submit" value="submit" />
</aui:form>
The portlet is asset enabled. Your application’s entries can now be found and displayed as assets.