Using Configuration Files
System Settings provides a user interface for making system-scoped configuration changes and setting default configurations for other scopes. The same configurations in the UI can be made via configuration file.
You can use configuration files to transfer configurations from pre-production systems to production systems or between any other Liferay DXP systems, as long as the version is identical.
Configuration files use the .config property value format defined by the Apache Felix Configuration Admin framework.
The .cfg file format is common in OSGi environments, and it’s a supported format, but .config files are preferred because you can both specify a property value’s type, and allow multi-valued properties. For this reason, .config files are used, recommended, and documented as a best practice.
Creating Configuration Files
System Settings provides an Export option that becomes available once you modify a configuration entry. Exporting is the best way to create .config files: you download a .config file containing the entry’s settings in a key=value format, then modify or distribute as you have need. All available configuration keys and values are exported, even if only one value was changed.
You can export a single configuration entry or the entire set of modified configurations.
Configuration files are named after the backing Java class. For example, the Journal Service entry, which backs Web Content functionality, has this file name:
com.liferay.journal.configuration.JournalServiceConfiguration.config

The system enforces the configuration file’s name. If you edit the name, the link to the configuration entry is broken and further customization never takes effect. The only exception is for Factory Configuration, where a unique subname can be provided in some cases.
Enabling Password Export
By default, passwords are excluded when exporting configuration files (e.g. Elasticsearch password, Salesforce password, etc.). To include them in exports, add the following property to your portal-ext.properties file:
module.framework.export.password.attributes=true
Restart your Liferay instance for the change to take place.
Key/Value Syntax
The syntax for all keys and values in a .config file is the same:
configurationName="value"
For single value configurations without special characters, that’s all there is to know. Settings with multiple values and certain characters are slightly different.
Multi-Value Settings
Configuration entries can have properties that accept multiple values. For example, a configuration property for specifying supported file extensions needs more than one value. Here’s how to write a multi-value setting in a .config file:
multiValueSetting=["Value 1","Value 2", ...]
If you use a space character between values (after the comma), the property is ignored.
Open the Web Content category in System Settings (under the Content section), and select Web Content for the virtual instance scope. You’ll see multiple single value entries for Characters Blacklist:
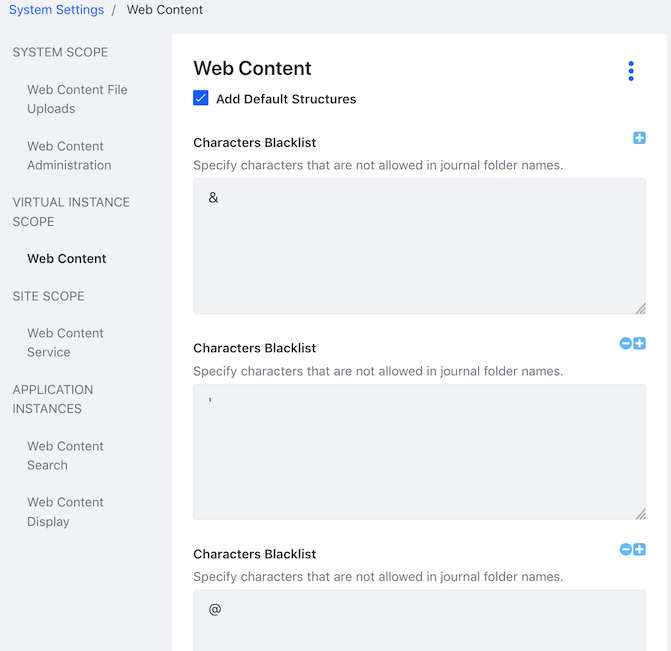
In the configuration file, this is represented by single key with an array of comma-separated values:
charactersblacklist=["&","'","@","\\","]","}",":","\=",">","/","<","[","{","%","+","#","`","?","\"",";","*","~"]
Escaping Characters
Double quotes (") and equals signs (=) must be escaped in .config files. Escaping is using another character to denote that a character shouldn’t be used in its normal way. Since double quotes and equals signs are already used in .config files, escaping them tells the system not to read them the normal way, but to pass them through as part of the value. Use a backslash to escape characters in the .config file:
charactersblacklist=["&","\"","\="]
This setting illustrates a multi-value setting with a regular, unescaped character (&), and two escaped ones (\" and \=).
Along with the mandatory escaping of double quotes and equals characters, it’s beneficial to escape spaces inside values to avoid problems. In this example, a backslash is used before each space character to ensure it’s read and processed properly:
blacklistBundleSymbolicNames=["Liferay\ Marketplace","Liferay\ Sharepoint\ Connector"]
If you don’t escape spaces yourself, the system adds the backslash for you after deployment.
Typed Values
The .config file format supports specifying the type of a configuration value by inserting a special type marker character. Because the system already knows the correct type for each configuration property, the type characters are only useful for informational purposes. For example, a configuration with a boolean type has B just before the value to mark it as a boolean type:
addDefaultStructures=B"true"
If you see type markers in .config files, you can safely ignore them. The example included above functions identically without the type marker:
addDefaultStructures="true"
Deploying a Configuration File
Once you have a configuration file, deploy it. It’s registered and the targeted configuration values are updated automatically.
To deploy the .config file, place it in your Liferay Home’s osgi/configs folder. To change the configuration further, you can edit the .config file directly or use System Settings.
Configuration Files and Clustering
In a clustered environment, each node needs the same configuration values for each entry. For example, all nodes should use the same Blogs configuration settings. To accomplish this, deploy a .config file. For transparency and maintainability, deploy the .config file to all nodes in the cluster. However, an internal system applies the change to all nodes in the cluster even if the configuration file is only deployed to a single node.
If storing your Liferay DXP configuration (e.g., Liferay Home) in a source control system, make sure to include the OSGi configuration files (.config files).
Setting Read-Only Configurations for a Schema
Available 7.4 U19+
When provisioning specific sites or instances, it may be useful to set certain configurations to be read-only. To do this,
Navigate to the specific configuration you wish to set as read-only. For example, navigate to Control Panel → Instance Settings → Blogs.
Change and save your configuration settings. Click the
 icon. Click Export.
On the command line, set the exported configuration file to be read-only for that file. For example,
chmod -w com.liferay.blogs.configuration.BlogsGroupServiceConfiguration.scoped_0efd1a18-105e-445d-8b42-0ea2d6117690.configPlace the config file into the
/osgi/configsfolder of your installation. Refresh the settings page. The configuration is now read-only.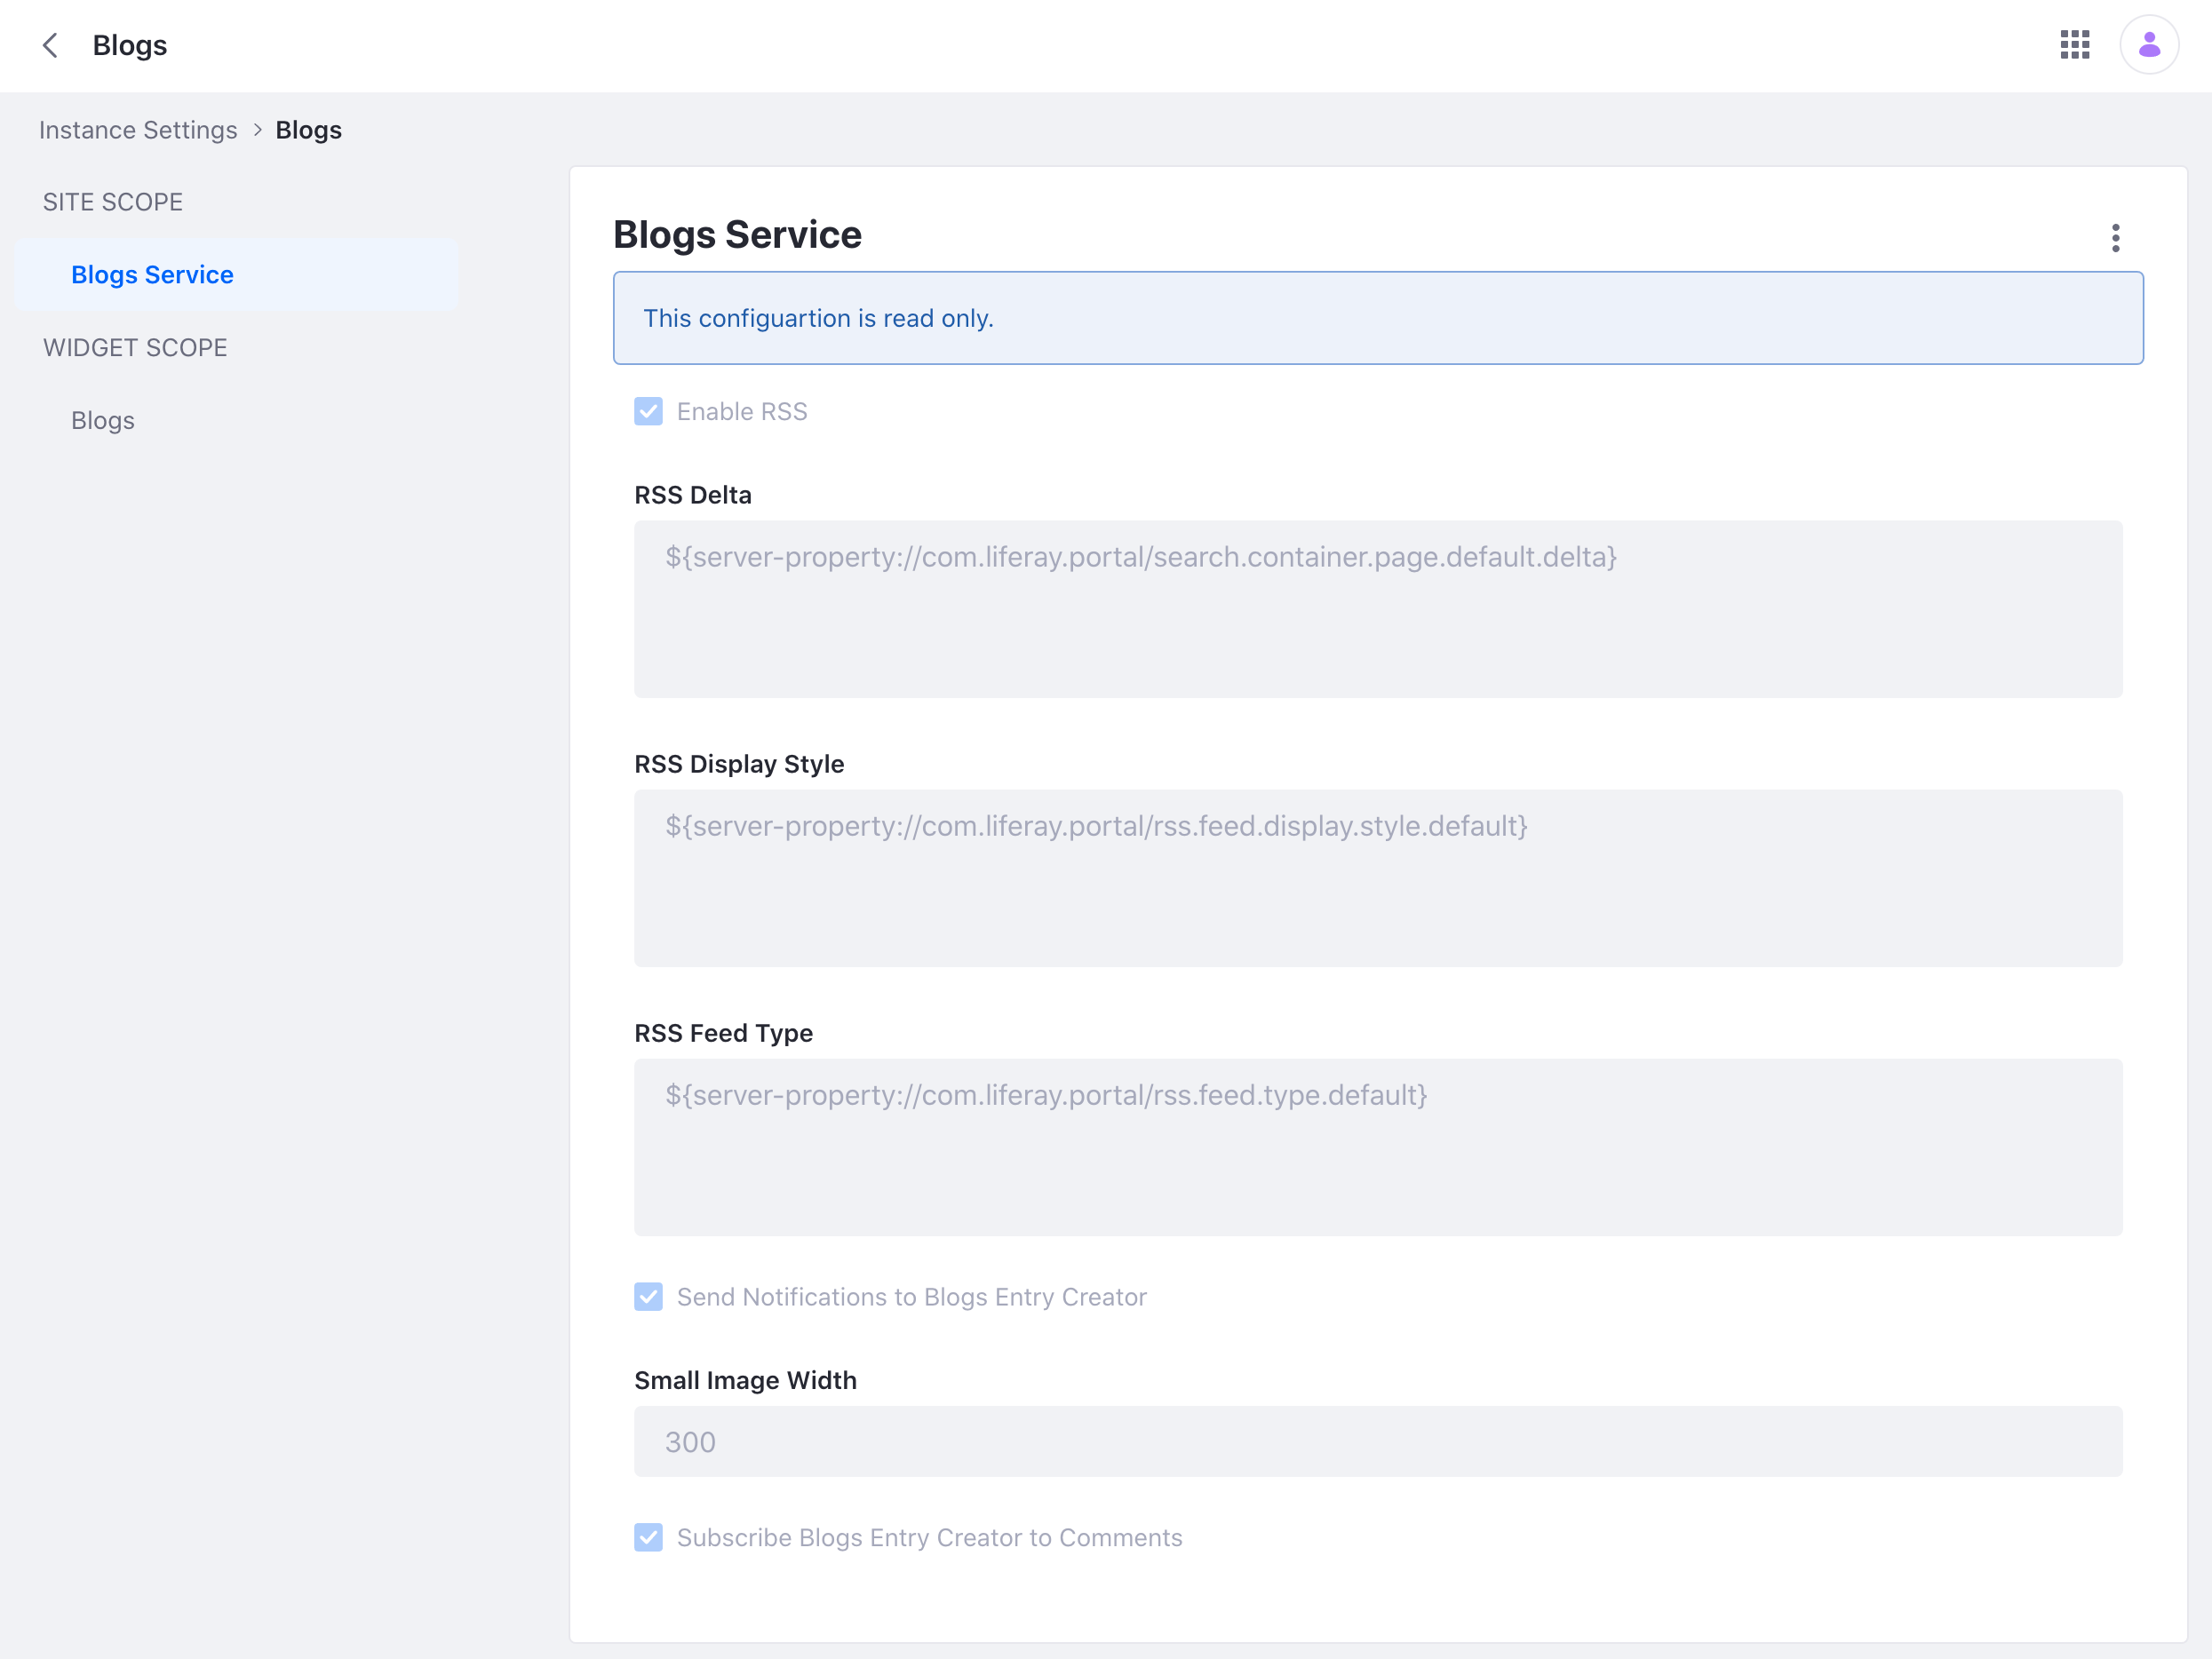
Specifying a Single Read-Only Value
To specify a single read-only configuration value, use a portal property.
Available 7.4+, 7/3 FP1/SP1, and 7.2 FP14/SP5
Here’s the property syntax:
configuration.override.${pid}_${key}=${value}{code}
For example,
configuration.override.com.liferay.journal.configuration.JournalServiceConfiguration_indexAllArticleVersionsEnabled=B"false"
configuration.override.com.liferay.journal.configuration.JournalServiceConfiguration_journalArticleMaxVersionCount=I"5"{code}
Configuration properties must specify type markers.
Property configurations are applied on server restart. Property configurations take highest priority; they’re prioritized over configuration files and database-persisted configurations. The UI distinguishes all read-only configuration settings. If you must change a read-only configuration value, use a portal property.
Read-only factory configuration values are not supported.