Upgrading Your Liferay DXP Instance
Liferay periodically releases new minor and major versions of Liferay DXP that include security and bug fixes, as well as enhancements. To upgrade to a new major Liferay DXP version increment, you must upgrade the DXP database.
For large data sets in production, there are several additional considerations to perform a smooth upgrade. For example, custom code or Marketplace apps may require additional updates to continue working properly. See the guide to upgrading Liferay DXP for a comprehensive overview of the core upgrade.
To update to new minor versions or service packs, instead see Updating to a New Version of Liferay DXP.
Upgrading an environment in Liferay PaaS requires restoring an upgraded database, and therefore involves downtime for the Liferay service to restart. Plan ahead for this downtime for production environments.
Review the following steps to perform a database upgrade:
- Install prerequisites
- Download a backup
- Extract and import the data
- Perform the data upgrade
- Compress the document library and database
- Upload the document library and database
- Restore the backup
Install Prerequisites
Before beginning the upgrade procedure, satisfy the following prerequisites:
- A locally available MySQL installation.
- Downloaded bundle of Liferay DXP for the version of DXP you are upgrading to. Extract this bundle to a location of your choosing.
Download a fresh bundle for the upgrade instead of reusing an old one. Data from previous usage may interfere with the data upgrade.
Download a Backup
Perform the following steps to download a backup (consisting of both the database and data volume) of the DXP instance currently running in your prd environment:
Log in to the Cloud console.
Navigate to your production environment, then select Backups from the menu.
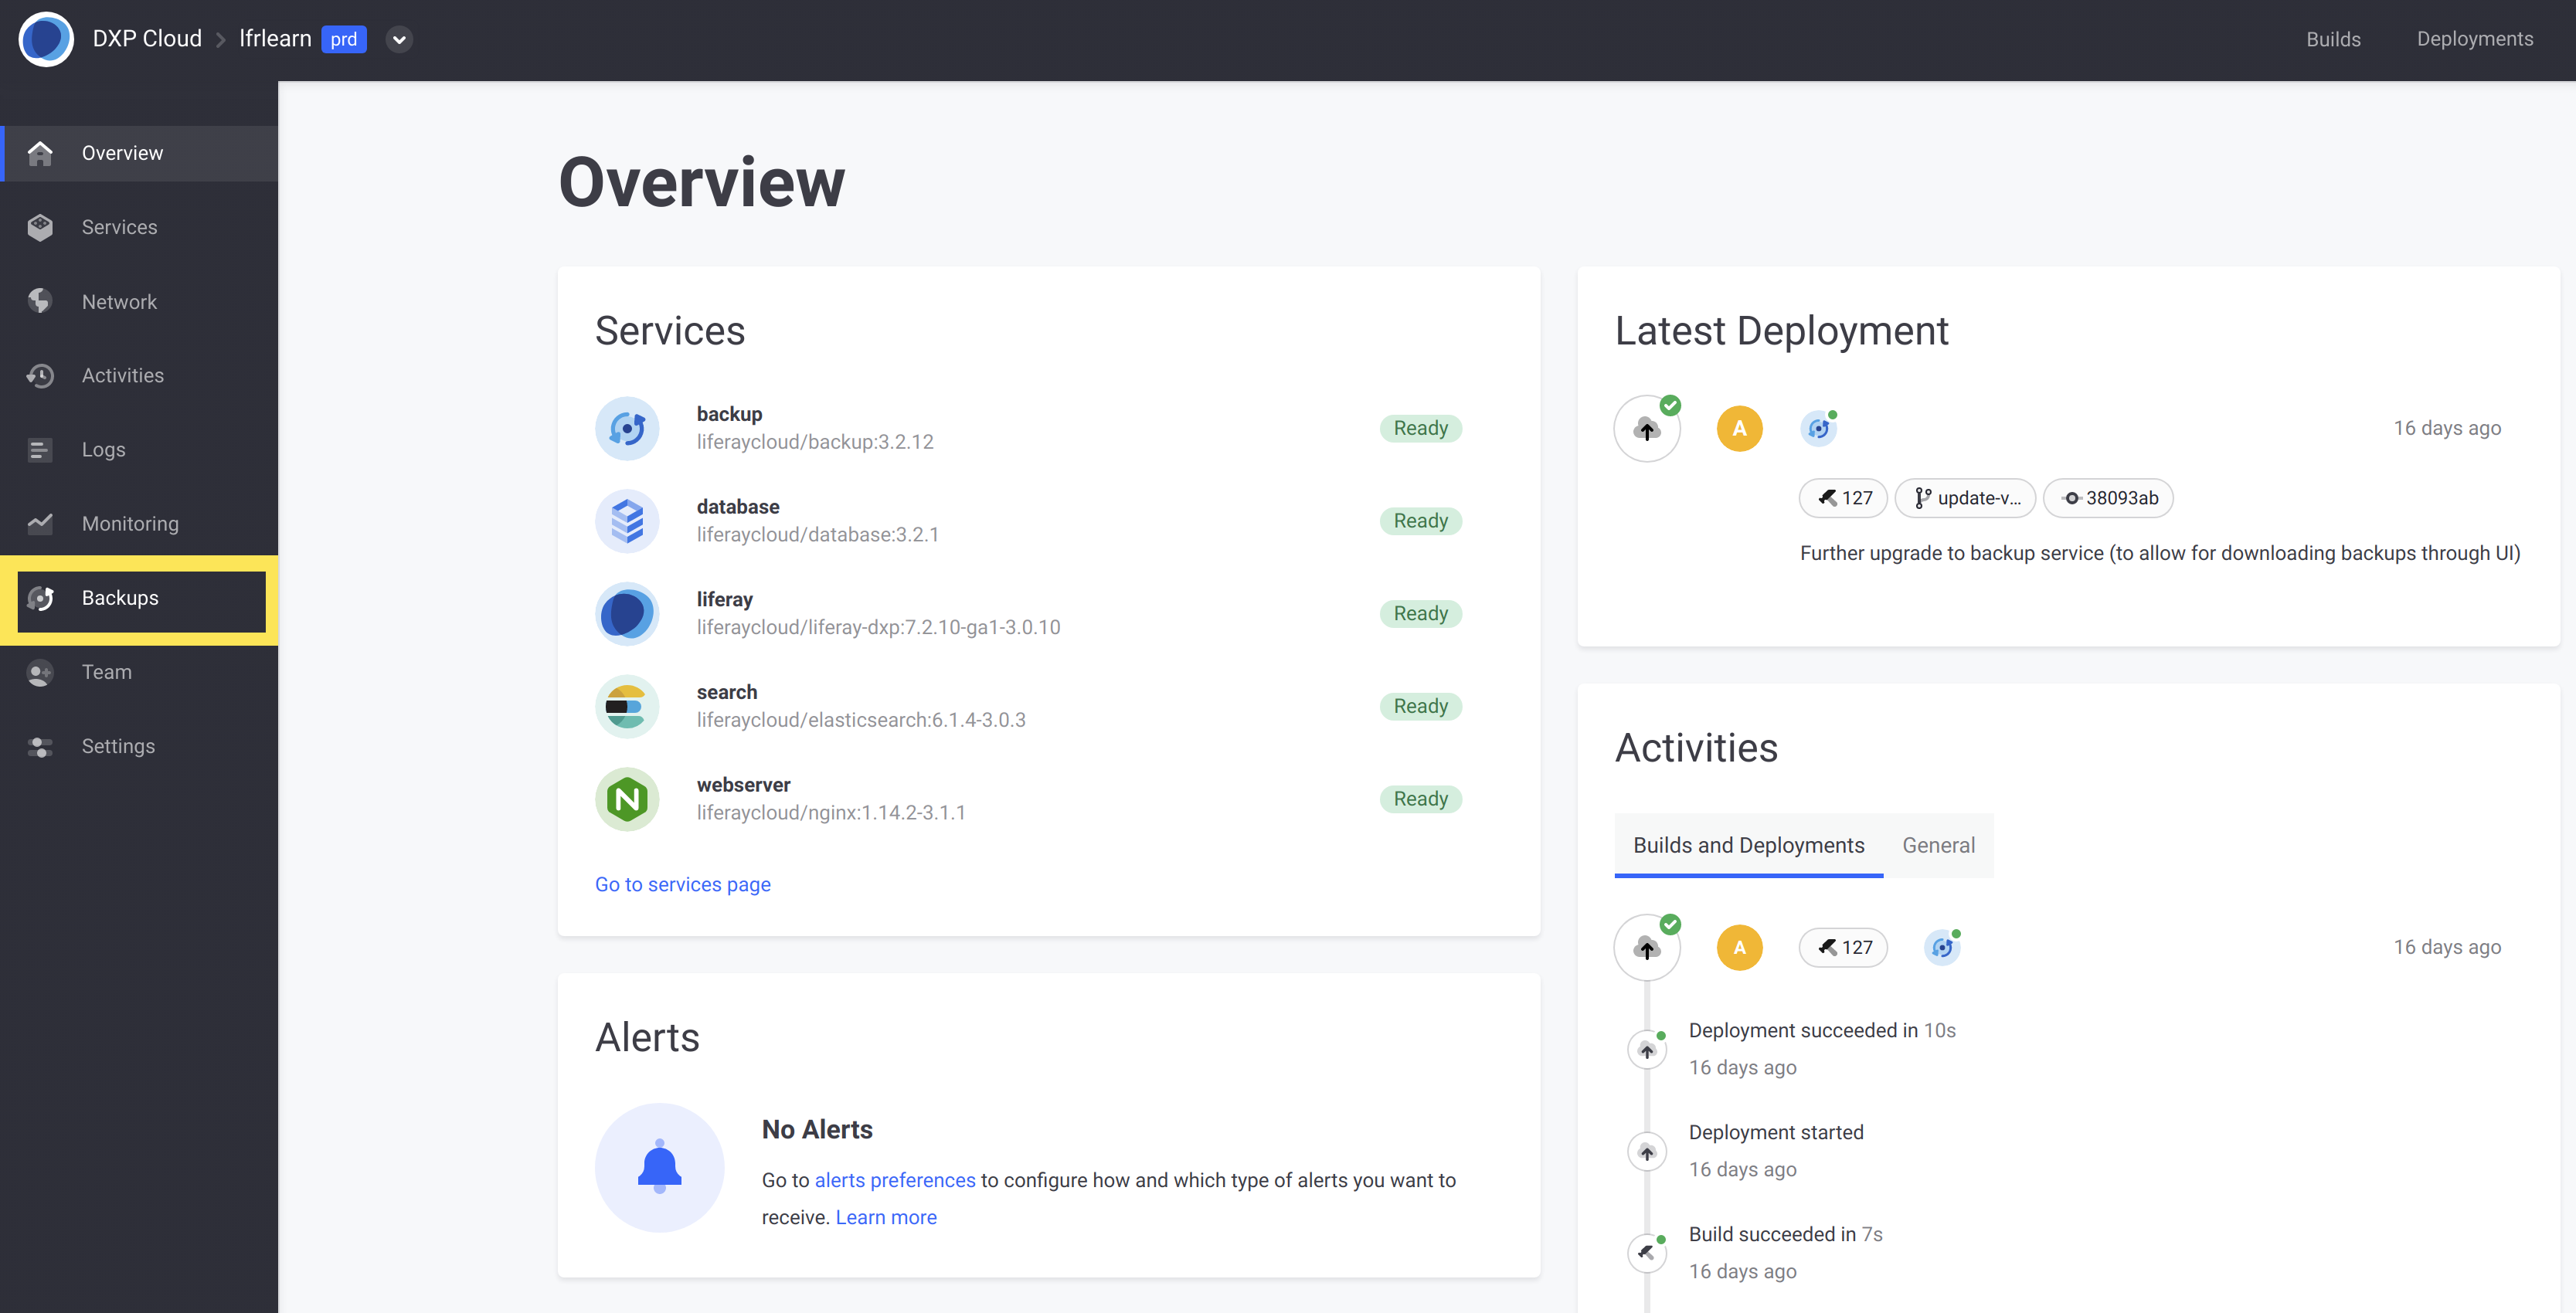
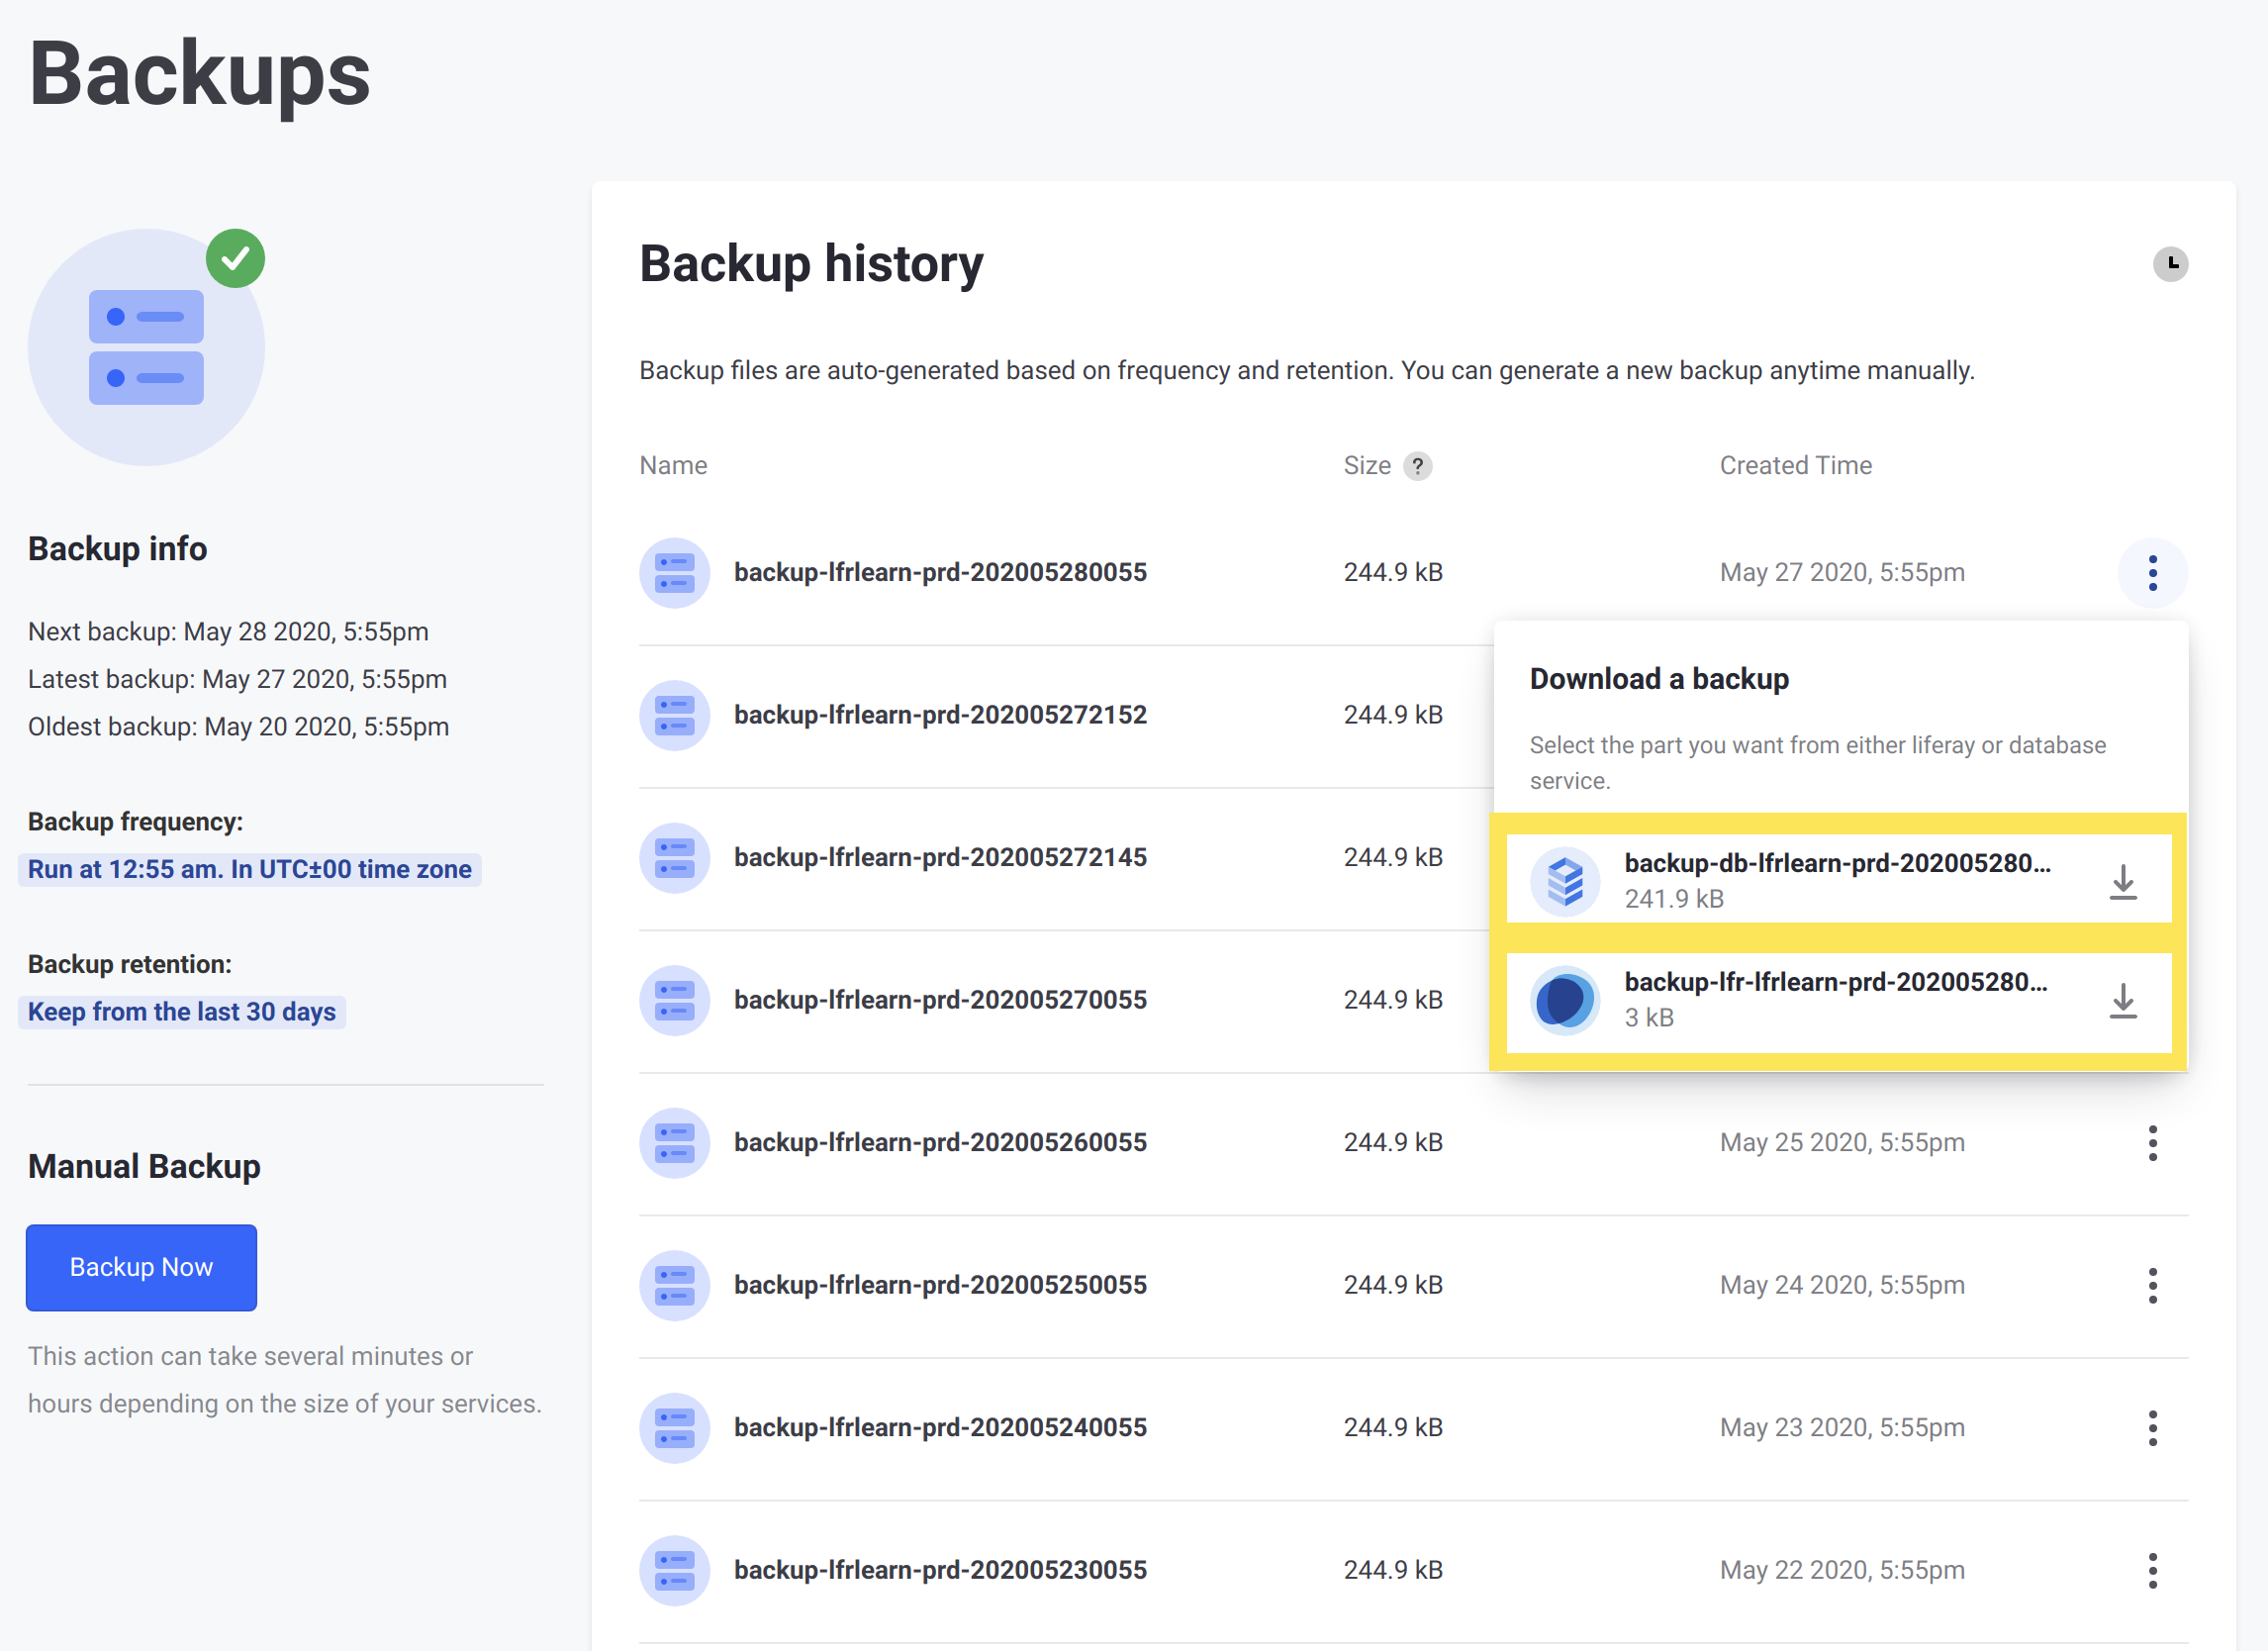
Choose one of the backups listed and select Download from the Actions menu. Download the data volume and database zip files.
Extract and Import the Data
The next step is to extract the data from the downloaded archives and move the data to where it is needed for the upgrade.
Extract the Data Volume
Perform the following steps to extract the data volume from the backup:
Move the downloaded
.tgzarchive of the data volume (namedbackup-lfr-<PROJECT_NAME>-prd-<BACKUP_ID>.tgz) into theLIFERAY_HOME/datafolder of the Liferay bundle you extracted earlier.Extract the archive by running this command:
tar -xvzf ARCHIVE_NAME.tgz
Extract and Import the Database
Open a command prompt at the location of the downloaded database archive (named backup-db-<PROJECT_NAME>-prd-<BACKUP_ID>.tgz) and perform the following steps to import it to MySQL:
Extract the database archive:
tar -xvzf ARCHIVE_NAME.tgzLog into the MySQL client on your local system:
mysql -u root -ppasswordCreate a database to import the data into, using the name of the file (minus the extension) as the database name:
create database DATABASE_NAME;Import the database from the extracted
.sqldump:use DATABASE_NAME;source DATABASE_NAME.sql;Finally, disconnect from the MySQL client:
exit
The database and document library are now in place and ready for you to perform the data upgrade.
Perform the Data Upgrade
DXP bundles provide an upgrade tool that is used for data upgrades. This tool is invoked through a script included in the bundle, db_upgrade.sh.
The database upgrade tool can be pre-configured for more flexibility when running it. See Using the Database Upgrade Tool for more information on advanced usage.
Open a command prompt within your LIFERAY_HOME/tools/portal-tools-db-upgrade-client folder. Then, run the following command:
db_upgrade.sh -j "-Dfile.encoding=UTF-8 -Duser.timezone=GMT -Xmx2048m" -l "output.log"
The upgrade tool prompts you for information about your installation before beginning the data upgrade. If you have downloaded a Liferay bundle with Tomcat, then it automatically detects some of the directories as default values.
Here is an example interaction with the upgrade tool entering this information:
Please enter your application server (tomcat):
tomcat

Please enter your application server directory (../../tomcat-9.0.17):

Please enter your extra library directories (../../tomcat-9.0.17/bin):

Please enter your global library directory (../../tomcat-9.0.17/lib):

Please enter your portal directory (../../tomcat-9.0.17/webapps/ROOT):

[ db2 mariadb mysql oracle postgresql sqlserver sybase ]
Please enter your database (mysql):
mysql

Please enter your database host (localhost):

(etc.)
Once you enter the required information, the upgrade tool performs the data upgrade. When the following messages appear in the console, the upgrade is complete:
Completed Liferay core upgrade and verify processes in 64 seconds
Checking to see if all upgrades have completed... done.
Test the bundle locally to ensure the upgrade completed smoothly. You can test the instance locally by running the following command from LIFERAY_HOME/tomcat-9.x.x/bin/:
./catalina.sh run
Once the upgrade is complete and verified, your database and data volume are ready to be uploaded to Liferay Cloud.
Compress the Document Library and Database
Now that your Liferay installation has been upgraded, use the following steps to prepare to upload them to your backup service
Compress the Document Library
Open a command prompt within your
LIFERAY_HOME/datafolder.Run the following command to compress your document library into a
.tgzarchive:tar -czvf volume.tgz document_libraryimportantIf the data volume you downloaded contained more folders (such as a
license/folder), then add these as additional arguments afterdocument_library.
Export and Compress the Upgraded Database
Run the following command to perform a database dump:
mysqldump -uroot -ppassword --databases --add-drop-database lportal | gzip -c | cat > database.gzCompress this file into a
.tgzarchive with the following command:tar zcvf database.tgz database.gz
The database and Liferay data volume are now ready for upload to the backup service.
Upload the Document Library and Database
Upload the document library and database archives to the backup service via the console:
If you are not already logged in, log into the Liferay Cloud console.
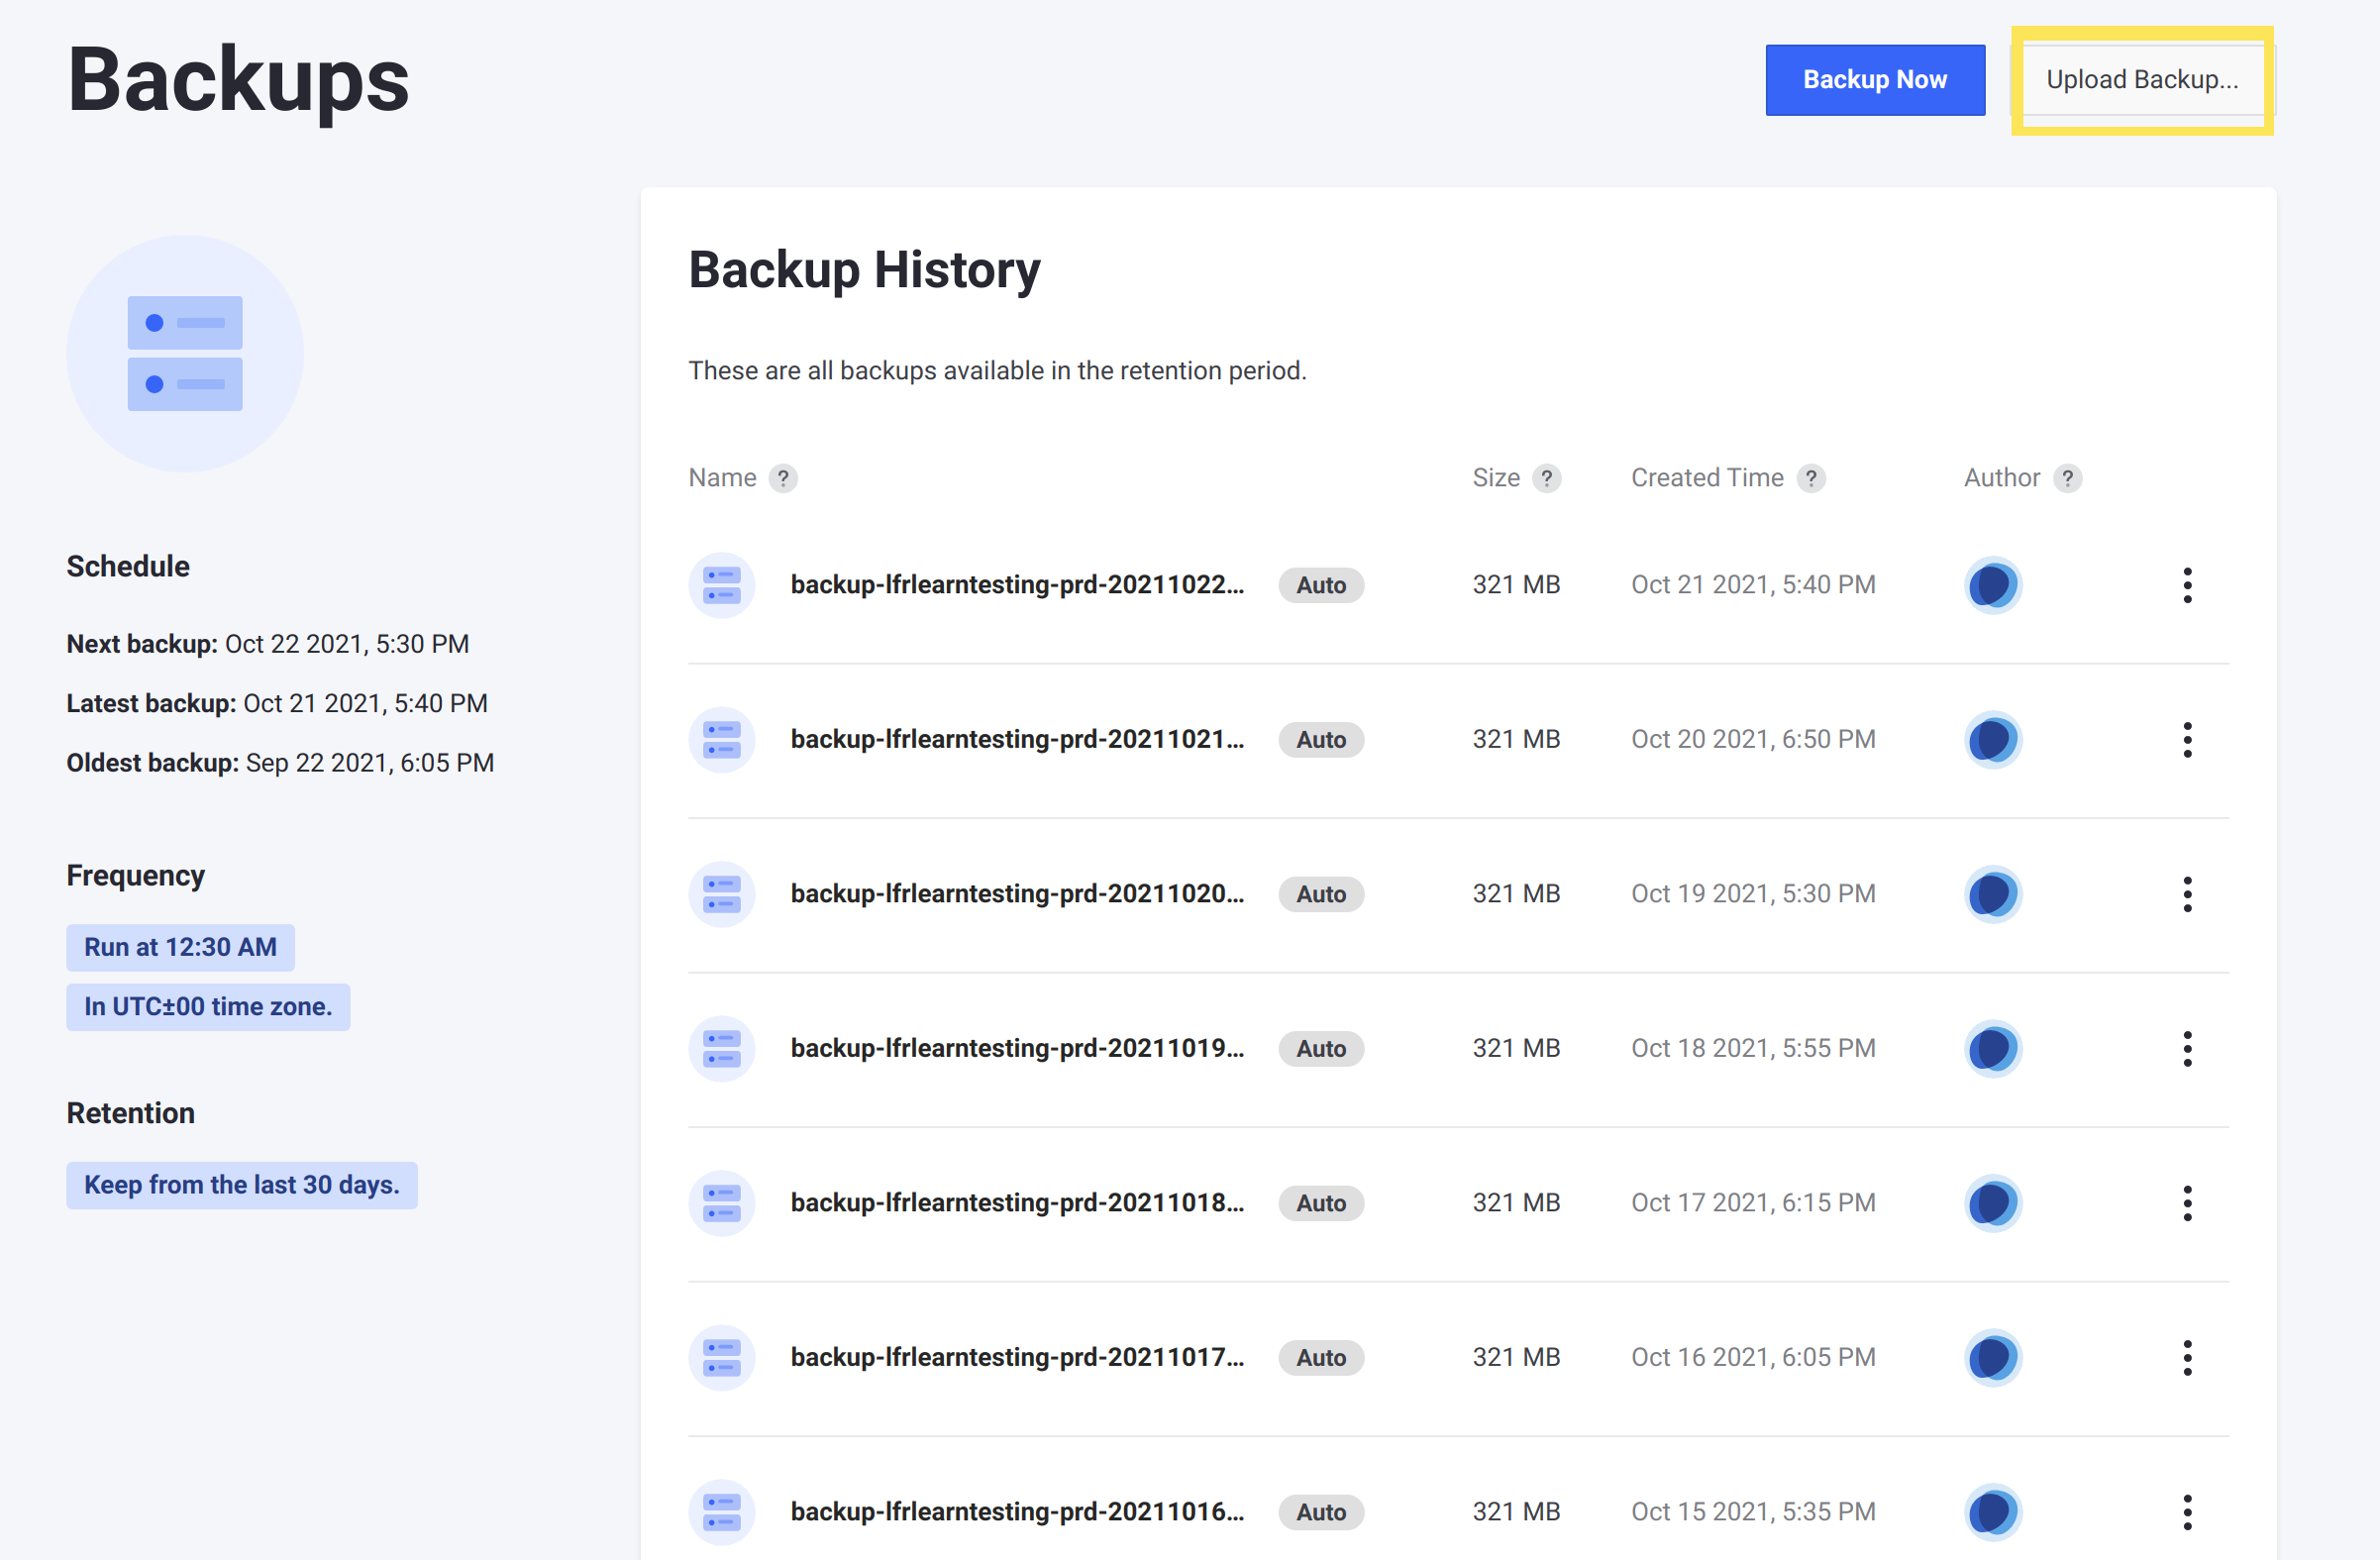
Navigate to the Backups page for the appropriate environment.
Click Upload Backup… near the top of the screen.
On the Upload Backup page, expand the appropriate environment, and click the
+icons for both the database and document library to upload them.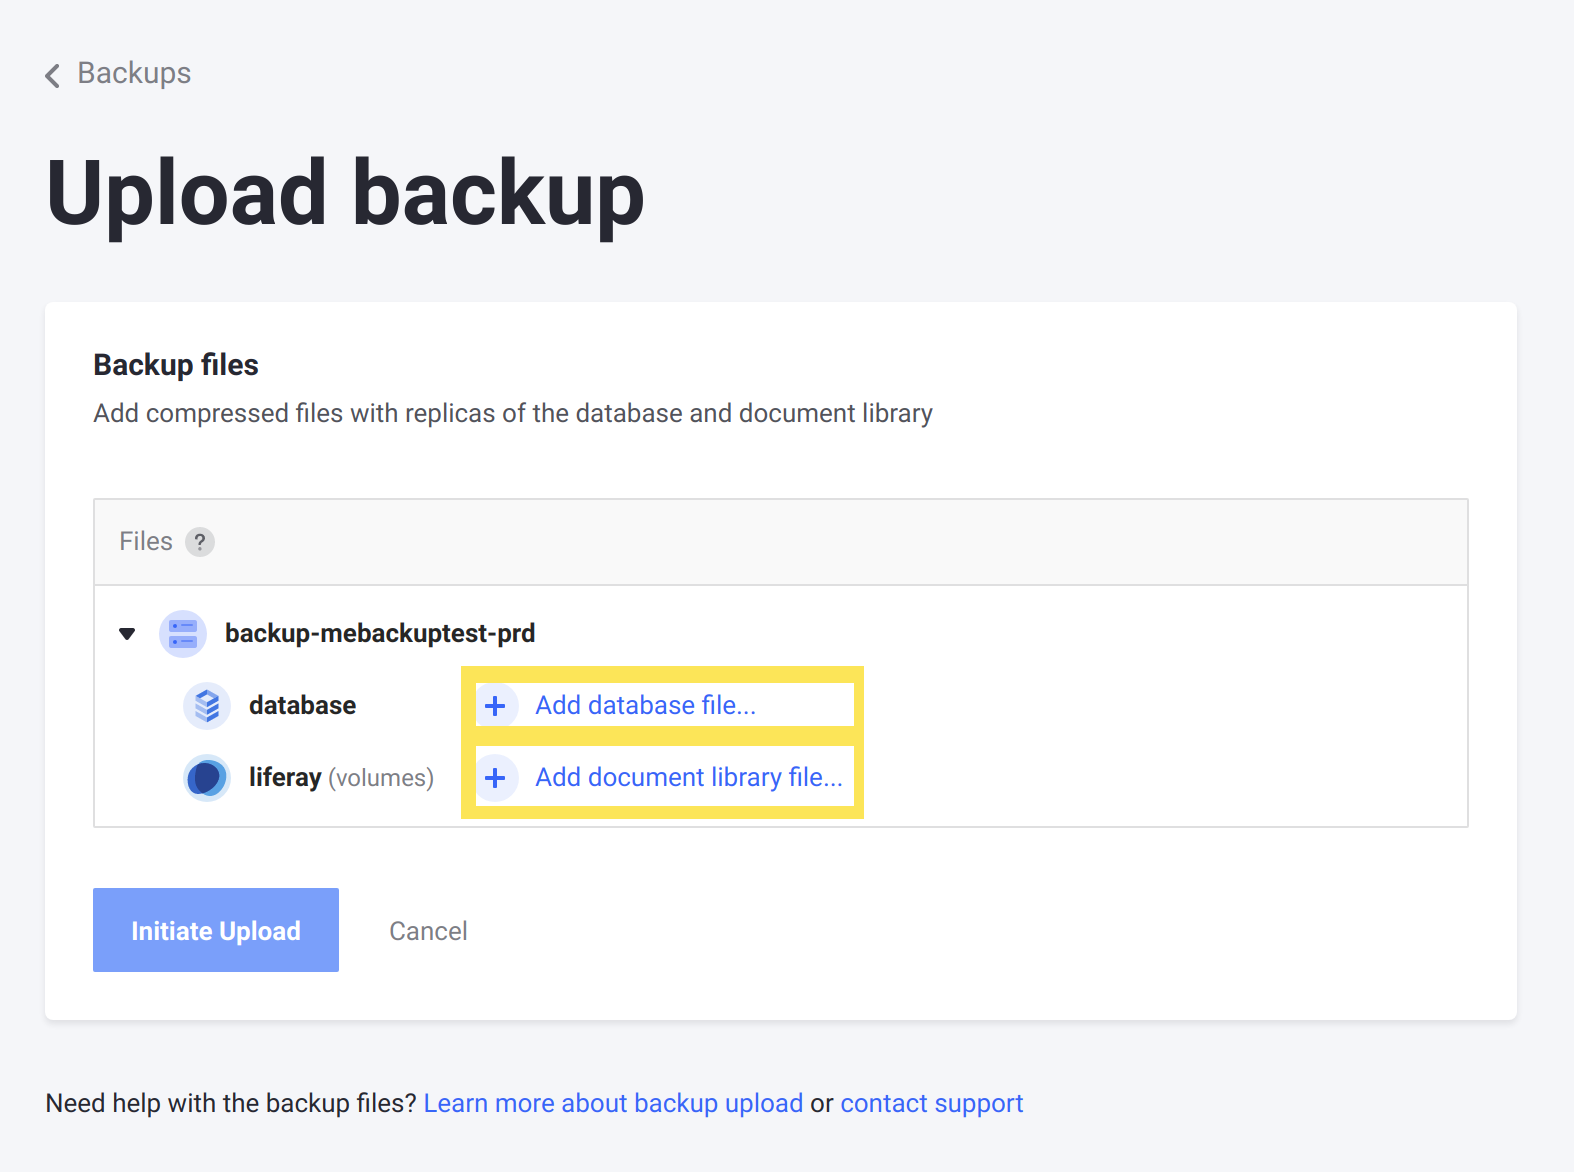
When both the database dump and document library are uploaded, click Initiate Upload.
You can also upload the database dump and document library via the upload APIs. See the Backup Service APIs for more information.
When the upload is complete, a new backup appears at the top of the list on the Backups page.
Update Your Project’s Liferay Image Version
You must update the version of the Liferay image your environment uses so that the upgraded database works correctly.
Update these locations as needed to reflect the new version of Liferay DXP:
The
imageproperty inliferay/LCP.json. Check the Services Changelogs for an updated image, and make sure the upgraded DXP version matches the version in the image (for example,7.2inliferaycloud/liferay-dxp:7.2-4.0.7).The
liferay.workspace.docker.image.liferayproperty inliferay/gradle.properties. Check the Liferay DXP Docker Hub page for an image that matches your upgraded DXP version.
When both of these image versions are updated, deploy the changes to your chosen environment. This prepares the Liferay service for you to restore your uploaded backup.
Restore the Backup
Follow these steps to restore a backup to your chosen environment:
Log into the Liferay Cloud console, if you are not already logged in.
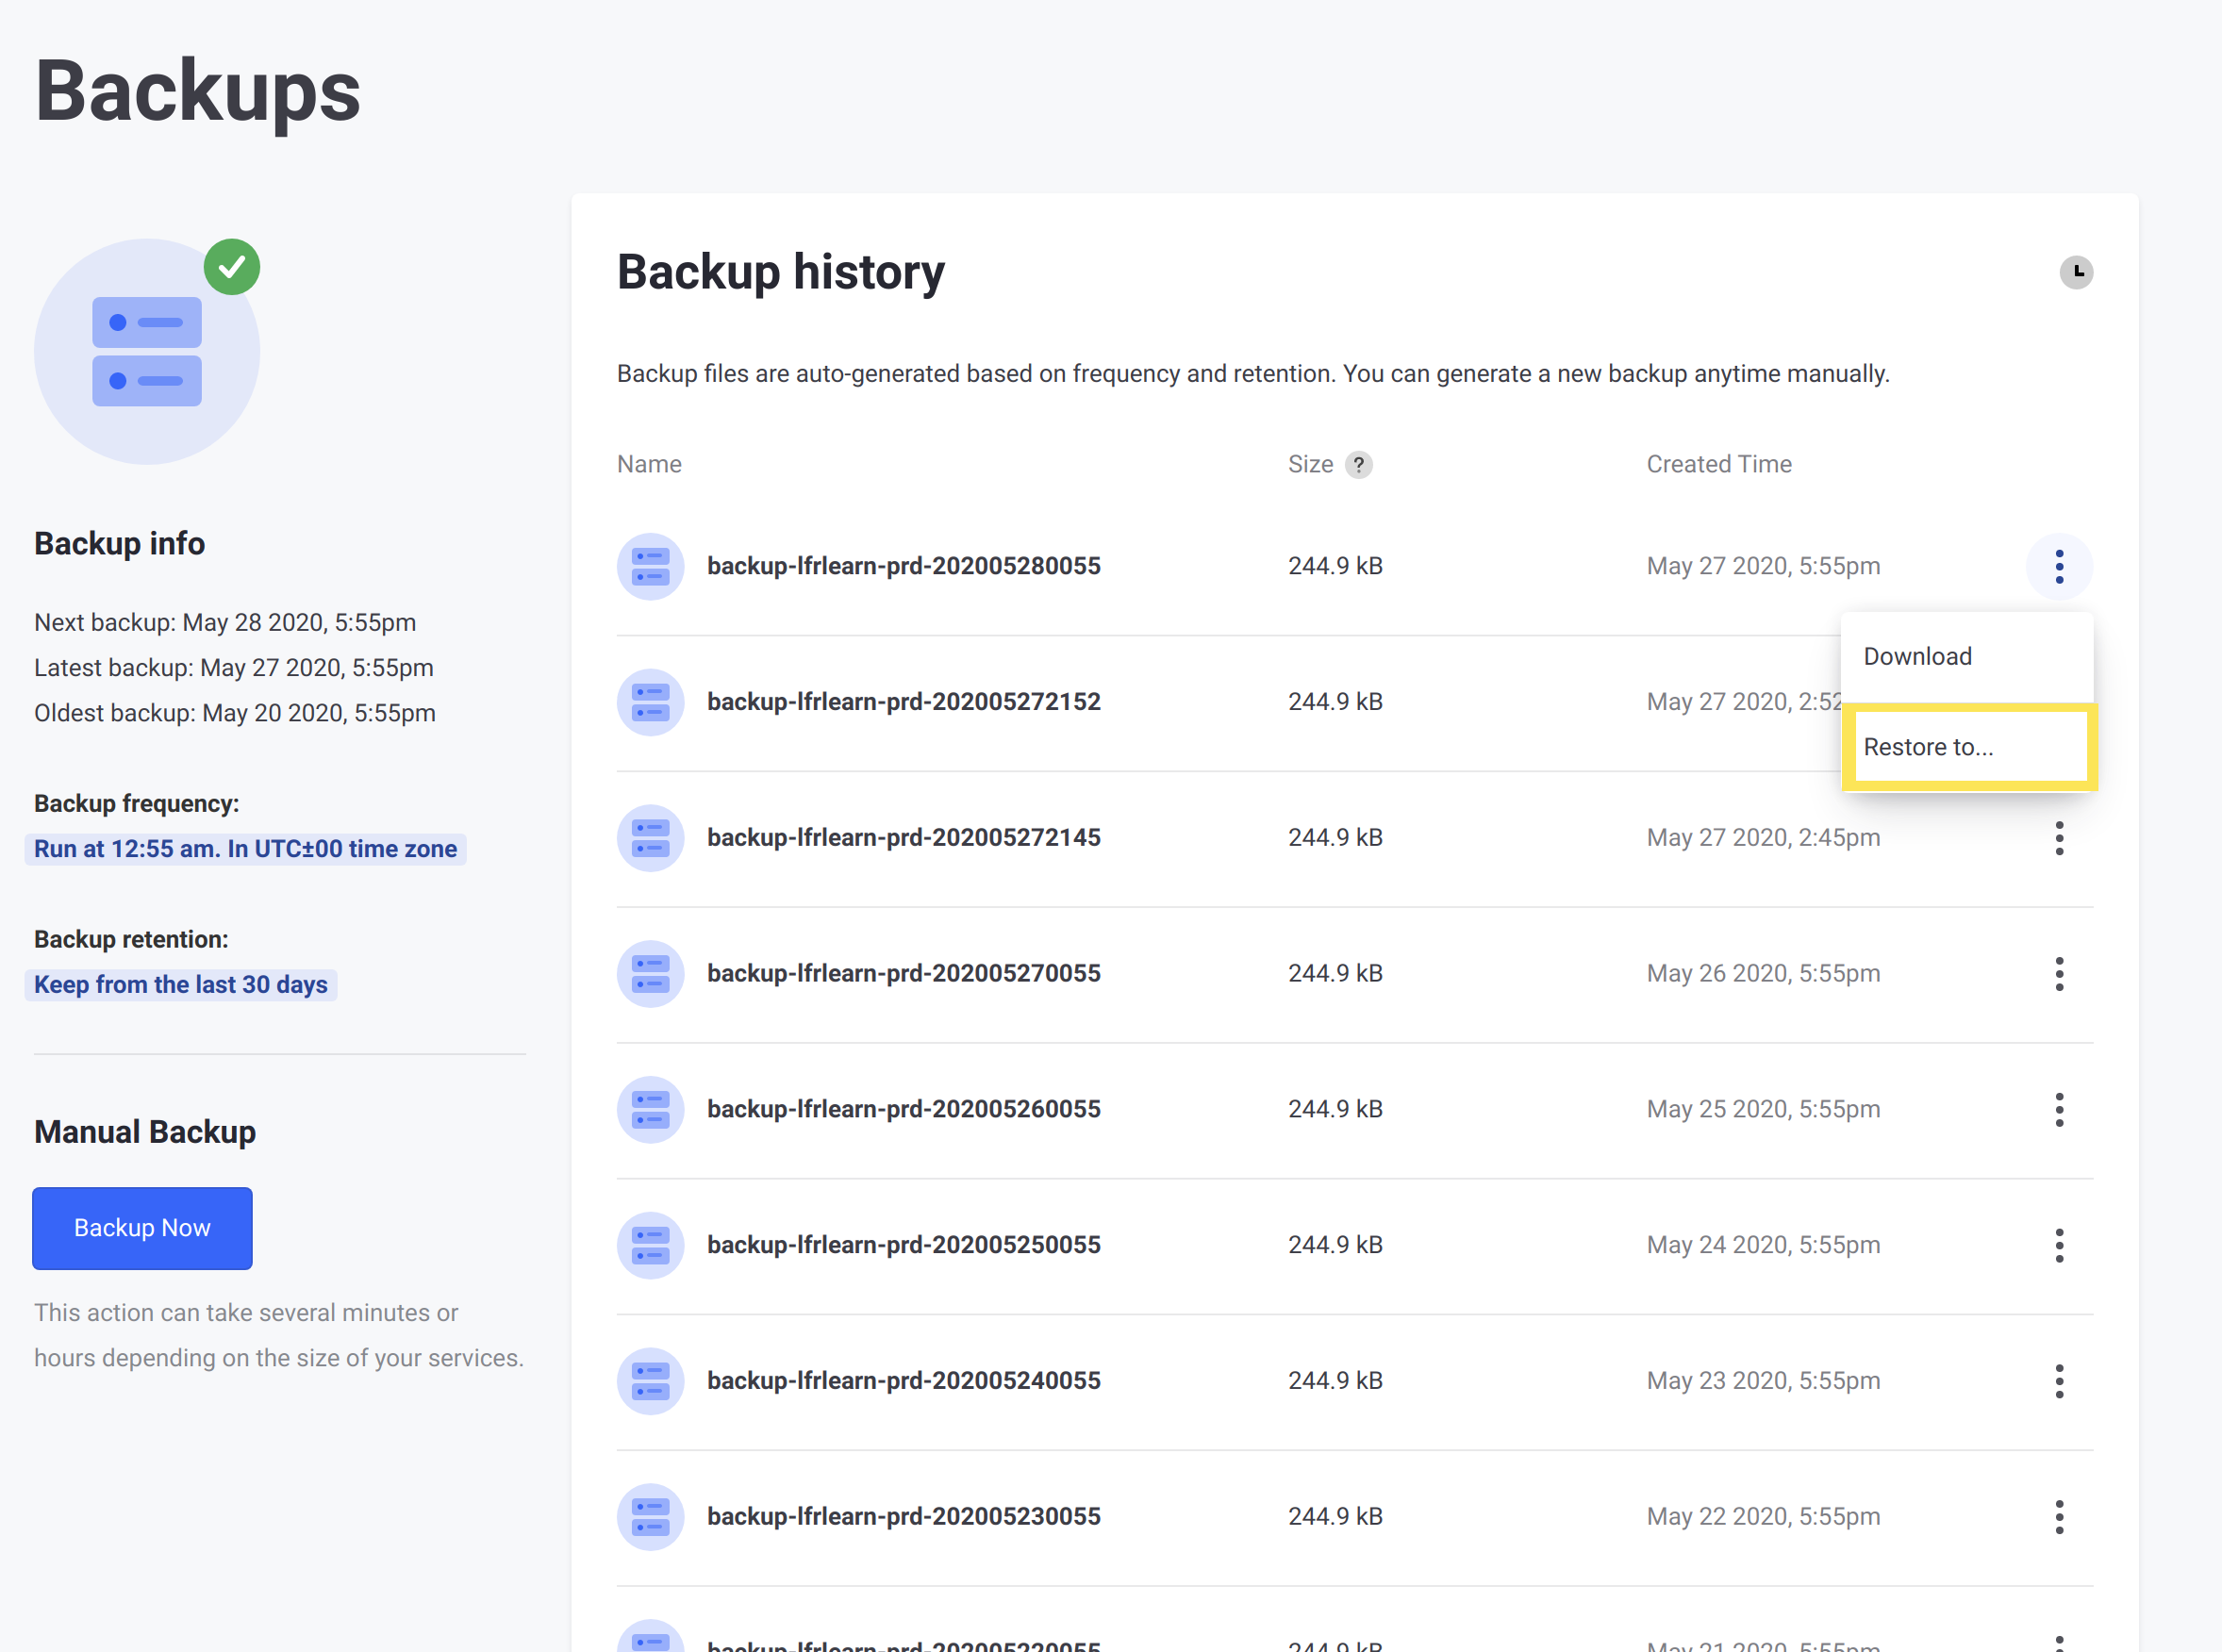
Navigate to the environment you uploaded your backup to, then click Backups from the side menu.
Choose a backup from the list, and then click Restore to from the Actions menu for that backup.
Select one of your environments to restore to from the drop-down list (e.g., your
devenvironment).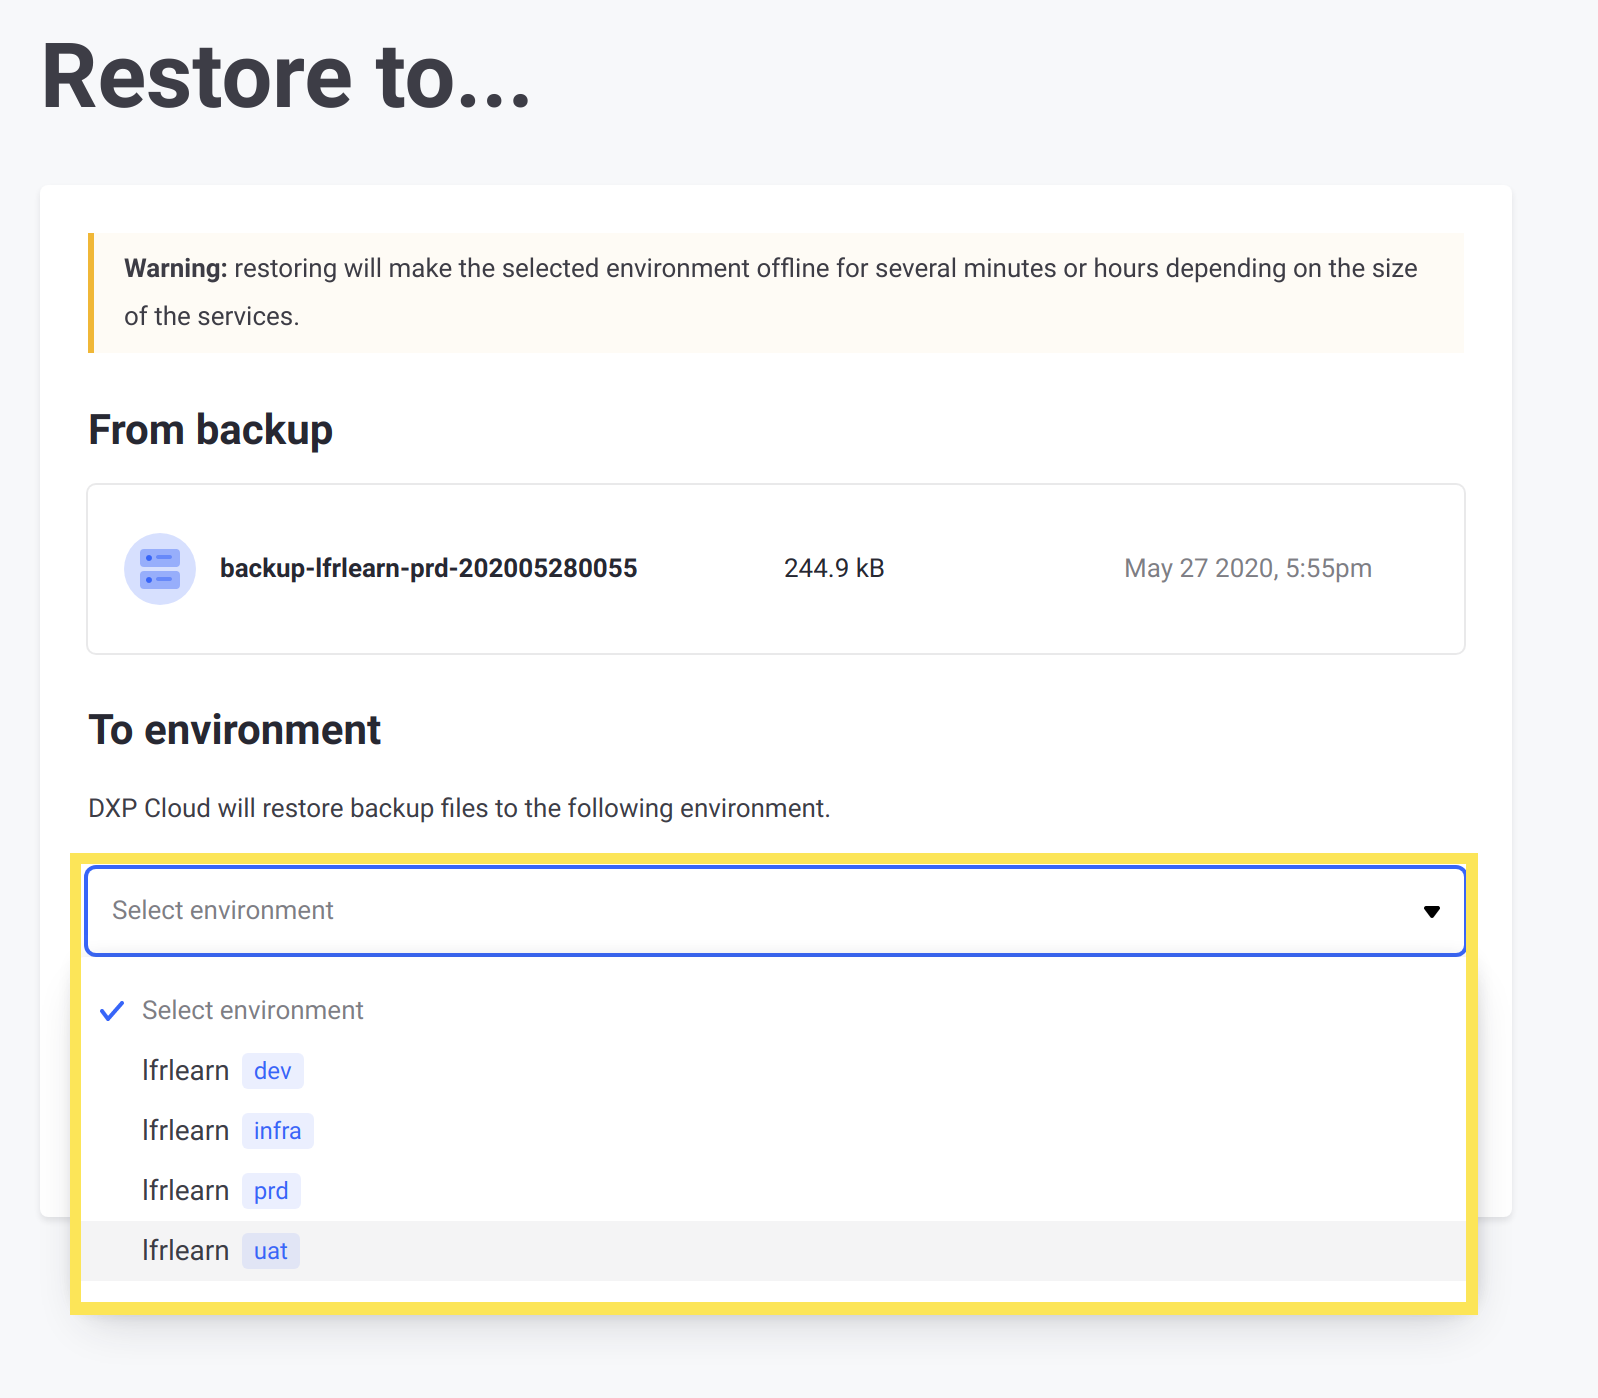
Click Restore to environment.
noteThe chosen environment will be unavailable while the the backup is being deployed.
Congratulations! You have upgraded your DXP database to the new version and deployed it to your chosen environment. You can also restore the same backup again to other environments as needed.
Related Topics
Learn more about DXP upgrades:
- Liferay DXP Upgrade Basics
- Updating Your DXP Instance to a New Minor Version
- Using the Database Upgrade Tool