Defining Document Types
In Liferay, Document Types are templates used for uploading files and categorizing them in Documents and Media. These templates are created using metadata fields and provide additional, searchable information for uploaded files.
Follow these steps to define a custom Document Type.
Navigate to the Documents and Media application in a Site or Asset Library.
To access Documents and Media in a Site, open the Site Menu (
 ) and go to Content & Data → Documents and Media.
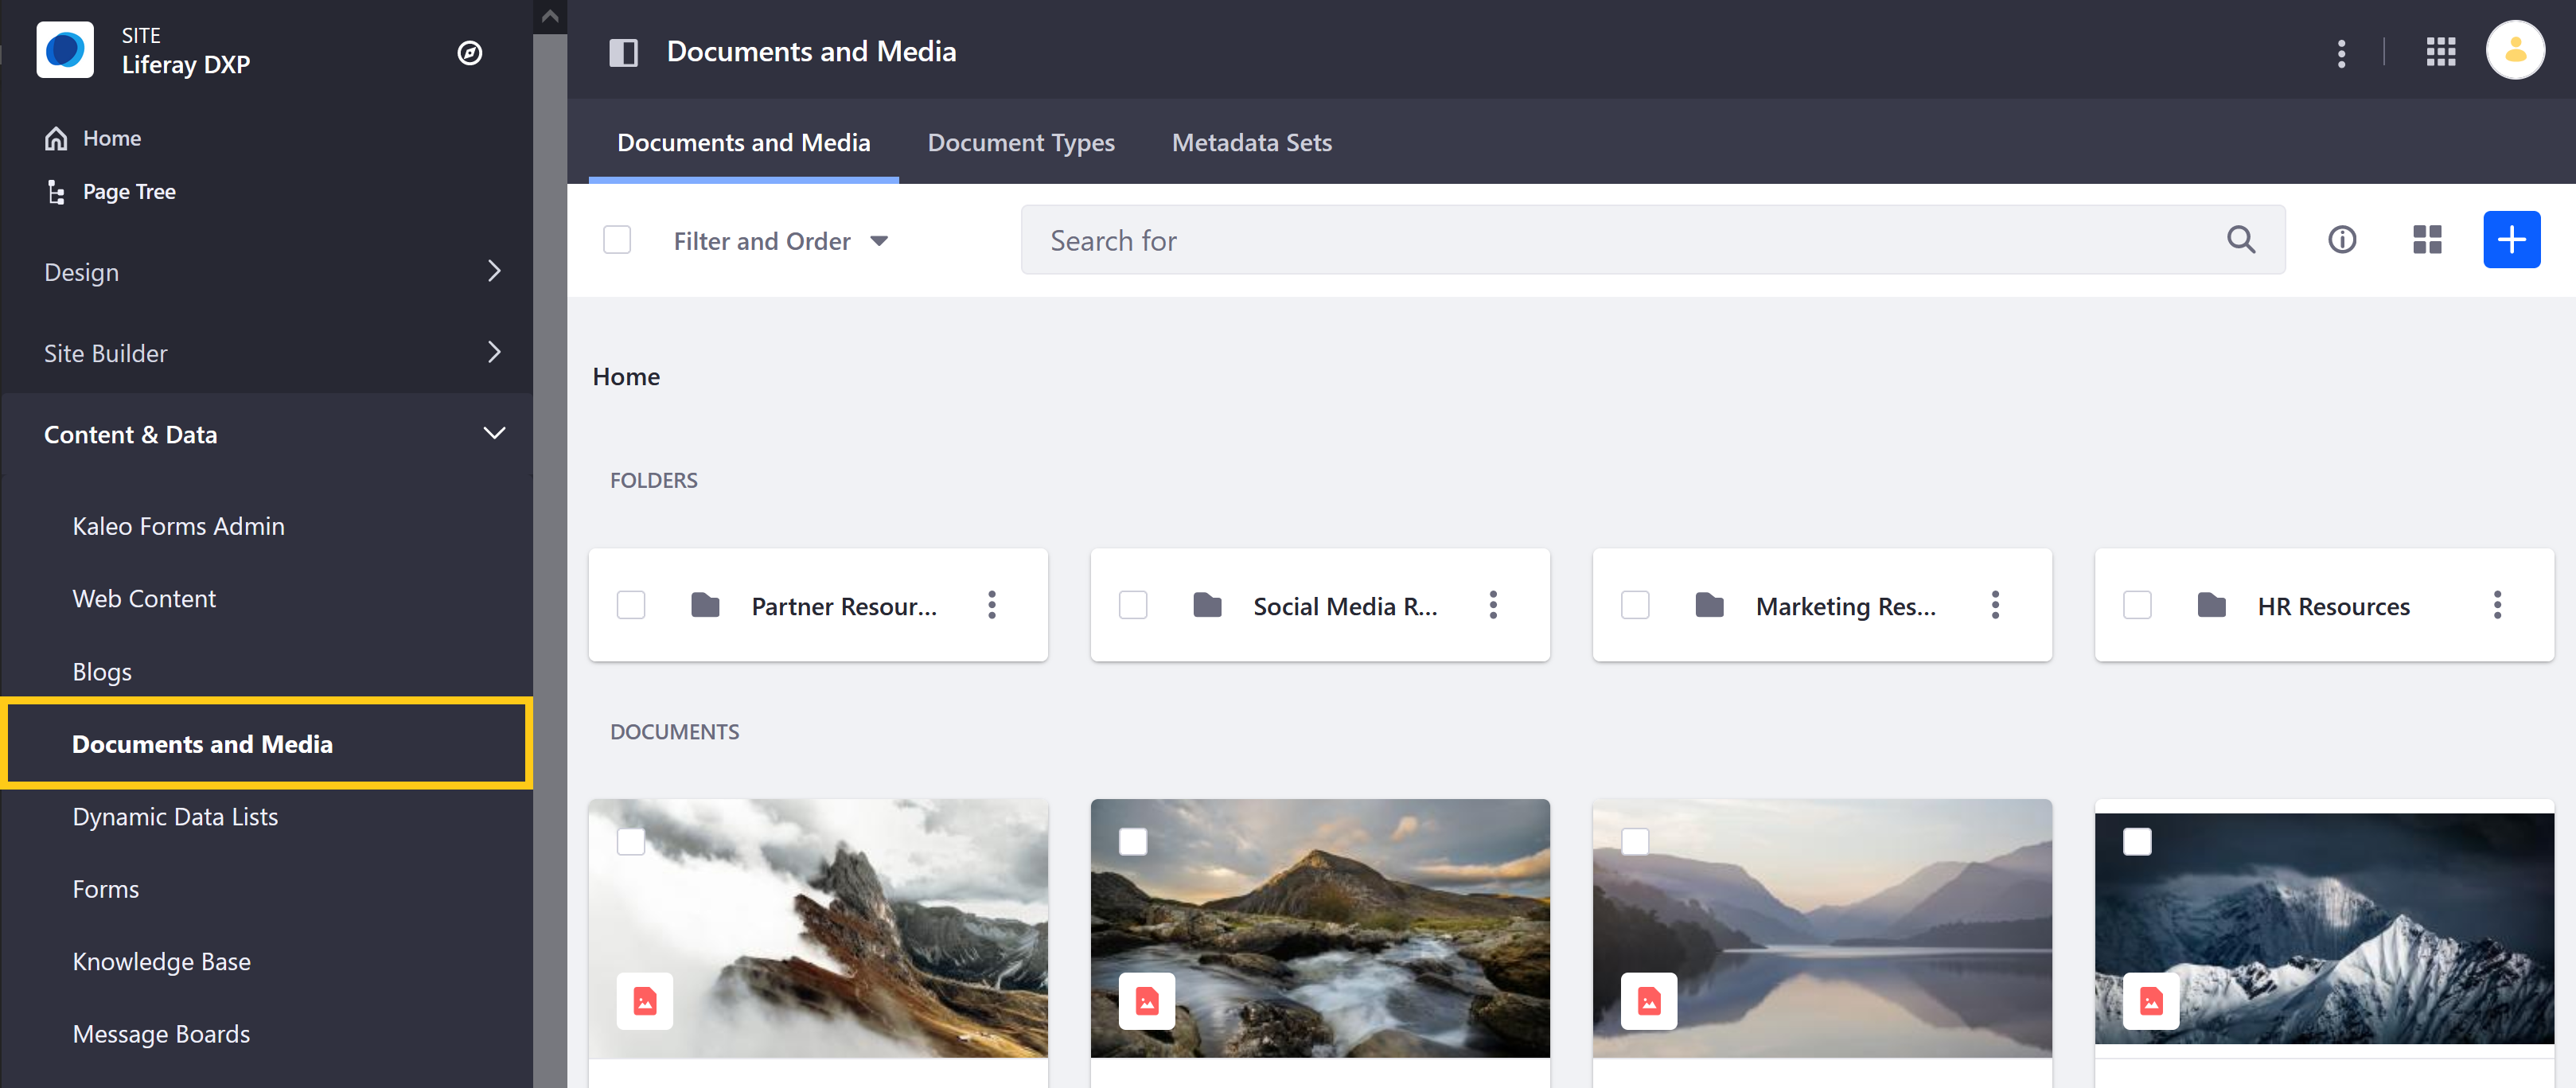
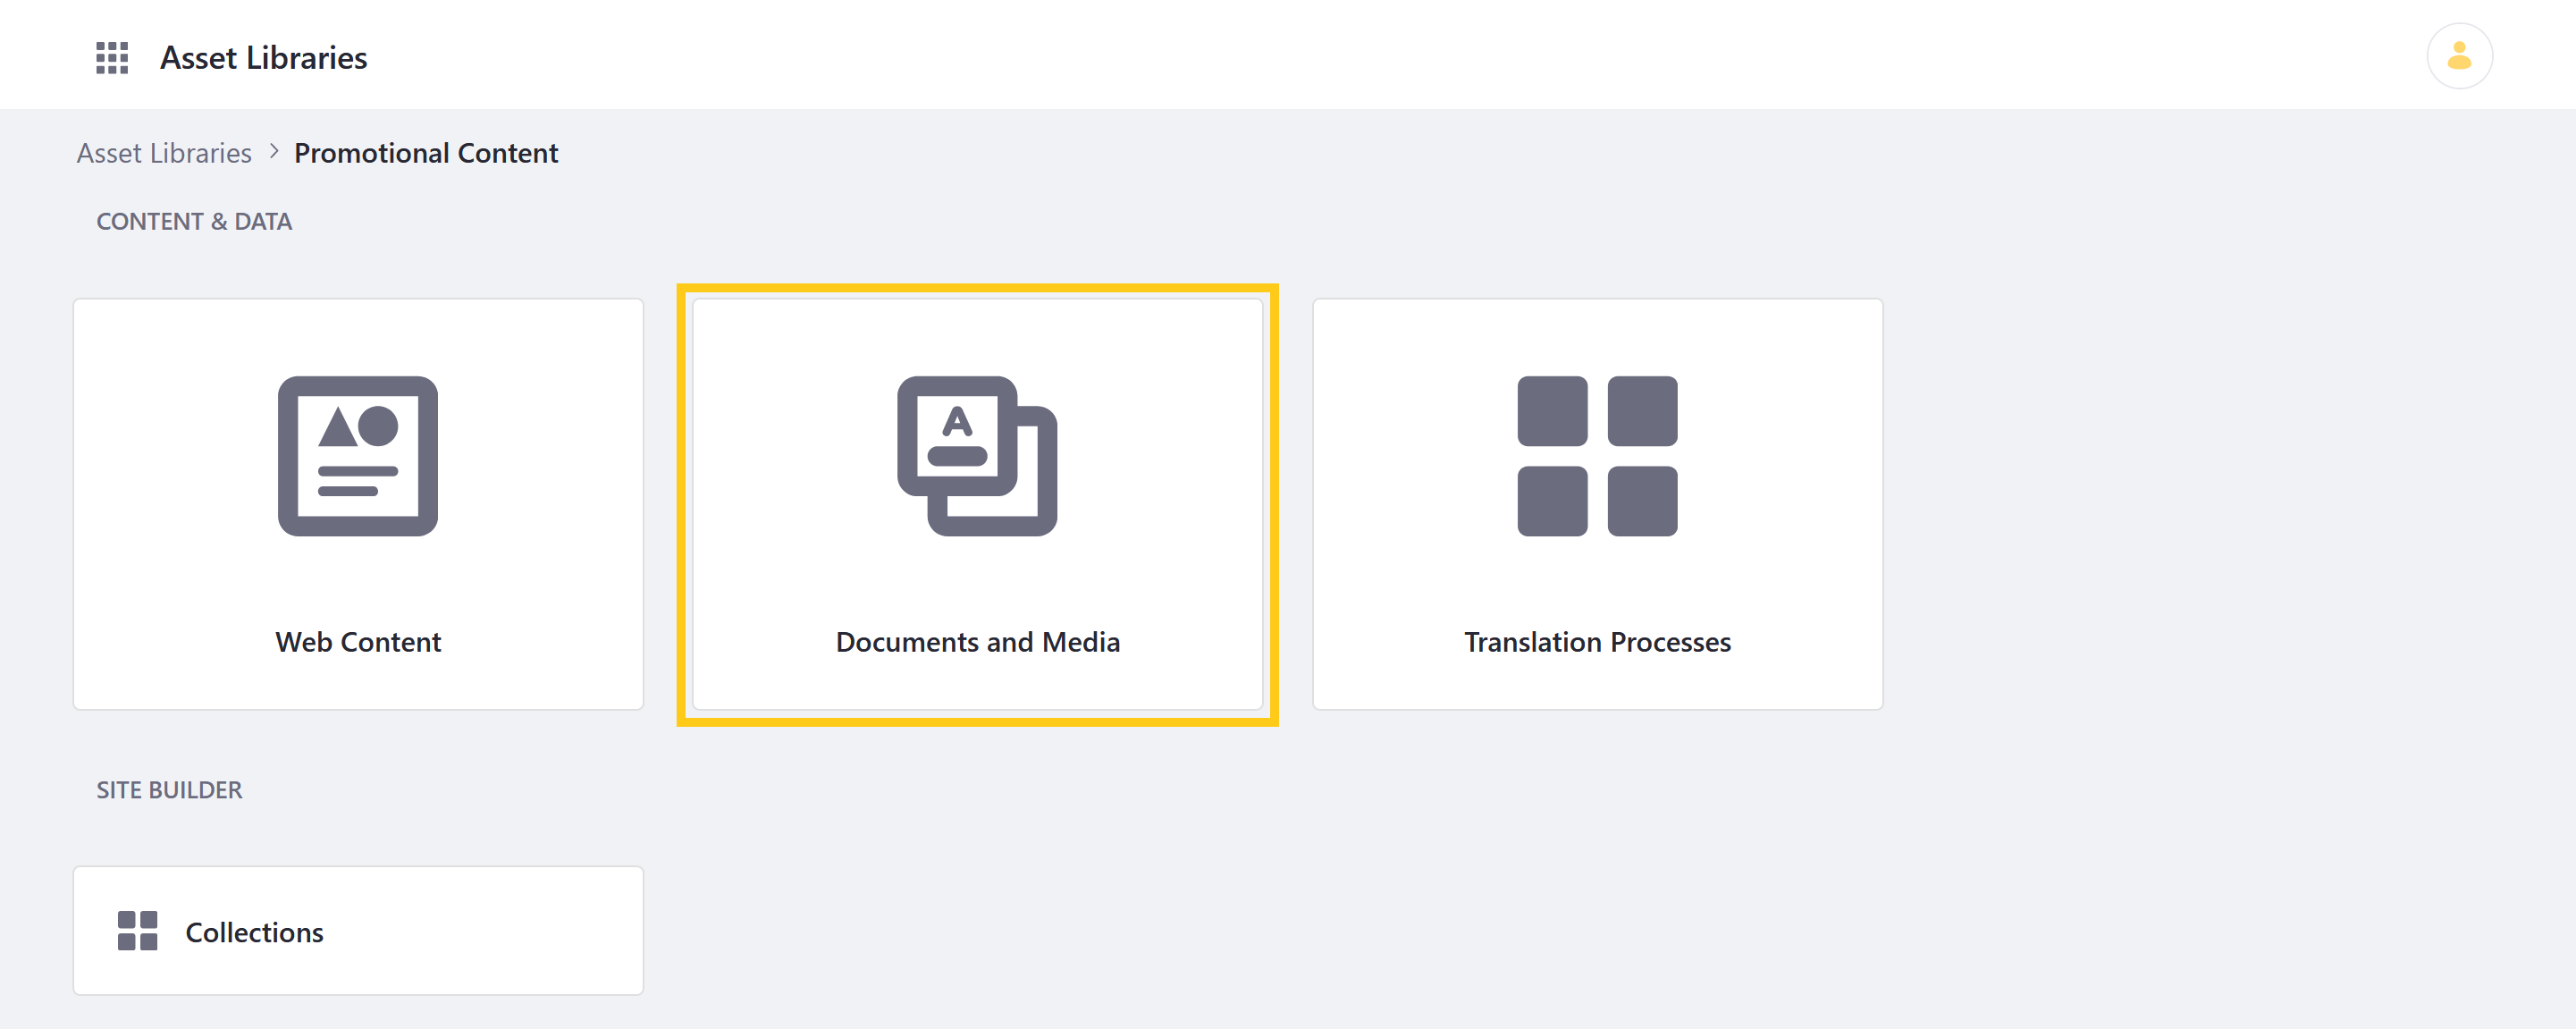
To access Documents and Media in an Asset Library, navigate to any Library where it’s enabled and click on Documents and Media.
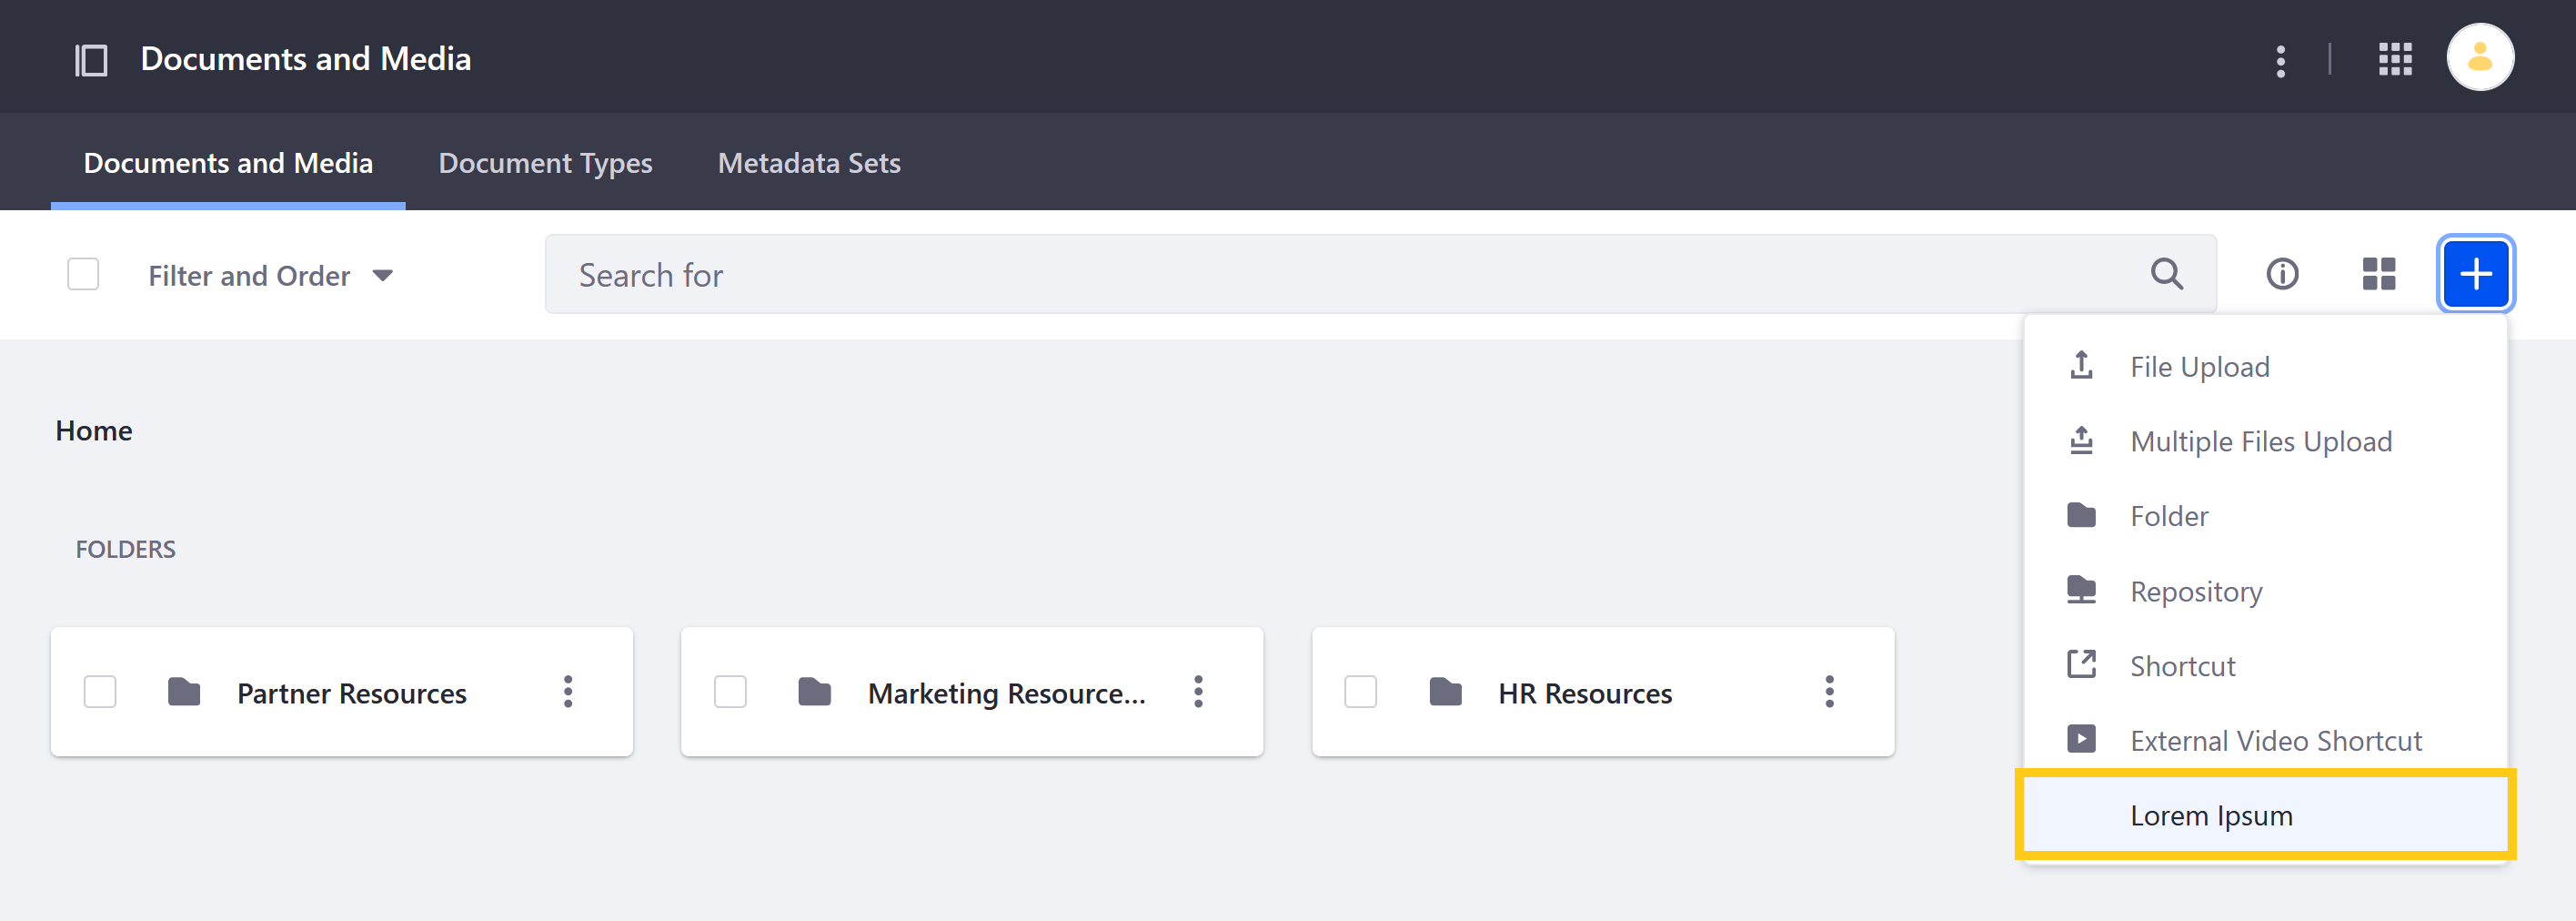
Click on the Document Types tab.
Click the Add button (
 ) to access the New Document Type form.
Enter a name for the Document Type.
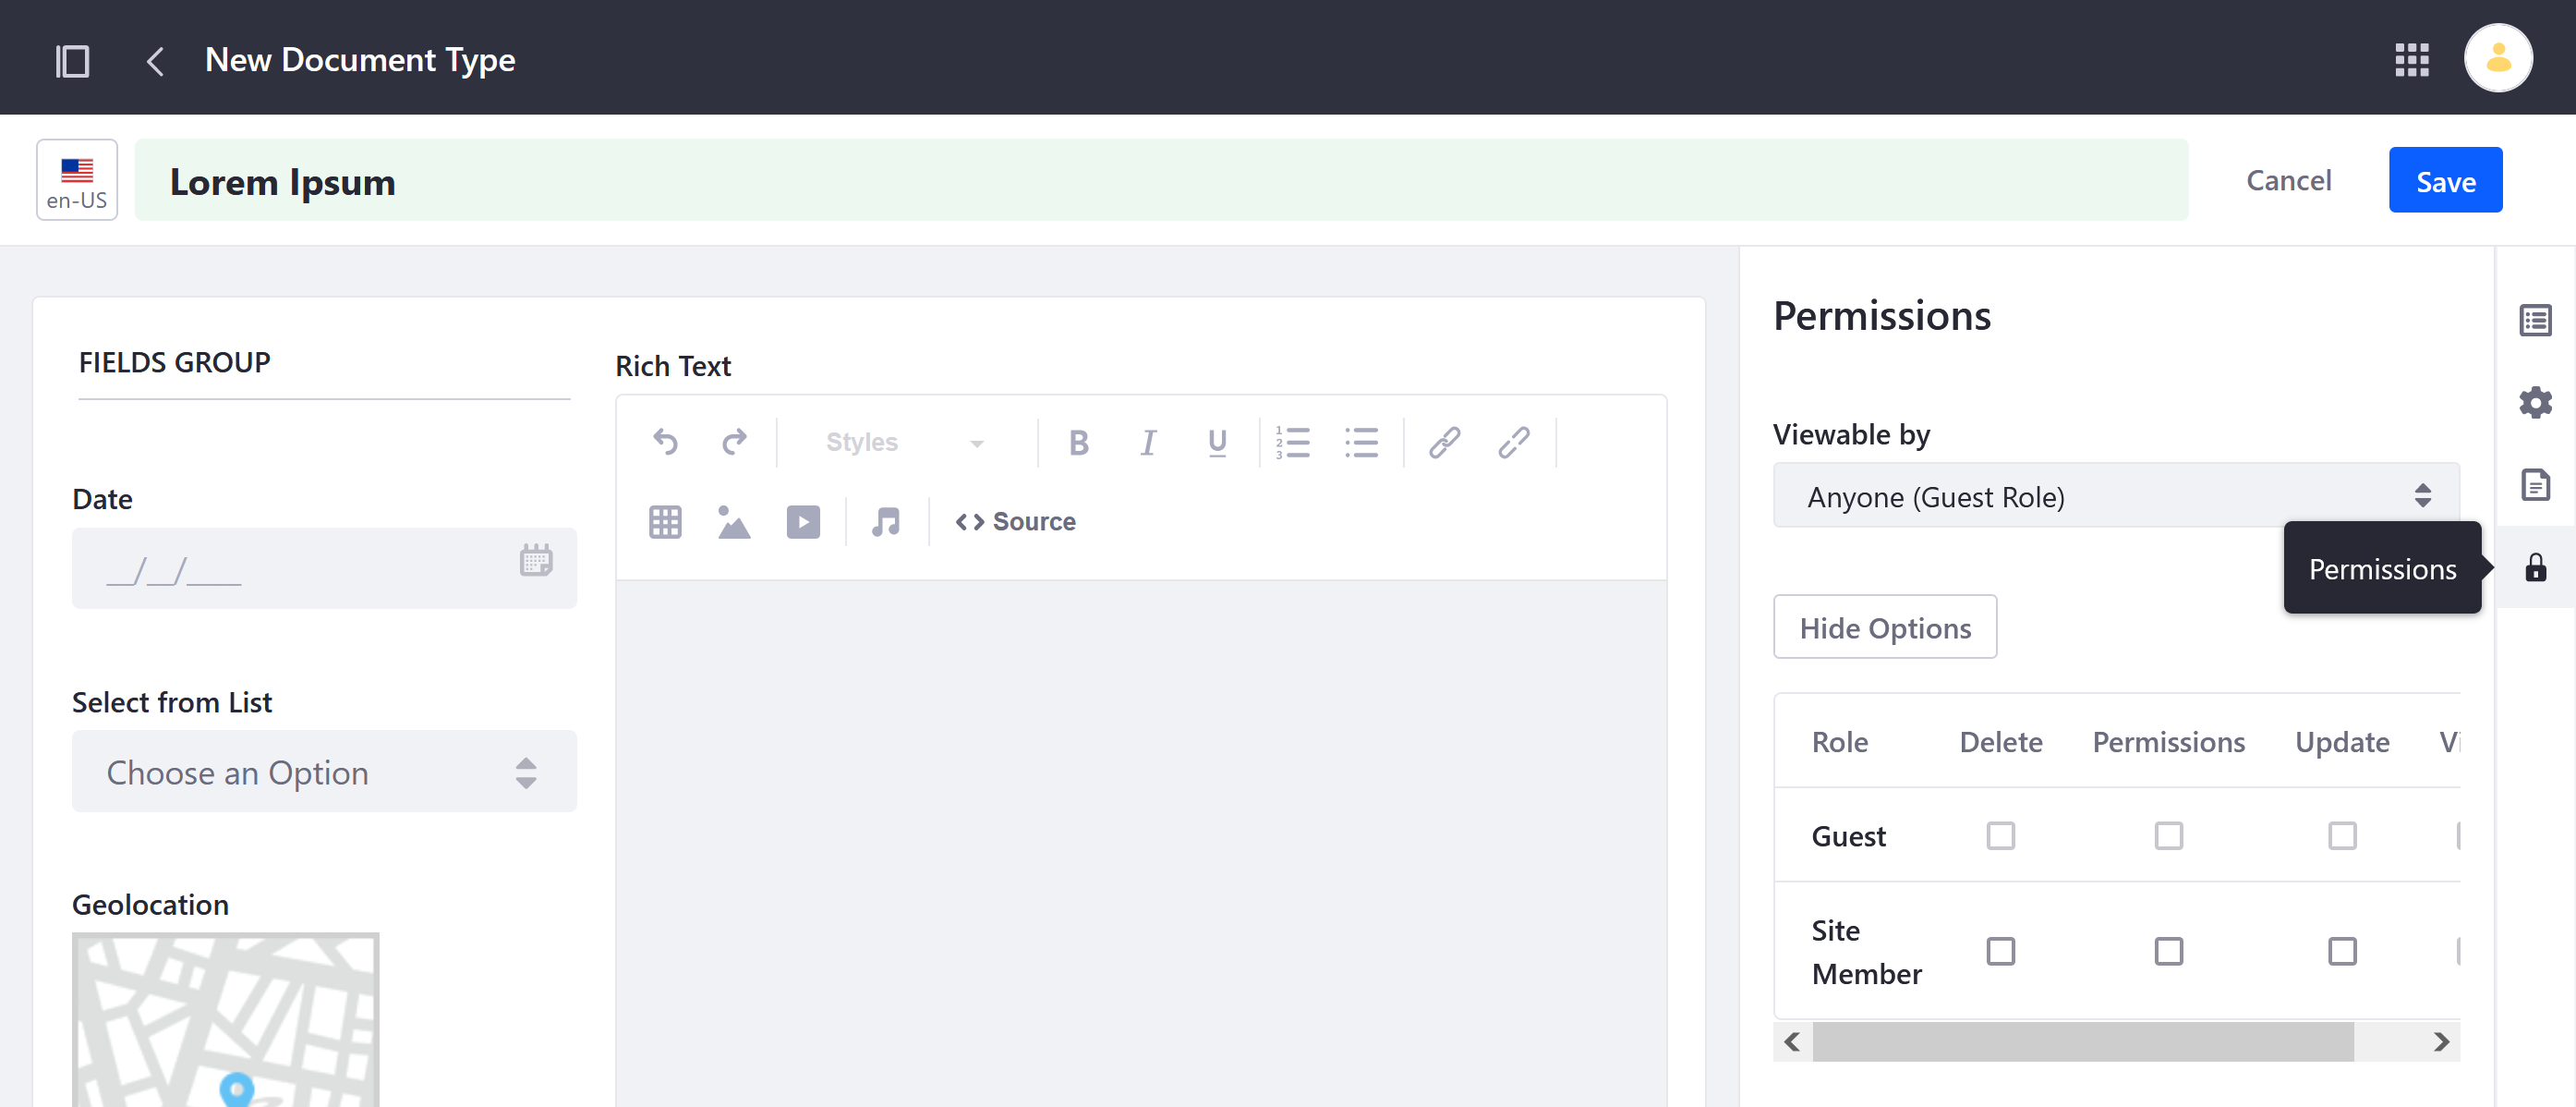
In the Builder tab, drag and drop the desired fields into the designated drop zone.
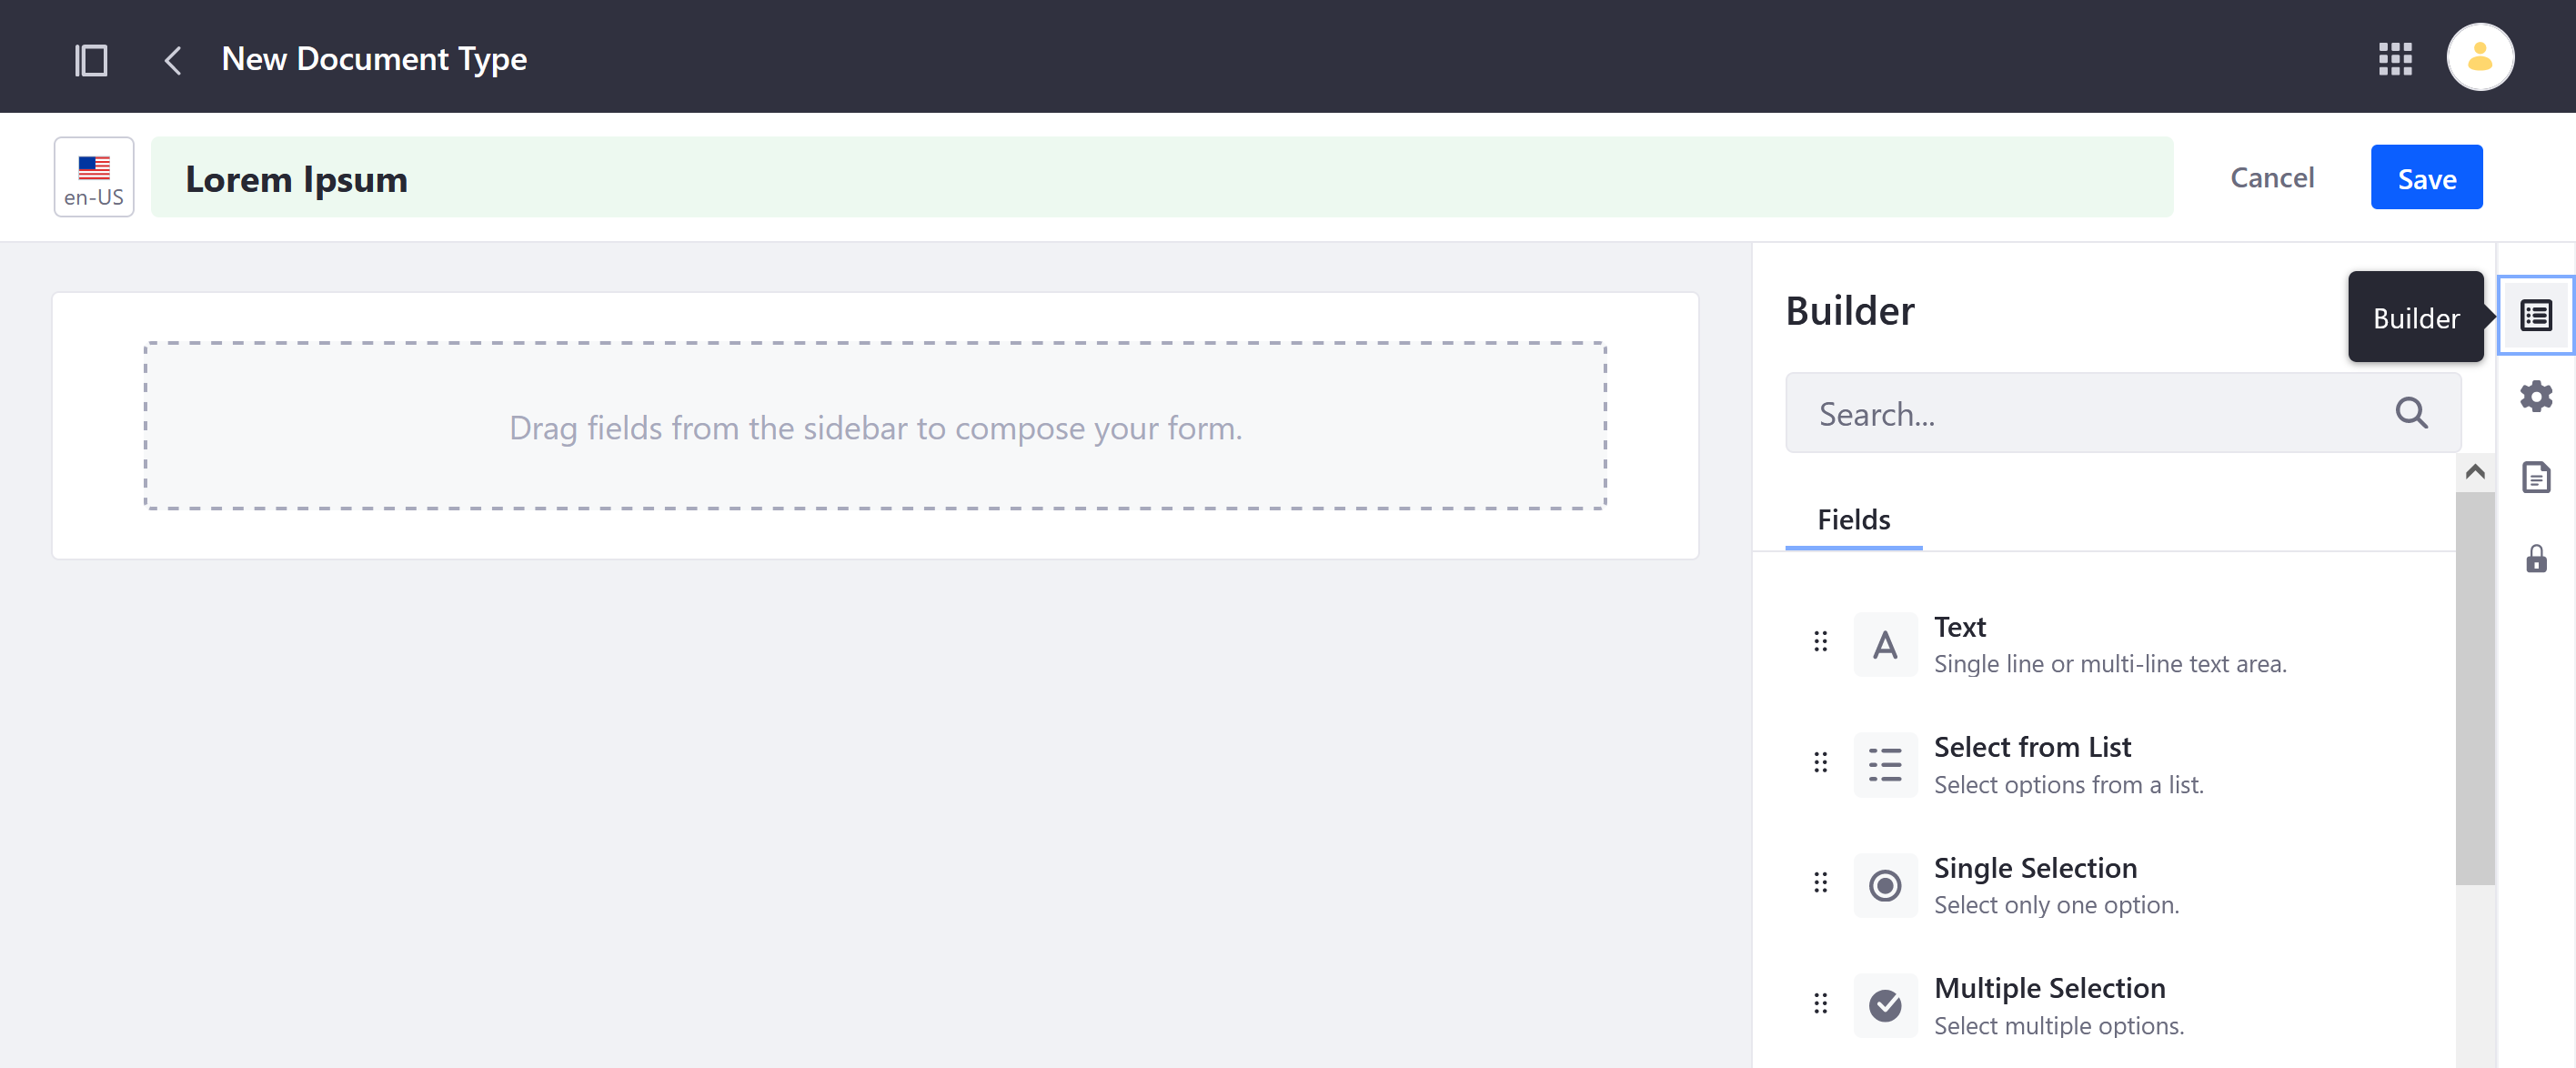
Each field is highly configurable, with Basic and Advanced options.
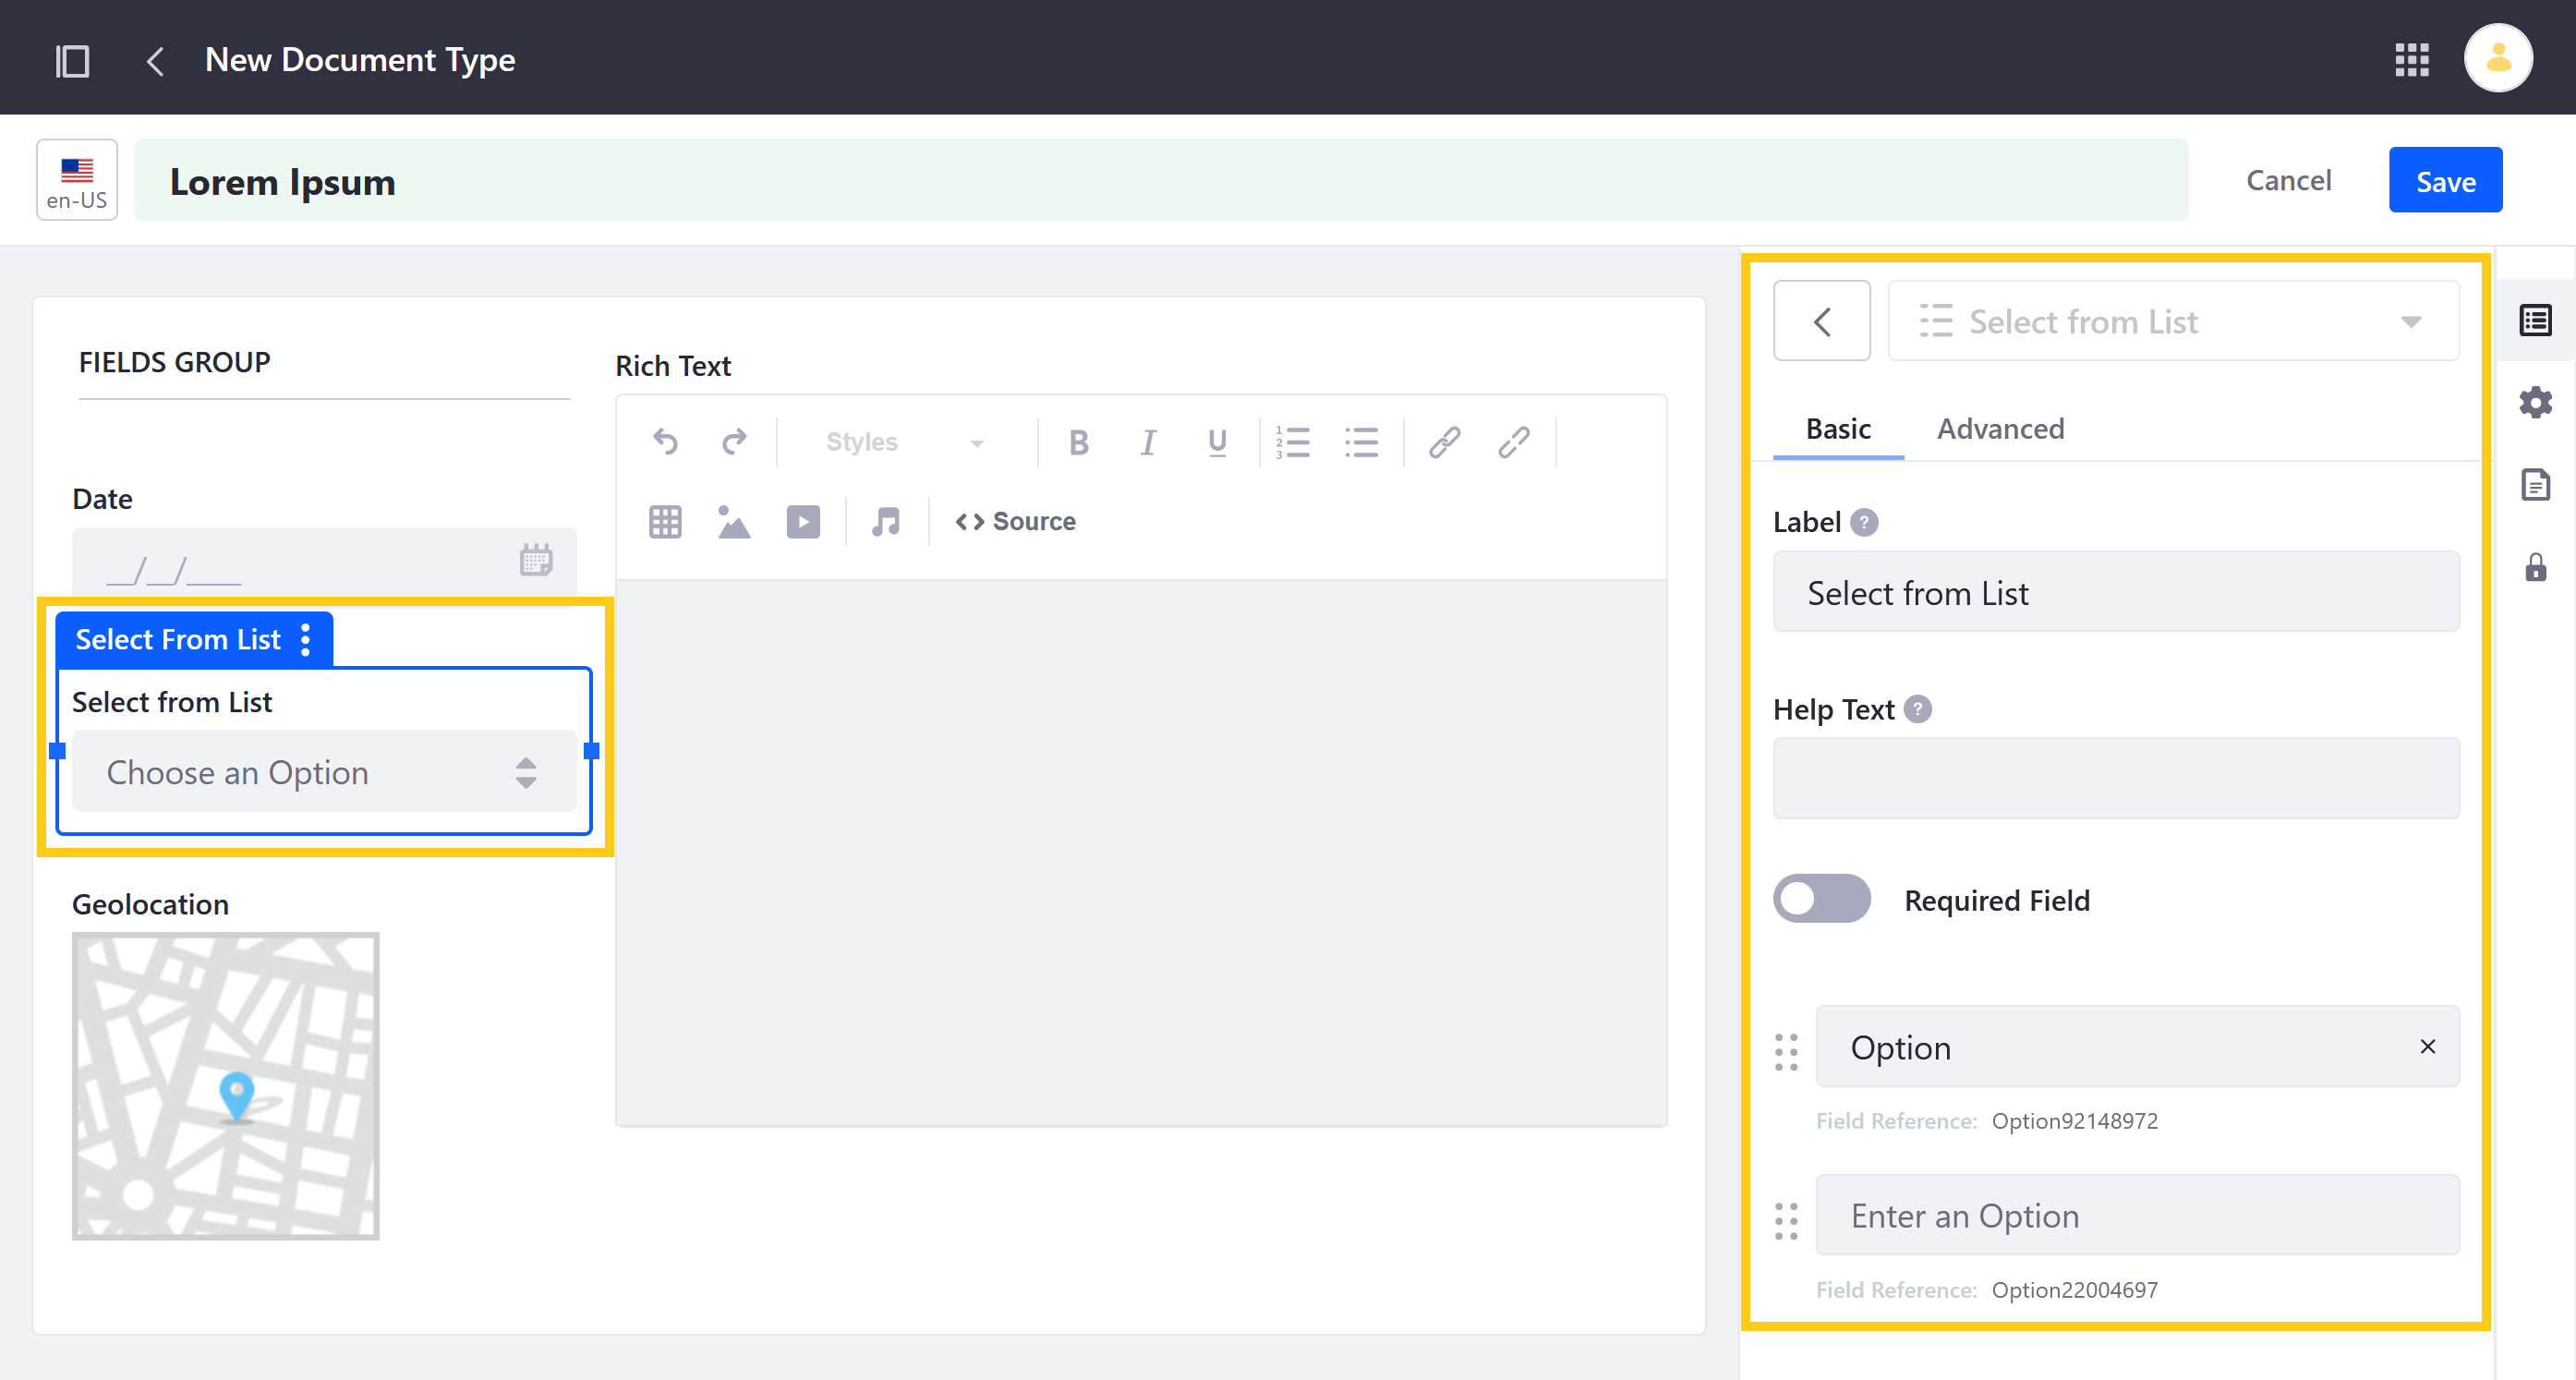
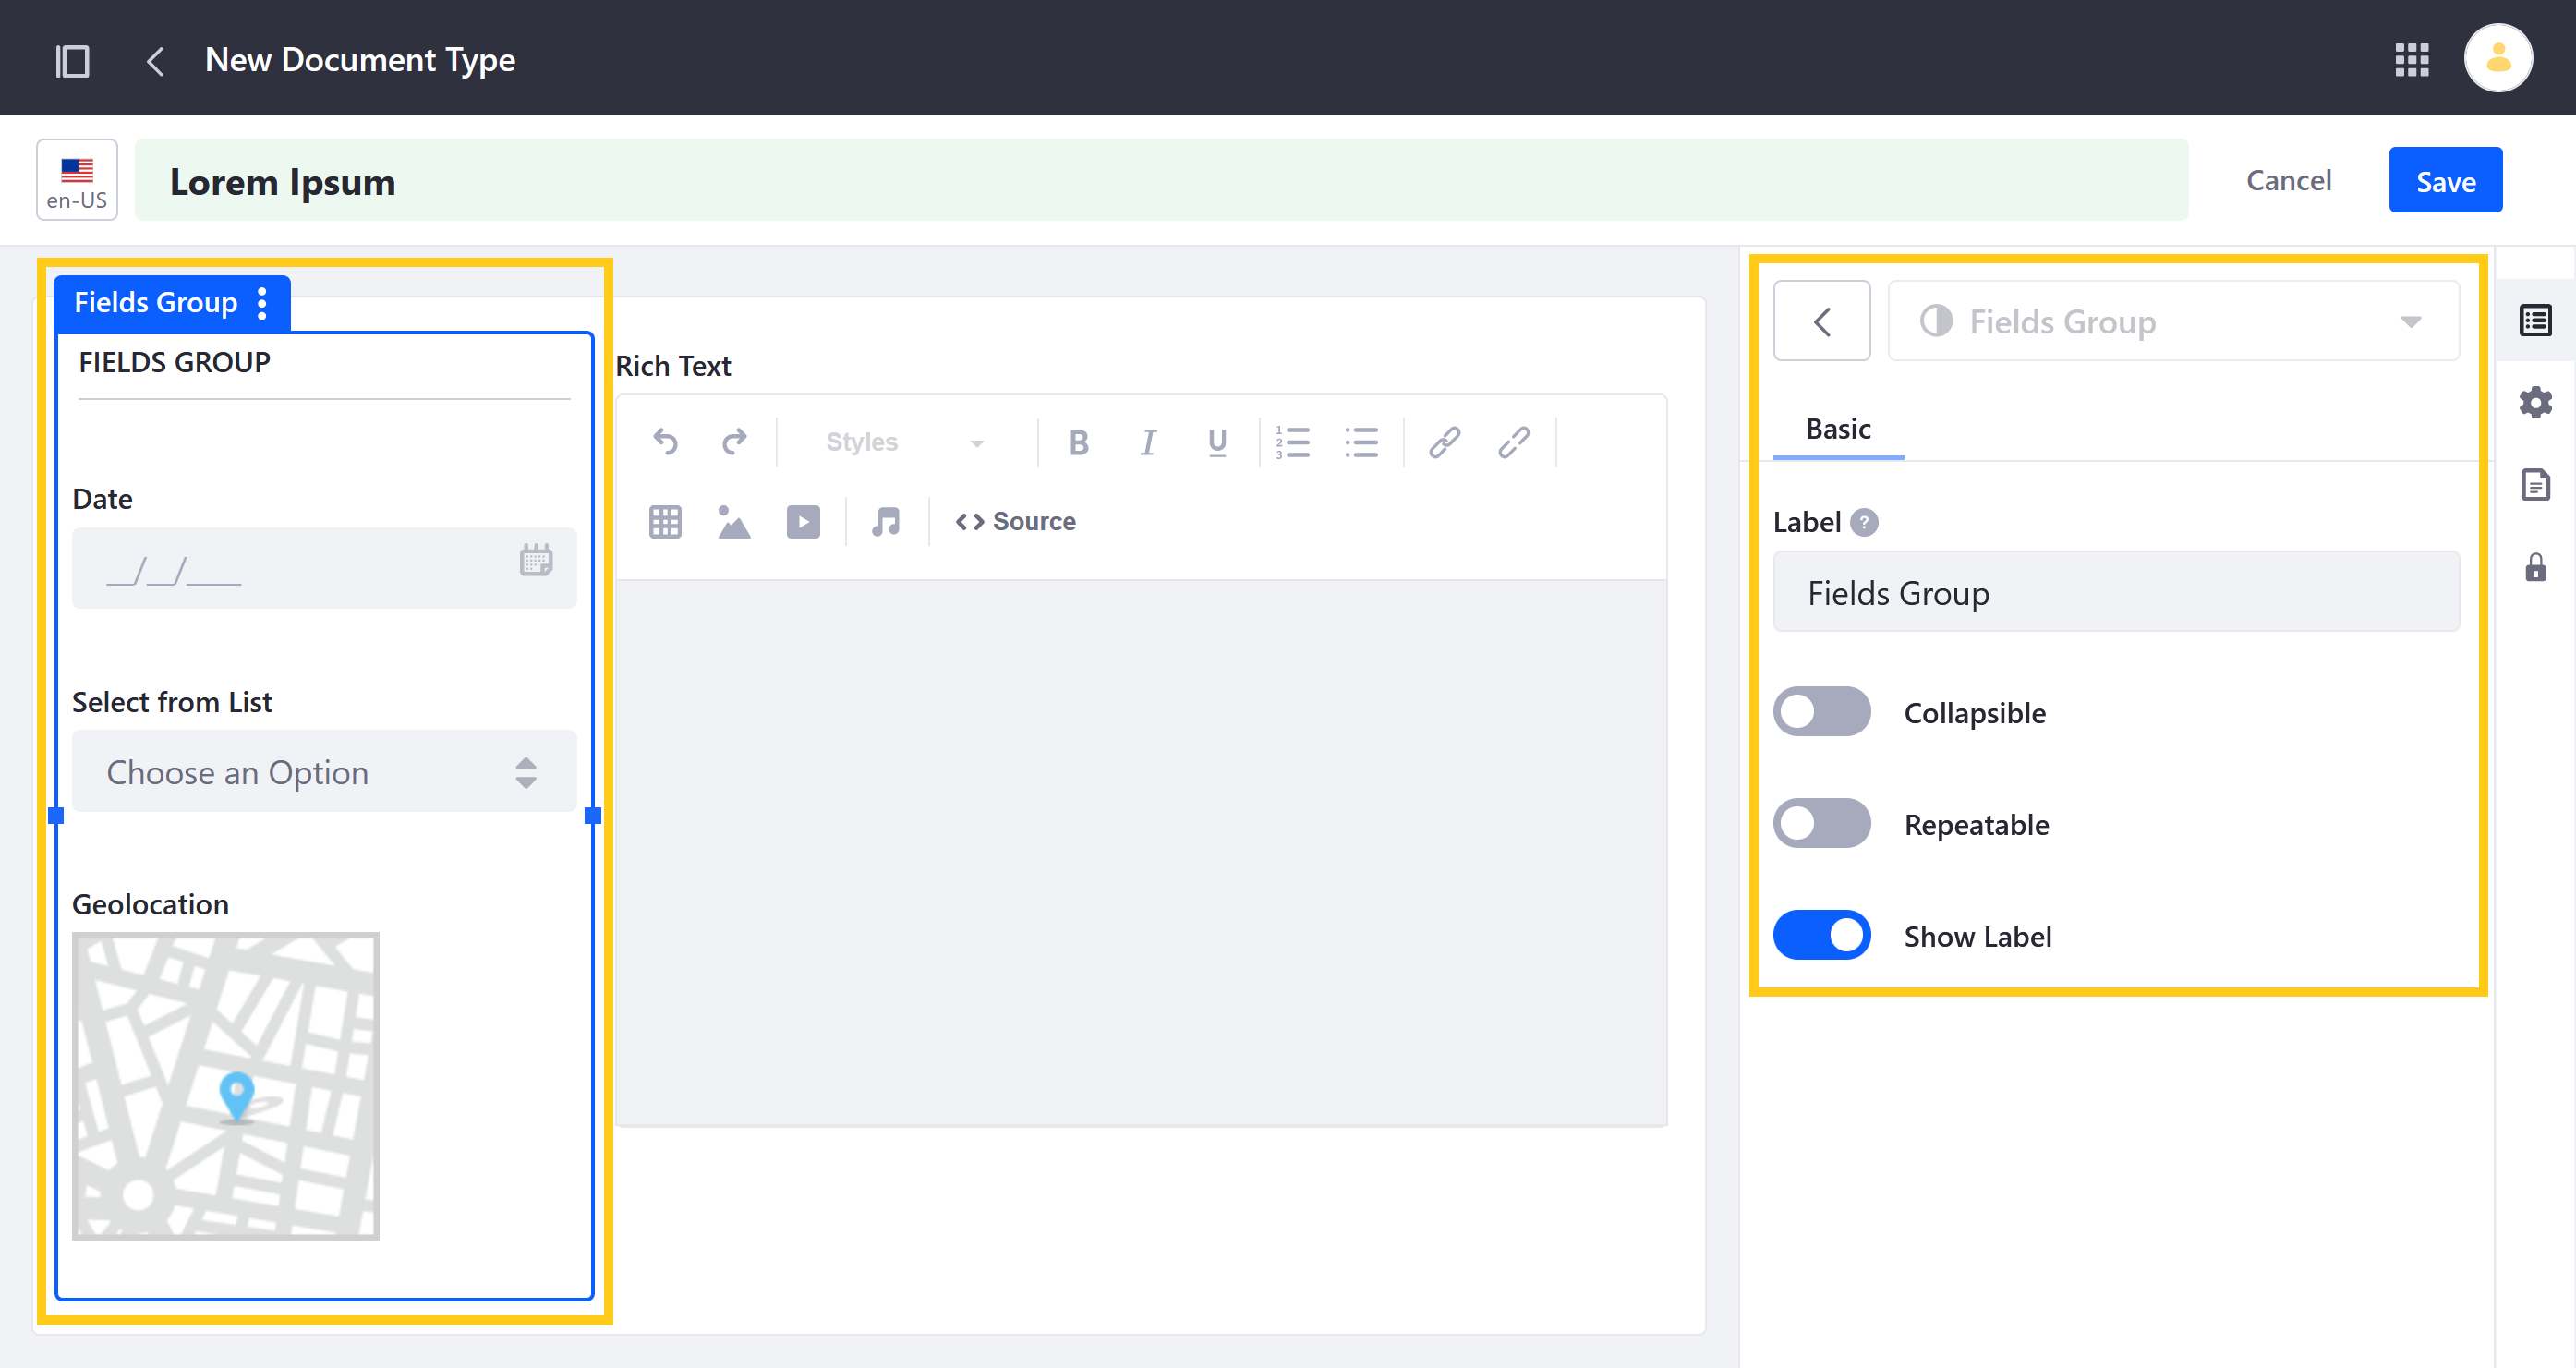
If desired, you can create field groups by dragging and dropping fields on top of one another. Each group can also be configured as a unit.
 note
noteAll custom Document Types have the following fields: Upload File, Title, File Name, and Description. Fields added to a custom Document Type are listed in addition to these default fields.
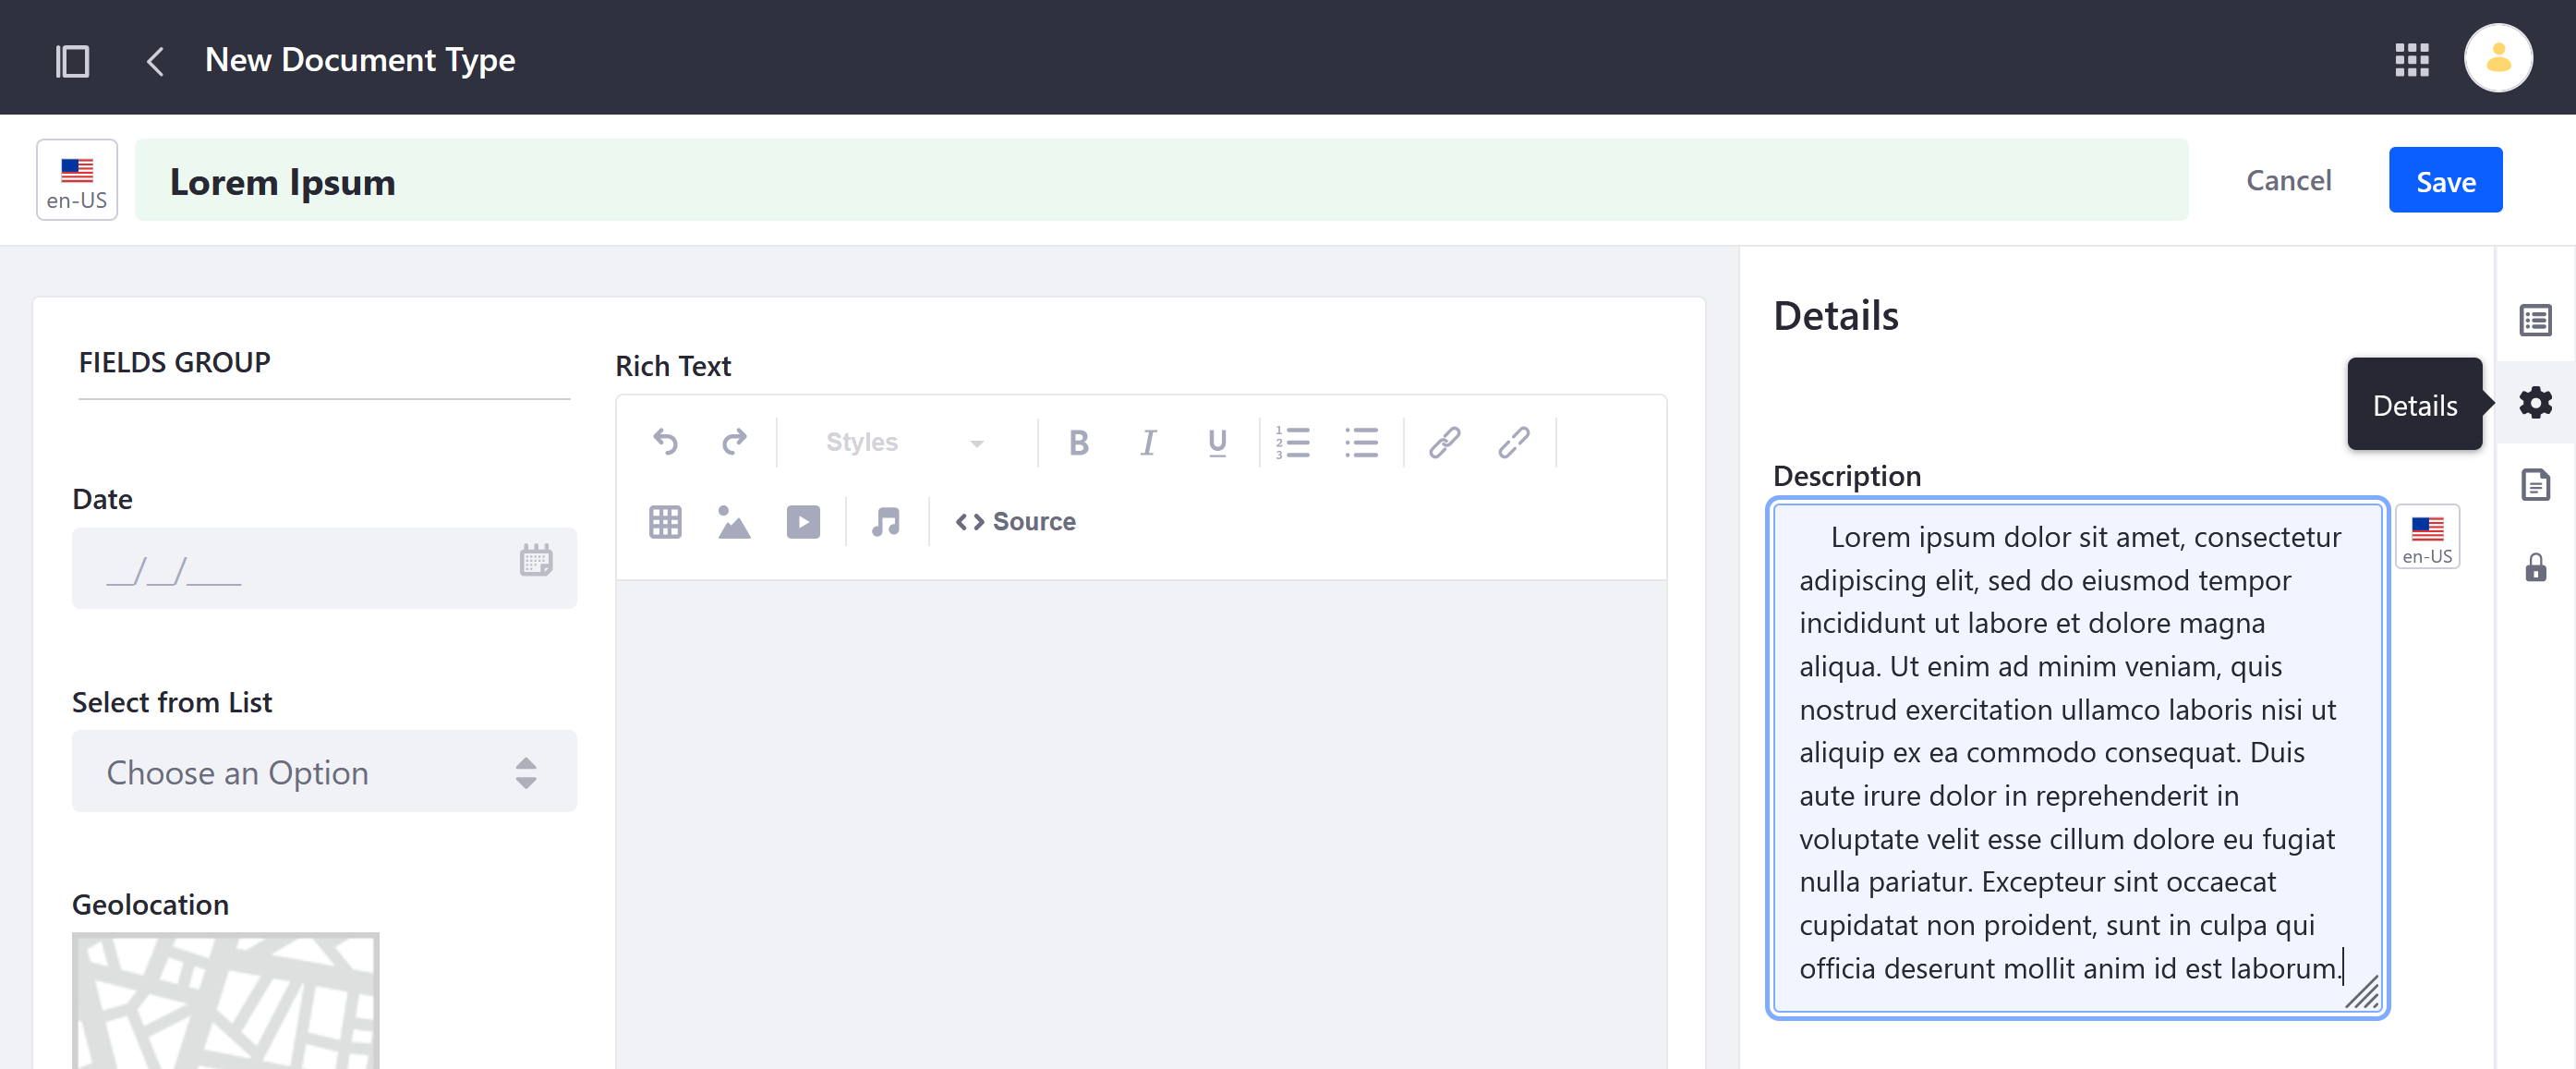
(Optional) Click on the Details tab, and enter a description.
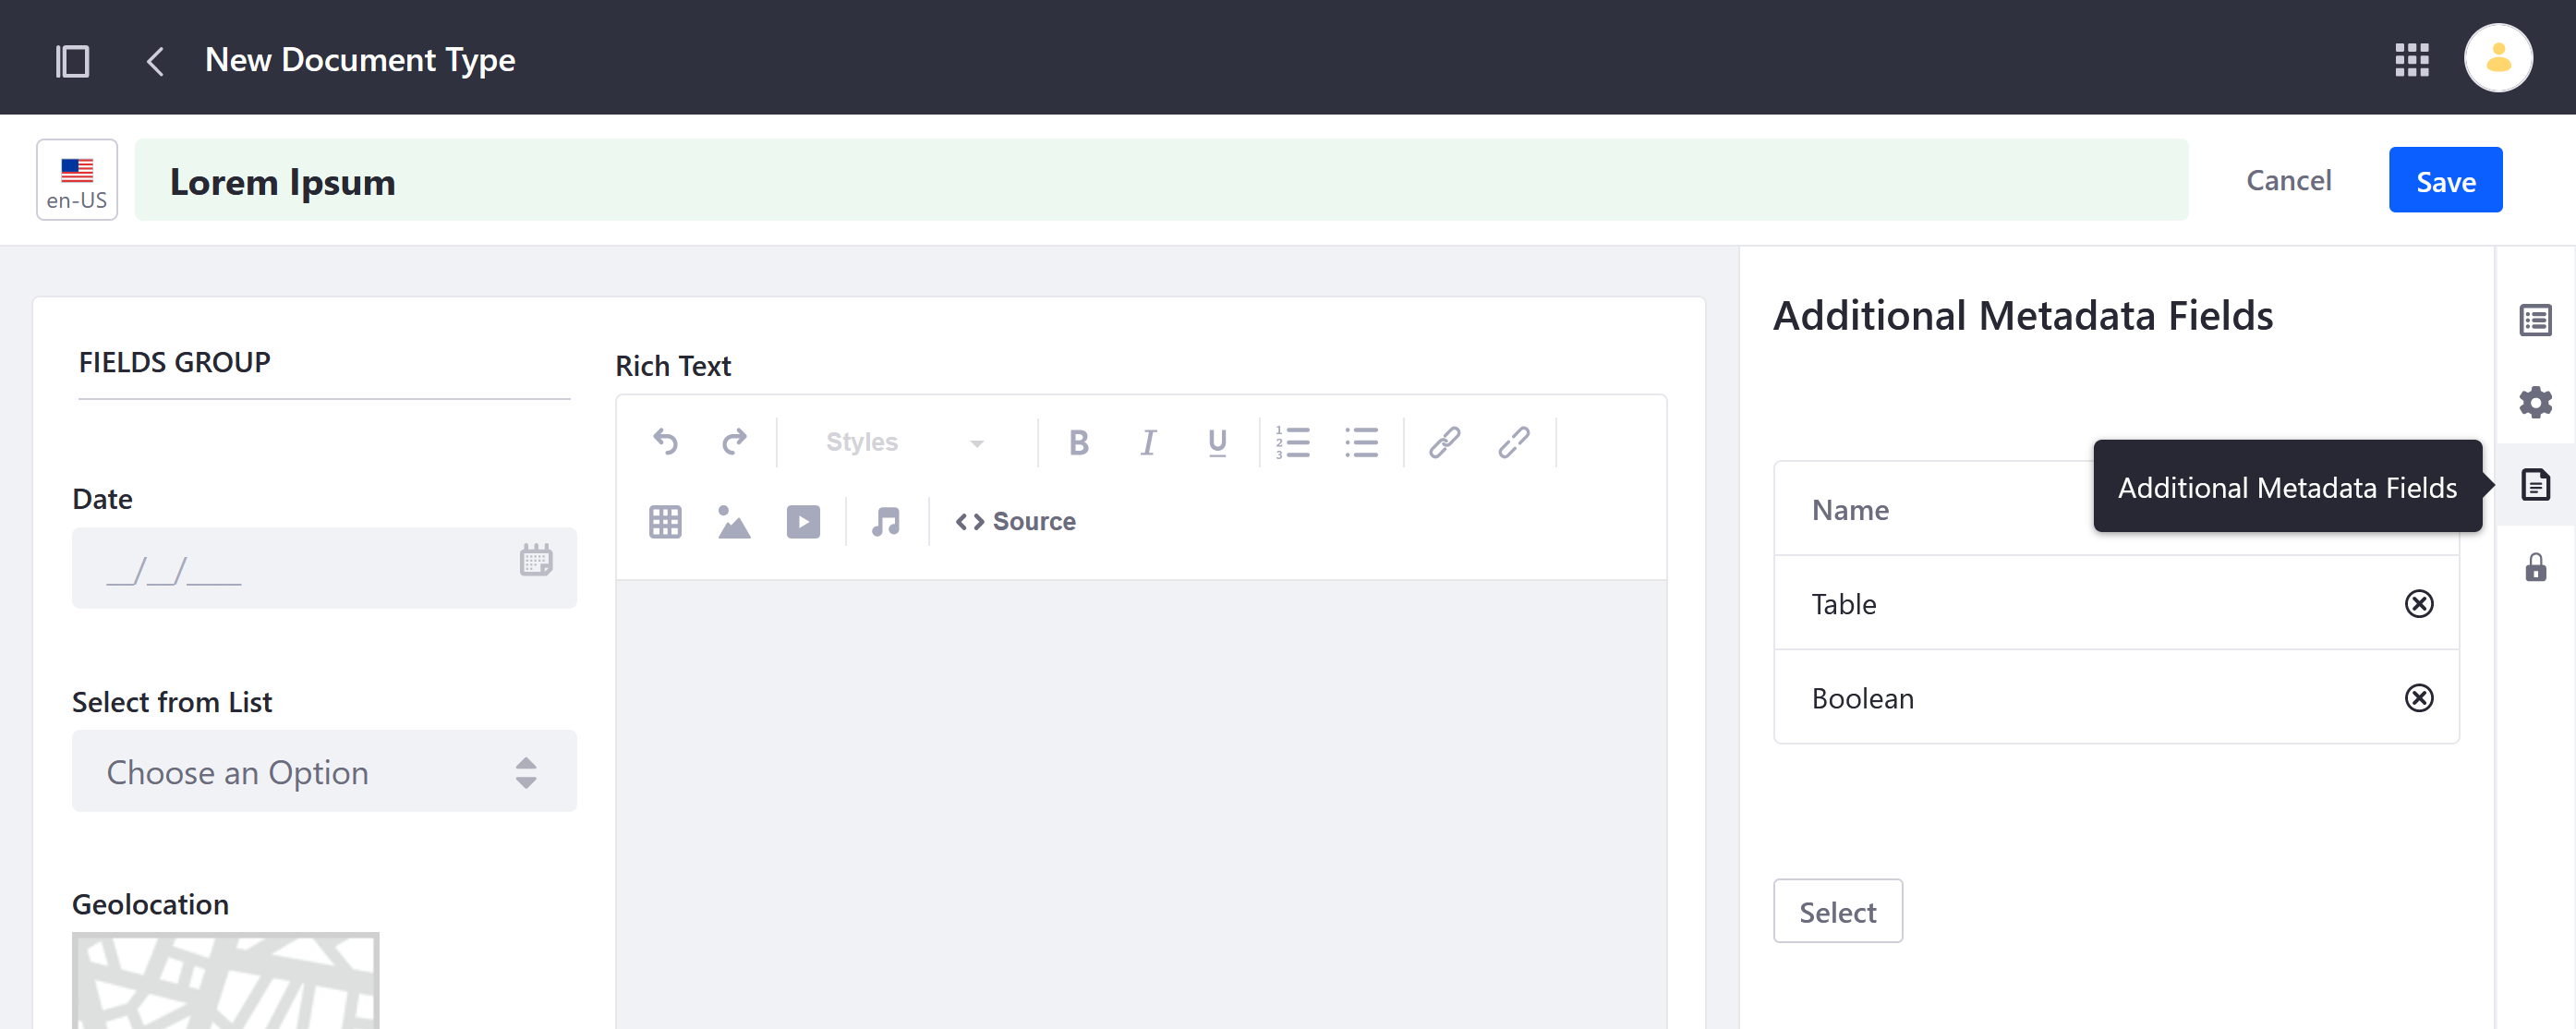
(Optional) Click on the Additional Metadata Fields tab and select any existing Metadata Sets you want to add to the new Document Type.
(Optional) Click on the Permissions tab, and configure who can view, edit, and manage the new Document Type.
Click on Save.
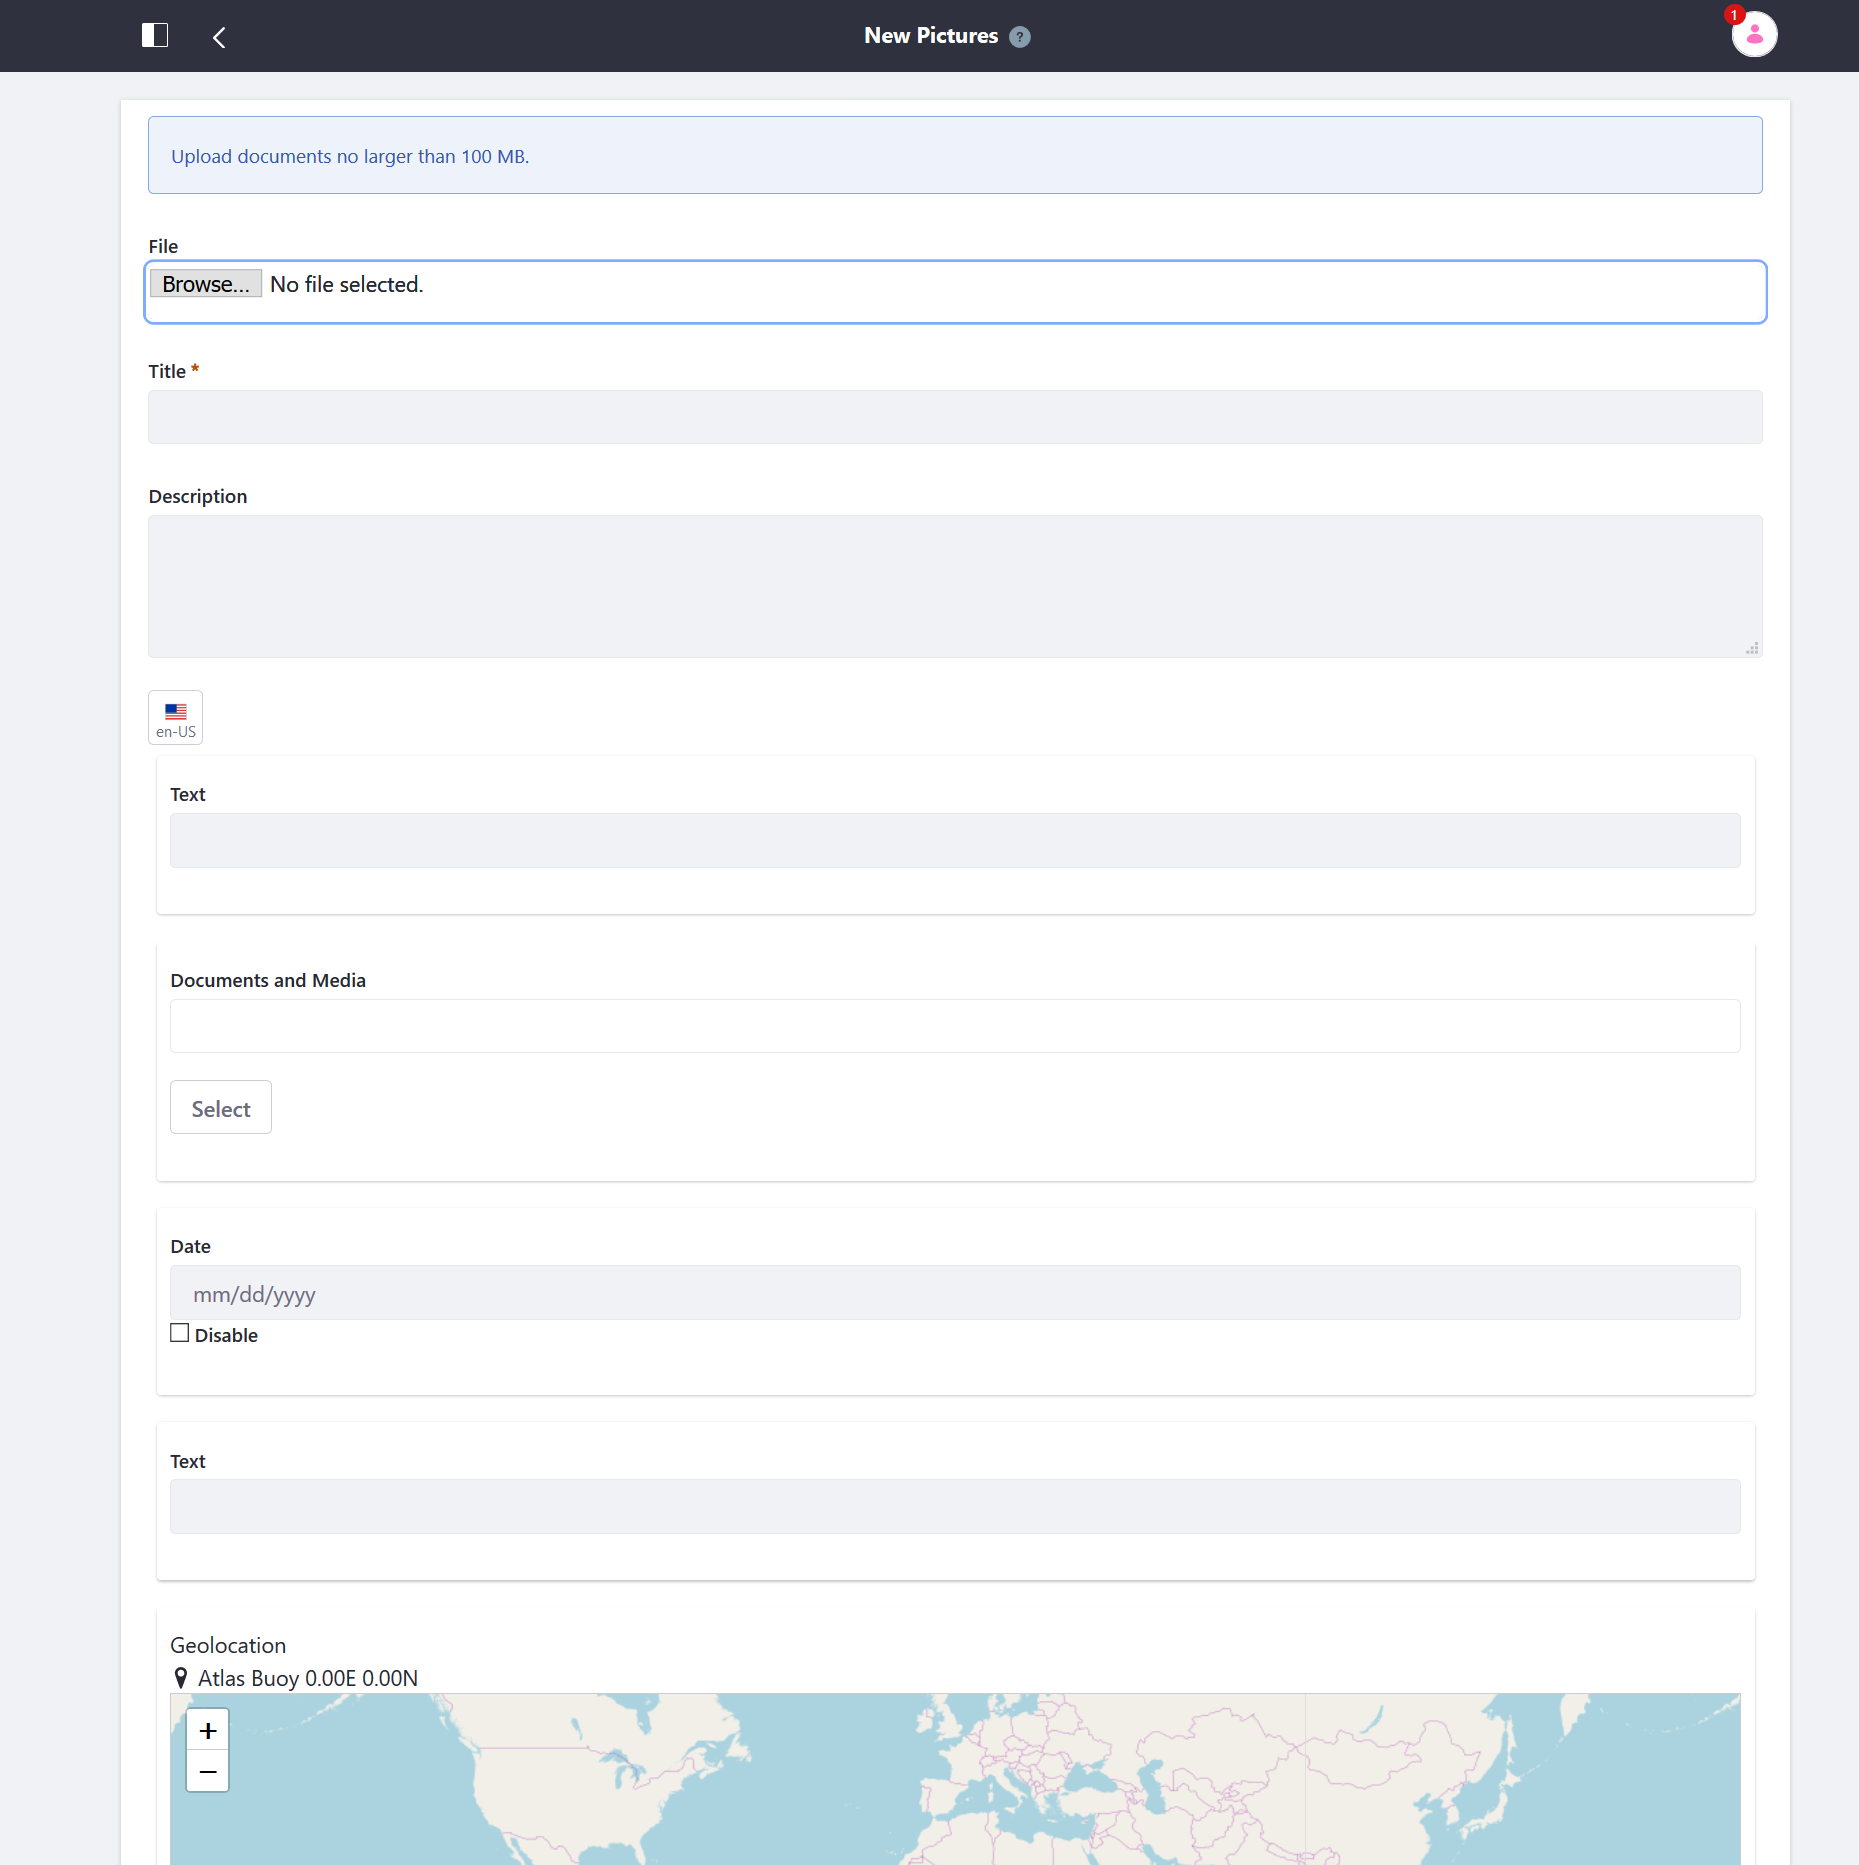
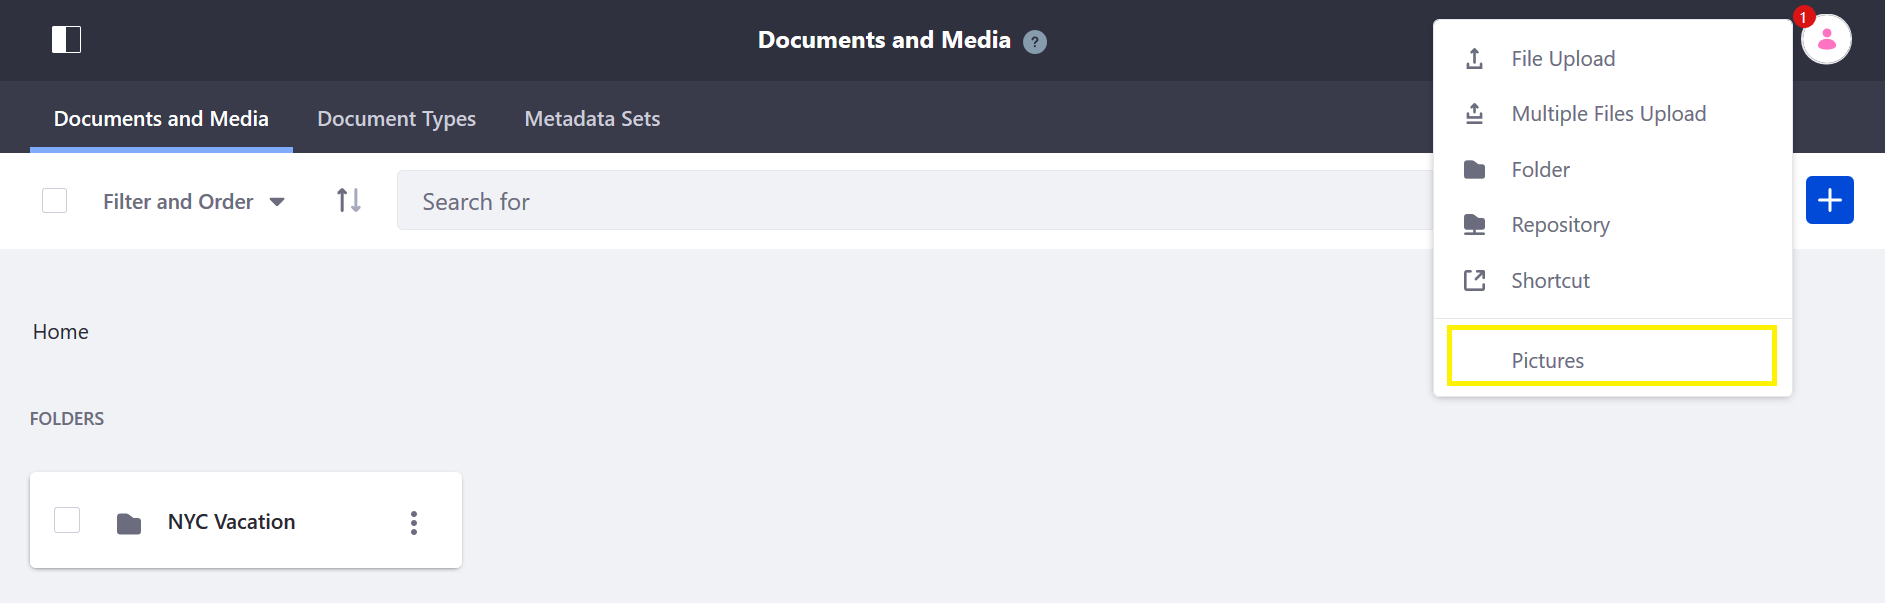
Once saved, the new Document Type can now be accessed in the Documents and Media tab, where you can use it to start a new upload.
When the Document Type is selected, users see your configured metadata fields. See Uploading Files for more information.
For Liferay 7.3.x and Earlier Versions
Open the Product Menu (
) then click the compass icon ( ) on the Site Administration menu.
Select the site where the form will be created.
Click Content & Data → Documents and Media.
Click the Document Types tab.
Click the Add button (
). The New Document Type form appears.Enter a name.
Enter a description.
Expand the Main Metadata Fields section.
Drag and drop the metadata fields into the editor.
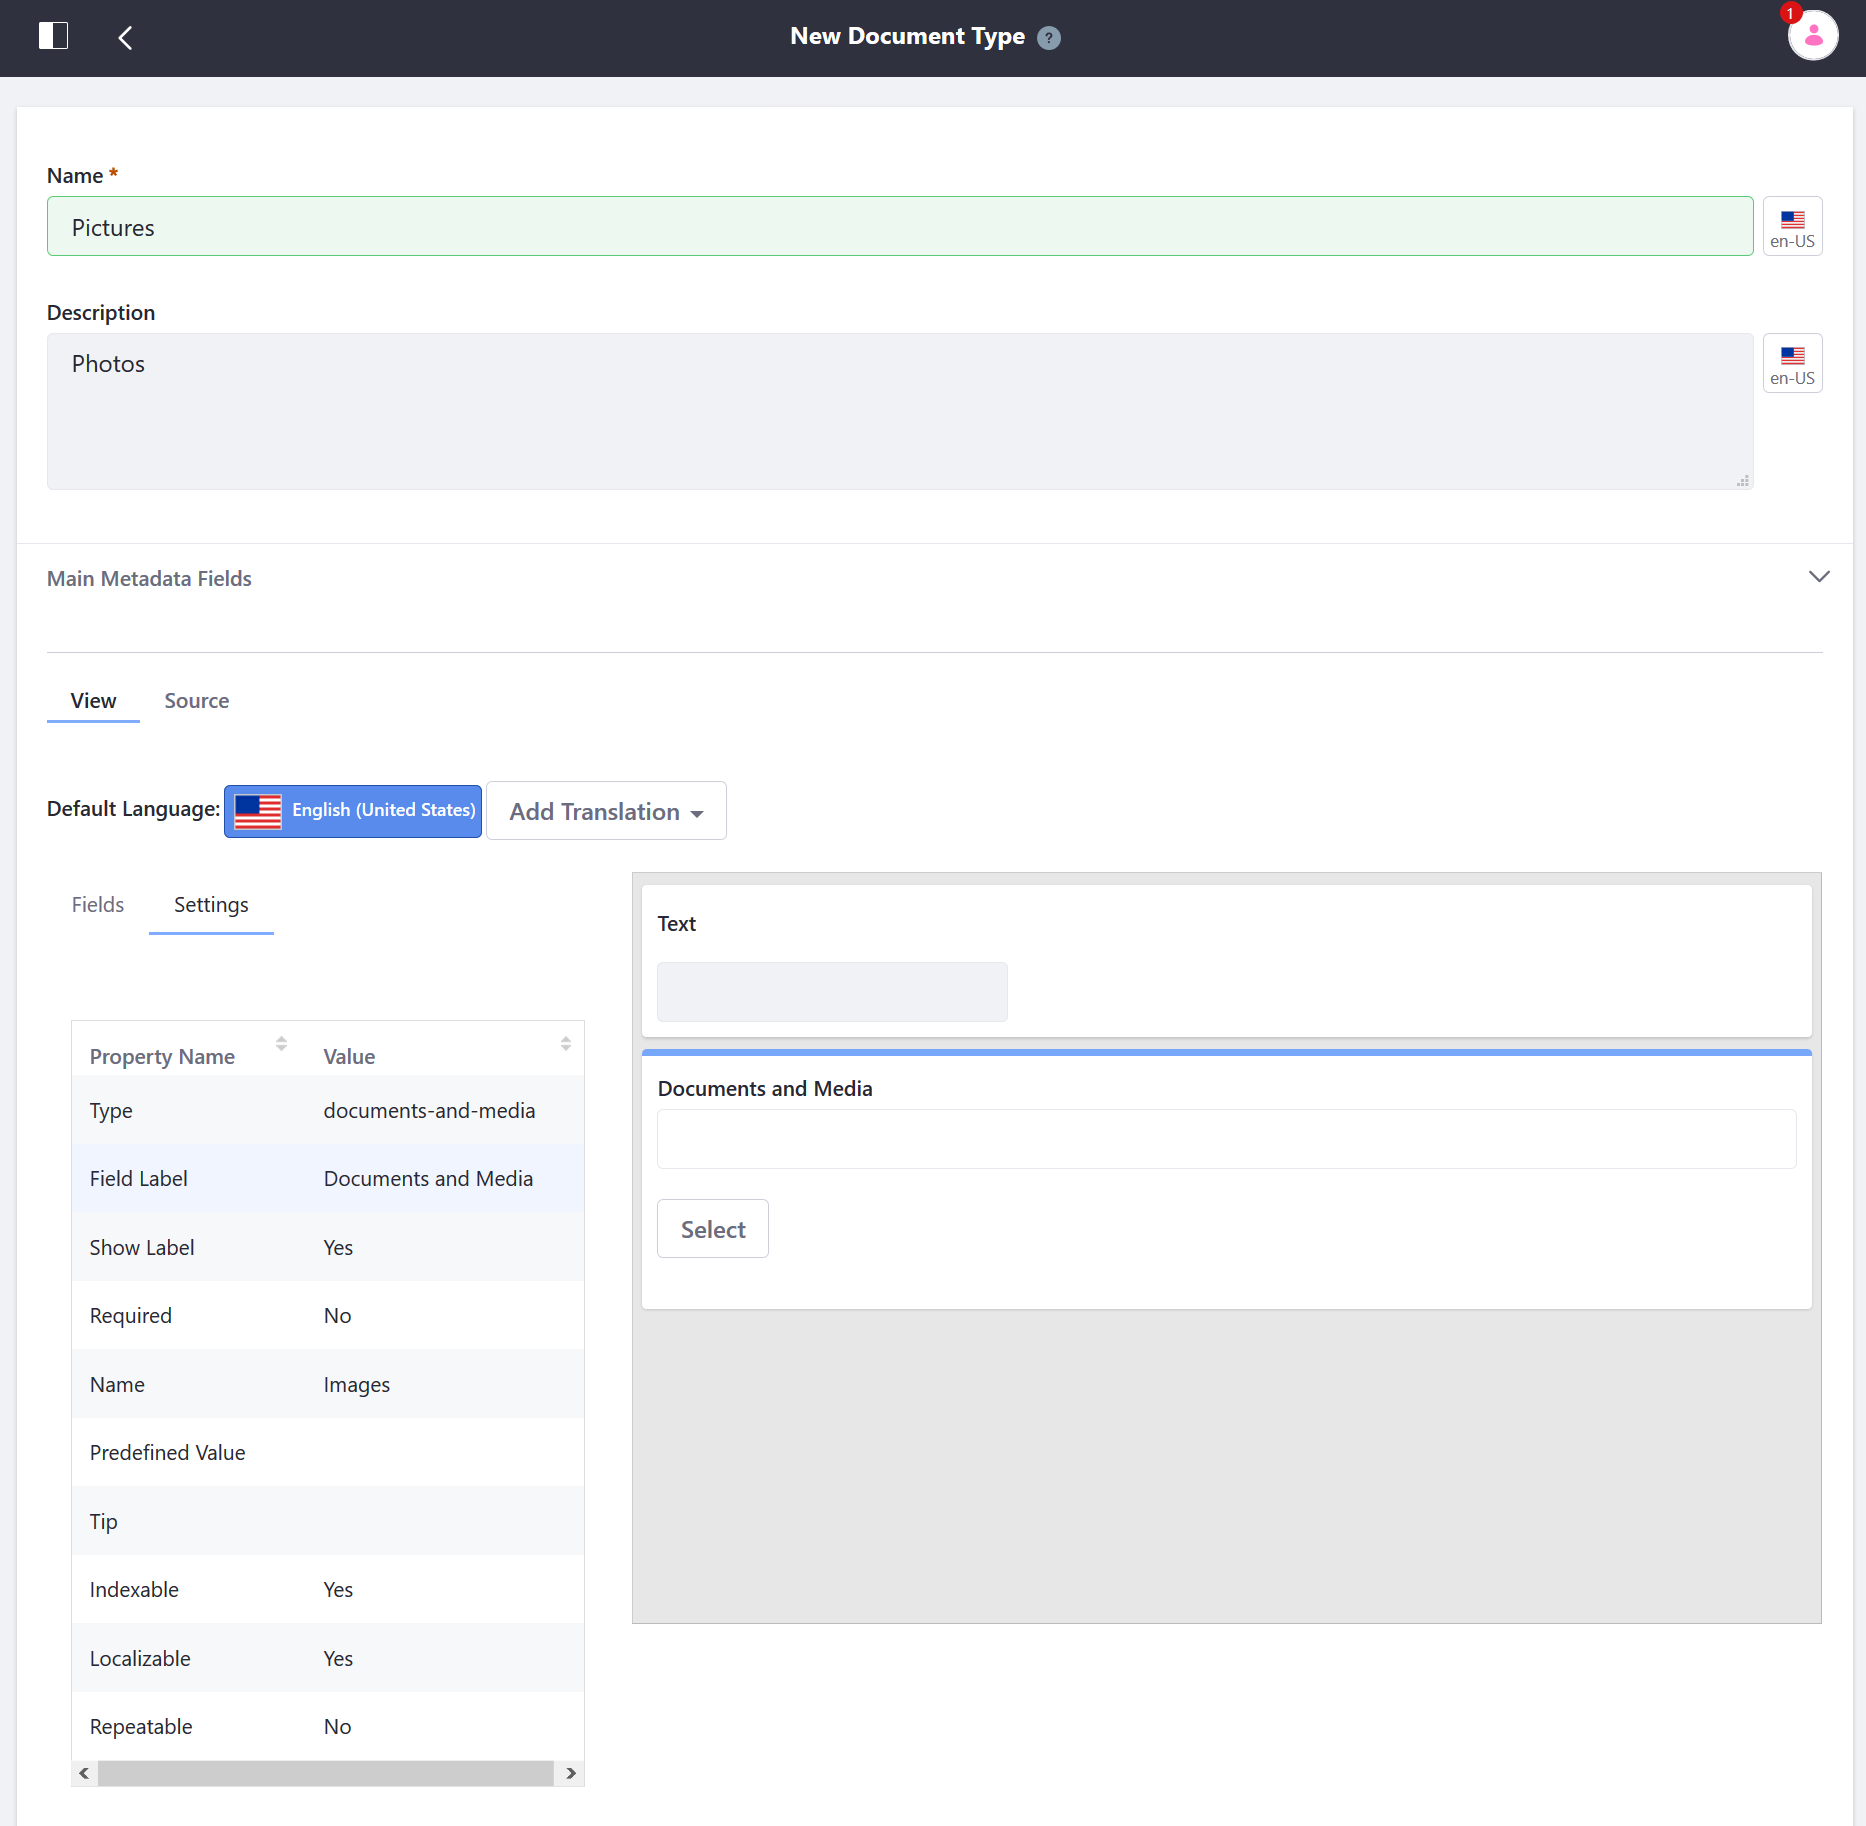
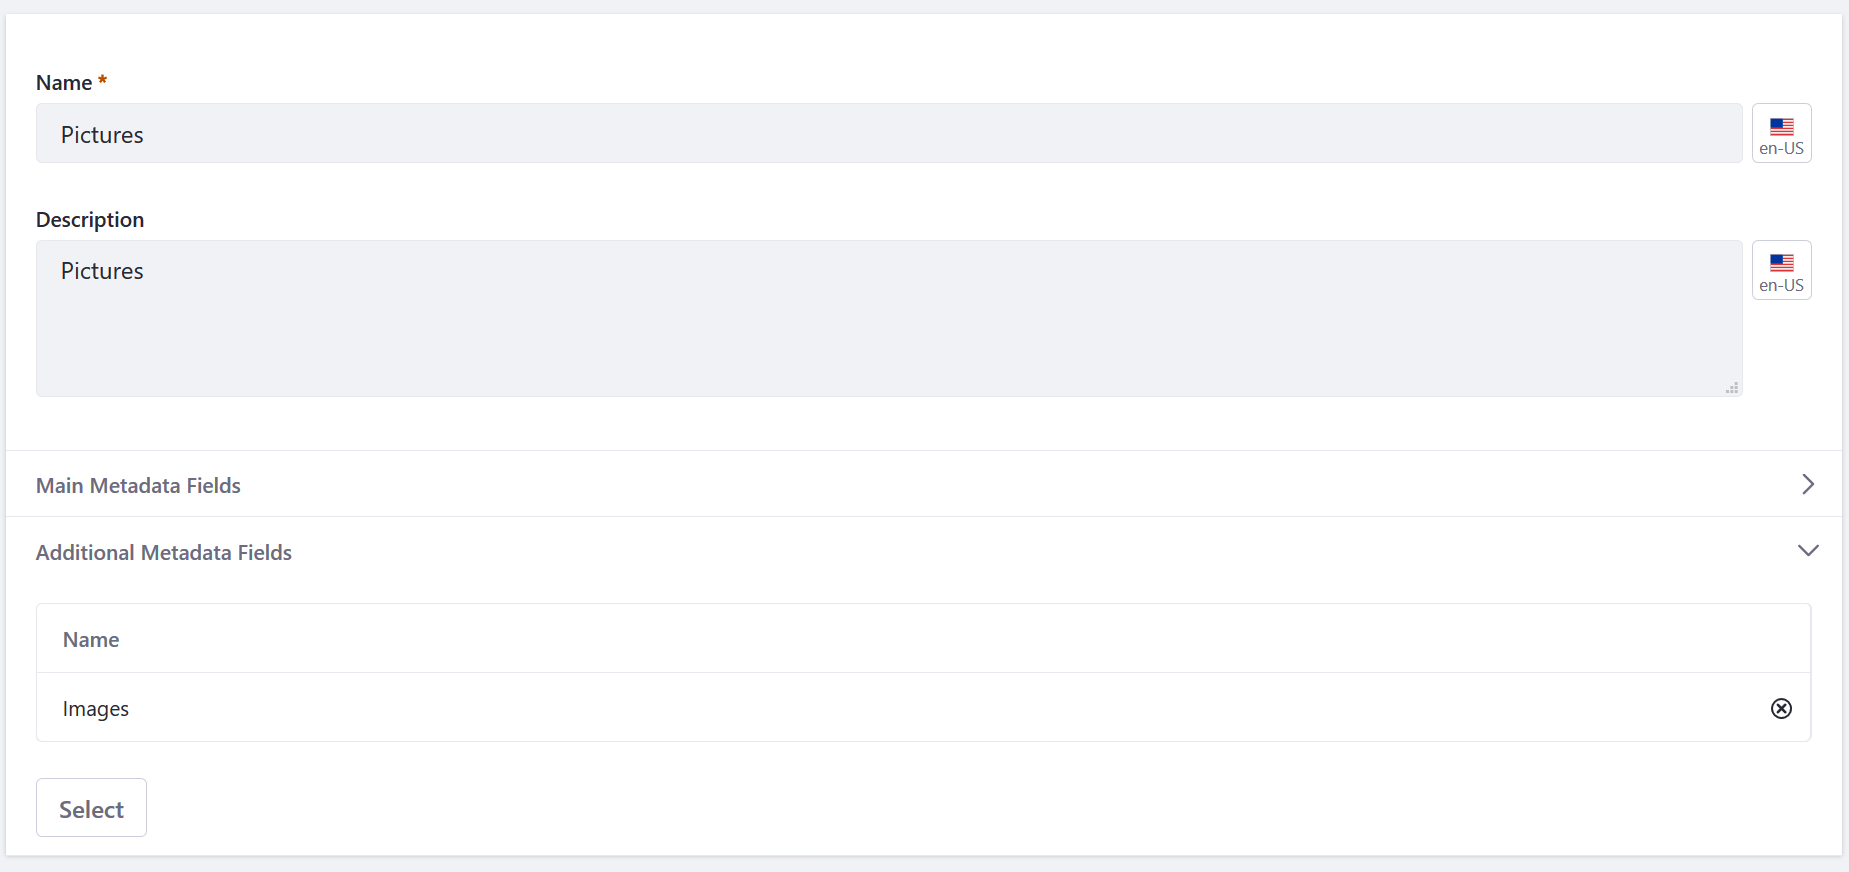
Expand the Additional Metadata Fields.
Select a metadata set to associate with the document type. To learn more, see Defining Metadata Sets.
Click Save.
The new Document Type is now available when adding a document via the Documents and Media’s Add menu.
When users create new files of the document type, they’re presented with metadata fields to describe the document.